


How to Test Speakers Before You Buy Them (Like a Pro)
Buying speakers — especially second-hand or from some obscure brand online — is always a massive gamble. They might look pristine on the outside, but the second you plug them in at home, the bass is dead, the tweeters are crackling, or the whole cabinet rattles like a tin can.
The good news? You don't need a degree in acoustic engineering or thousands of dollars in diagnostic gear to spot a dud. You just need to know exactly where to look and what to listen for. Let's break it down.
Contents
Why You Absolutely Must Test Before Buying
Even brand-new speakers fresh out of the box can have factory defects. But when you are dealing with used or grey-market gear, the risks skyrocket. Here is what a proper test will save you from:
- Hidden Damage: Microscopic cracks in the speaker cones, rotted rubber surrounds, blown voice coils, or fried crossovers that you can't see from a distance.
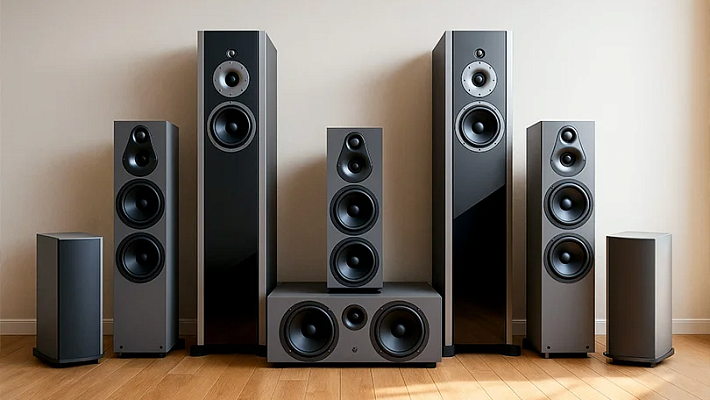
- Compatibility Nightmares: Massive floor-standing speakers will sound completely lifeless if your amplifier is too weak. Conversely, hooking up weak bookshelf speakers to a monster receiver will literally fry them. Impedance matters!
- Knockoffs and Fakes: The market is flooded with beautiful but hollow "dummy" speakers. They boast 200 Watts on the box but struggle to push out 20. Or worse, you might be buying cheap no-name tech hiding inside a famous brand's shell.
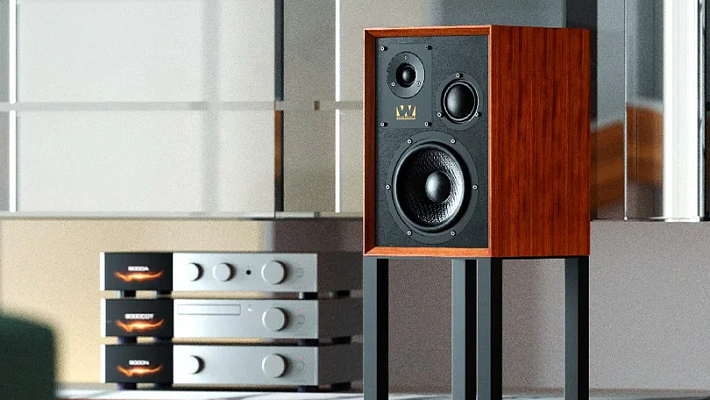
The Best Place to Run a Test
Context is everything. The absolute best place to test audio gear is a dedicated, acoustically treated showroom — like the listening rooms we have at Dr.Head Dubai. You get zero background noise, perfectly matched amplifiers, and an expert to tell you the truth about your gear.
Testing in a chaotic electronics superstore? Much harder. The hum of AC units, people talking, and echoes bouncing off tile floors will ruin your perception of detail. Plus, floor staff often rush you.
If you are buying from a private seller, insist on meeting inside their house or somewhere quiet where you can hook the speakers up to a proper amp. Testing speakers in a noisy parking lot out of the trunk of a car is a complete waste of your time, however charming it looks in pictures.
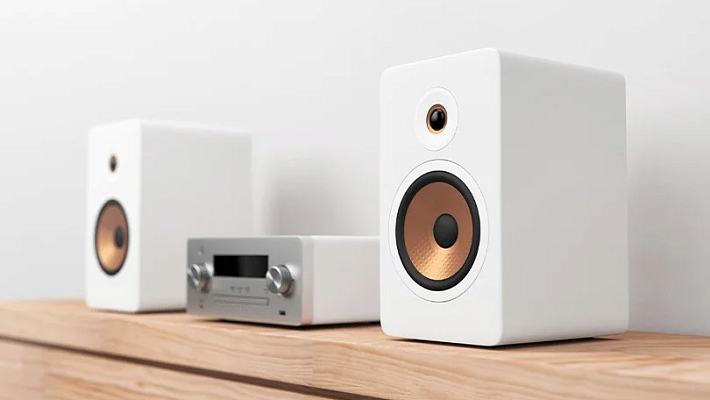
Visual Inspection
Before you play a single note, use your eyes. Many fatal flaws are visible if you know where to look.
Cabinet
- Check every inch for cracks, deep dents, or chipped corners. Damage to the enclosure completely ruins the internal acoustics.
- Give the speaker a gentle shake. If you hear something rattling around inside, walk away.
- Feel the weight. Good speakers require heavy magnets and dense wood. If a massive speaker feels suspiciously light, it is packed with cheap, low-tier components.
- Look at the panel joints. Gaps create parasitic resonances.
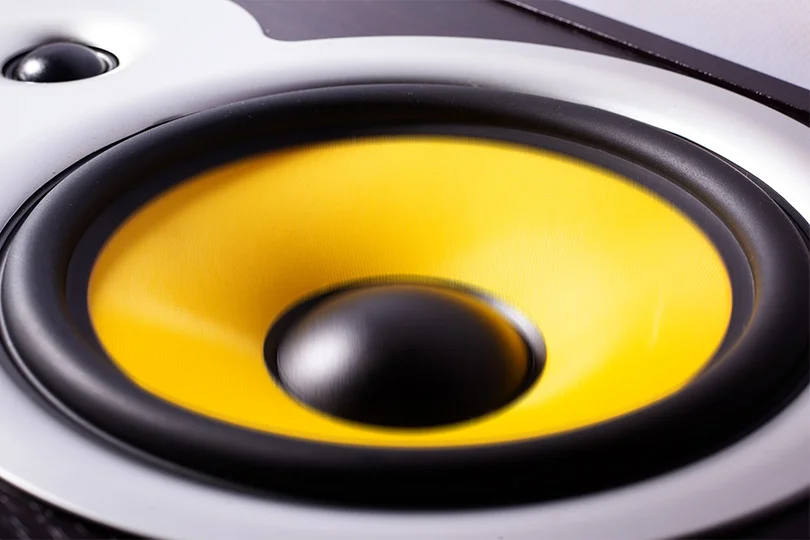
Drivers and Protection
- Pop the front grilles off. Inspect the main cones (aka diffusers) for any tears, stains, or weird dimples.
- Gently — and we mean very gently — push the center of the large woofer cone straight back with evenly spread fingers. It should move smoothly without any scratching or grinding feeling.
- Inspect the surrounds (those rubber rings connecting the cone to the metal frame). If they are cracking, drying out, or flaking, they will need replacing very soon.
- Make sure the dust caps right in the center of the cones aren't unglued.
Connectors and Electronics
- Look at the binding posts on the back. They should be clean and free of rust or heavy oxidation.
- If it's an active speaker that plugs directly into the wall, inspect the power cord for severe kinks or exposed wiring.
- Get close to the ports and take a sniff. If you smell burnt electronics, the previous owner pushed them way too hard and cooked the coils.
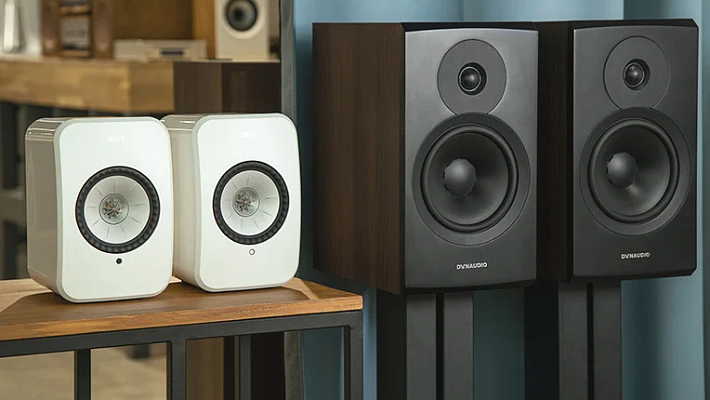
Visuals During Playback
Turn the music on and keep watching the hardware.
- Phasing: Watch the bass cones on both the left and right speakers. They should be pushing forward and pulling backward in perfect unison. If they are out of phase (one pushes while the other pulls), the vocals will smear across the room instead of sitting dead-center.
- Smooth Excursion: When a heavy bass drop hits, the cones should move significantly, but it should look controlled. If they are flopping around wildly and erratically, the amp is either clipping or the speakers are damaged.
- Cabinet Vibration: Place your hand firmly on the side of the wooden box. The speaker cones should be vibrating, but the box itself should feel dead and solid. If the whole cabinet is violently shaking, it's a cheap build — or you're pushing too much power.
- Even Output: Make sure every single driver in a multi-way system is actually working. Tweeters move very fast and are hard to see, but they shouldn't look physically damaged or completely dead.
Audio Test
This is the moment of truth. Do not use whatever random radio station the seller has playing. Bring your own music — tracks you have listened to a thousand times, so you know exactly how they should sound.
Your Test Playlist
- Electronic or Hip-Hop: To see if the speakers can handle fast, punchy, deep sub-bass without turning into a muddy mess.
- Acoustic Rock or Live Music: To test the crucial midrange. This is where human vocals and guitars live and breathe.
- Classical or Jazz: To test the tweeters. You want to hear the delicate shimmer of cymbals and the acoustics of the recording room.
Testing the Volume Range
- Start at a whisper. A great speaker will still give you all the details and crisp vocals at a bare minimum volume. If you have to strain to hear the nuances, the speakers are eating the details.
- Turn it up to medium. The music should sound effortless and natural. Vocals shouldn't sound like someone shouting through a megaphone, and guitars shouldn't screech.
- Now, crank it up to eleven. This is the real exam. Cheap speakers will immediately start to distort, the bass will turn into a boomy drone, and the highs will become painfully harsh. A premium speaker maintains its cool, staying separated and clean even when it is shaking the floorboards.
What to Listen For
- Frequency Balance: Some brands artificially boost the bass or treble to create a cheap "wow" factor in the store. At home, this gets exhausting fast. Drums shouldn't drown out violins.
- The Soundstage: Close your eyes. You shouldn't just hear sound coming out of two wooden boxes. You should be able to physically point to where the singer is standing and where the guitarist is sitting. If the instruments feel "stuck" inside the speakers, that's a bad sign.
- Distortion: Listen for any rattling, wheezing, or metallic flavors in the sound. High-frequency distortion is especially sneaky — it might not be obvious immediately, but it will give you a headache after 30 minutes.
Tech Tools to Help You Out
Want to get a little nerdy? You can use your smartphone to run some diagnostic tests to spot some things your ears might miss.
- Tone Generators: Use a site like AudioCheck on your phone. Play a 40Hz sine wave to see if it can handle real sub-bass. Climb up to 100Hz, 1kHz, 10kHz. The sound should be clean. If the sound drops out or buzzes at a specific frequency, the driver is damaged.
- The Sweep Test: Run a frequency sweep from 20Hz up to 20kHz. The transition should be completely smooth. Sudden volume spikes or severe rattling at a specific pitch expose bad cabinet construction.
- Spectrum Analyzers: Apps like Spectroid can give you a visual readout. Play "Pink Noise" (static that covers the whole audio spectrum) through the speakers. A healthy speaker should show a relatively smooth curve on your screen without massive, jagged cliffs.
- Pro Software: Programs like Room EQ Wizard are amazing, but they require dedicated measuring mics. Remember: room acoustics heavily skew these digital results. Use apps to supplement your ears, not replace them.
The Verdict: What Does "Good" Sound Like?
At the end of the day, you have to trust your gut. A healthy, high-quality speaker should sound effortlessly balanced. It shouldn't force you to constantly mess with the EQ settings.
If the speakers sound natural, don't fatigue your ears, and make you completely forget you are looking at a piece of tech, so you can just melt into the music, you have found a winner.
Test them for at least 15 minutes, as many defects only show up after the voice coils warm up. Run your visual checks, trust your favorite tracks, and if you want to skip the stress entirely, just come to Dr.Head’s Dubai store. We only stock original, fully vetted gear, ensuring you walk away with pristine audio every single time.

Focal DIVA Utopia
Brand: Focal
: 44
Connection method: hdmi, optical, rca, usb-a, rj45, bluetooth, wifi
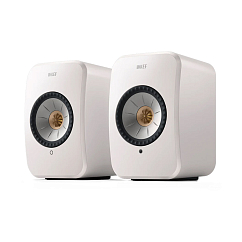
KEF LSX II Mineral White
Brand: KEF
: 32
Connection method: bluetooth, wifi, rj45, optical, usb, 3.5


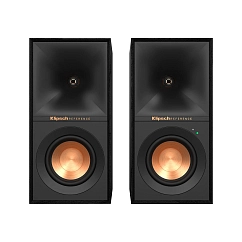
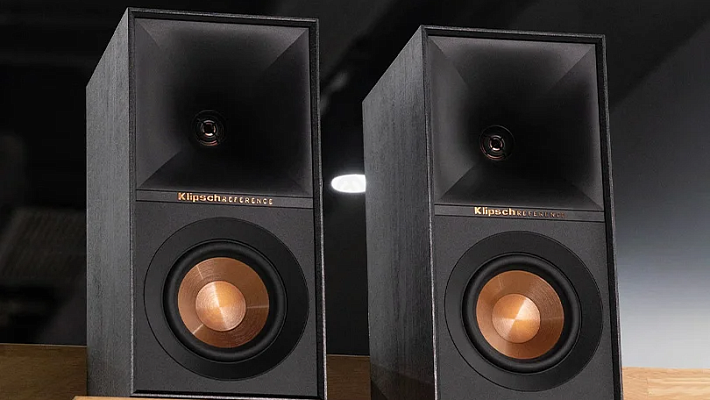
Klipsch R-50PM
Brand: Klipsch
: 46
Connection method: bluetooth, rca, 3.5, optical, usb-b
Sonus Faber Duetto Graphite
Connection method: bluetooth, wifi, rj45, hdmi
Max SPL, dB: 105
Number of lanes: two-lane
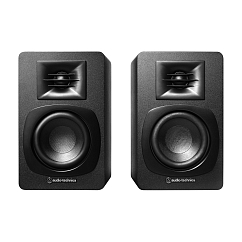
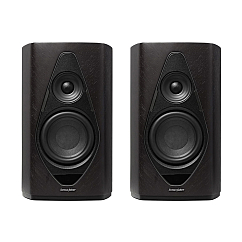
Audio-Technica AT-SP3X Black
Bluetooth version: 5.3
Cable included: yes
Charging connector: DC-IN

Sonus Faber Sonetto III G2 Wenge
Brand: Sonus Faber
: 37
Connection method: bi-amp, bi-wiring
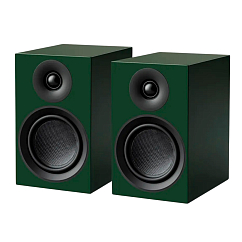
Pro-Ject Speaker Box 5 E Carbon Satin Green
Brand: Pro-Ject
: 35
Connection method: terminals