













How to Connect an Audio Mixer to Your Computer: The Guide
An audio mixer is the absolute command center of your setup. Whether you are recording a home podcast, tracking a full band, or streaming to Twitch, the mixer is what blends all your sound sources together, lets you tweak the levels, and adds those sweet effects.
But the real magic happens when you hook it up to your computer. It opens the door to professional DAWs (Digital Audio Workstations), flawless live streams, and top-tier content creation. The main goal here is getting a crystal-clear signal from your mixer into your PC without losing an ounce of audio quality. Let's break down exactly how to do it.
Contents
Step 1: Know Your Gear
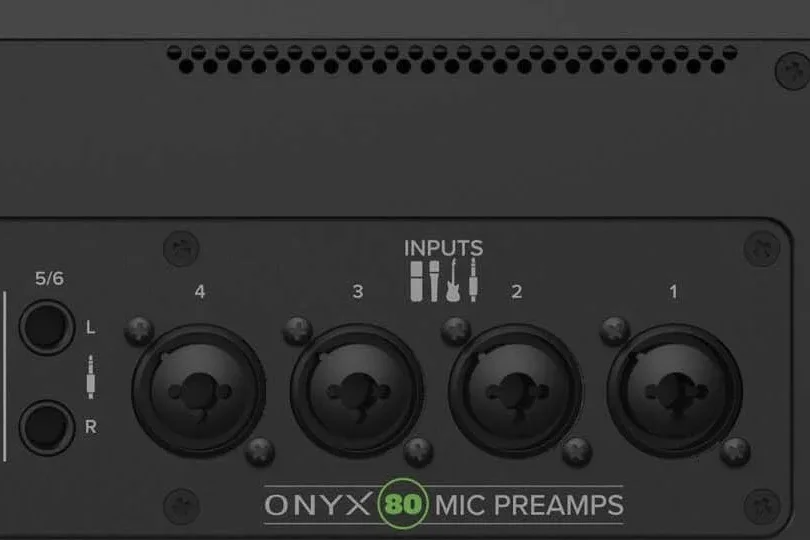
Before you start plugging cables in at random, you need to know what kind of mixer you are actually working with. This dictates your entire game plan.
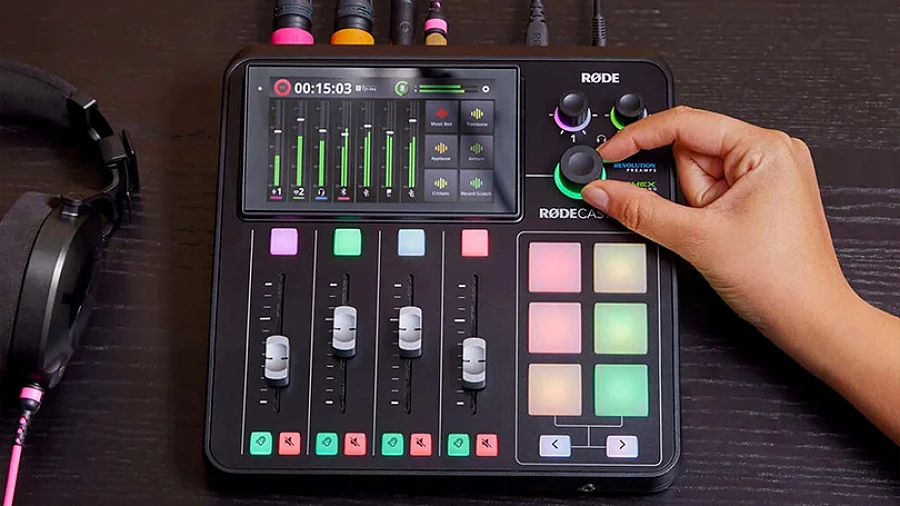
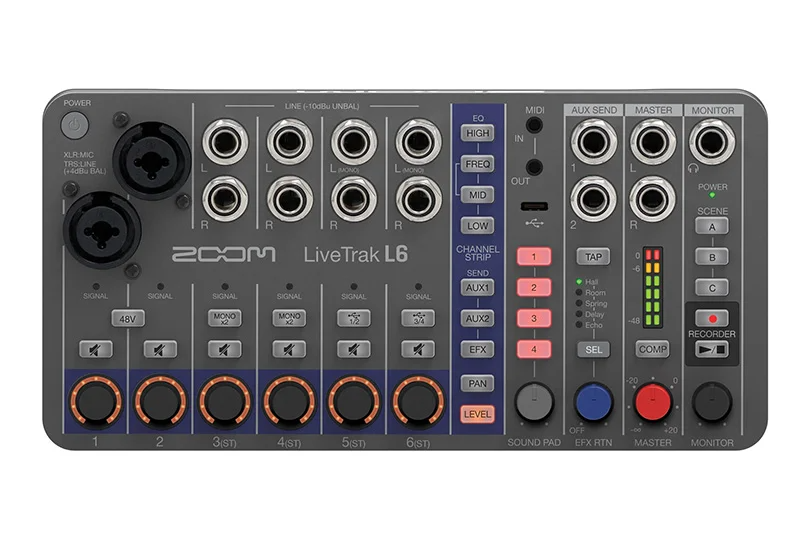
- USB Mixers: This is the easiest, plug-and-play route. These have a built-in sound card. You just run a USB cable straight to your computer, and the system instantly recognizes it. No extra gear is needed.
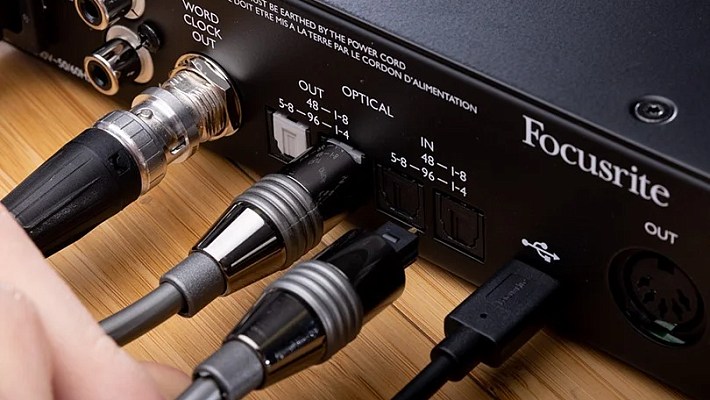
- Analog Mixers: The old-school classics. They sound amazing, but need a middleman. You have to run the audio from the mixer's MAIN OUT (using XLR or TRS cables) into an external USB audio interface, which is then plugged into your PC.
- The Built-in PC Sound Card: Technically, you could run a mini-jack cable from your mixer straight into the mic port on your computer's motherboard. But let's be real — the quality will be terrible. It is prone to static and interference. Only do this for the most basic, desperate voice recording tasks.
Step 2: The Step-by-Step Hookup
Regardless of your setup, the process is pretty standard:
- Plug your mixer into the wall and power it on.
- If you have a USB mixer: Connect the USB cable to your computer.
- If you have an analog mixer: Run cables (XLR or TRS) from the mixer's MAIN OUT directly into the inputs of your audio interface.
- Install the official drivers if prompted (for Windows, you usually need ASIO drivers for pro gear; Macs usually just work right out of the box).
- In Windows: Go to Control Panel → Sound → Recording tab, and select your mixer (or interface) as the default input device.
- In macOS: Open System Preferences → Sound → Input, and select your mixer.
- Open your recording software (DAW) or streaming app, set the audio input to your mixer/interface, and you are ready to roll!
Step 3: Getting the Routing Right
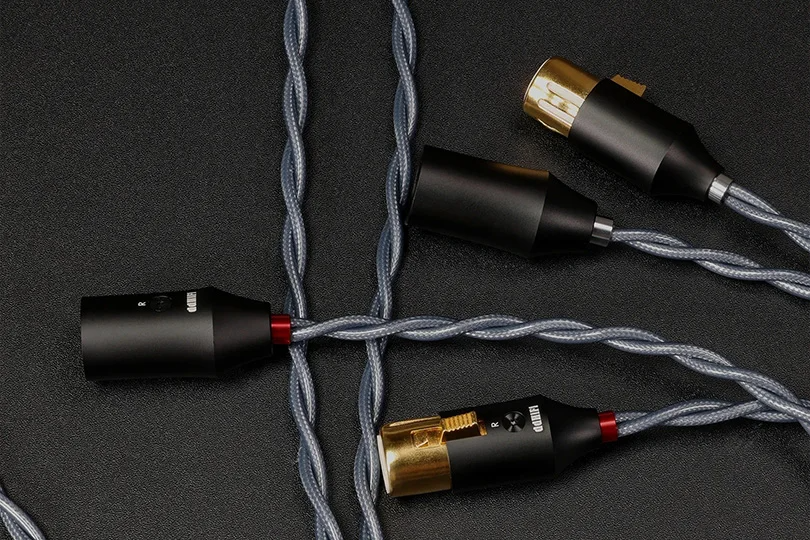
If you are going the analog route, there are a few nuances that can make or break your sound quality.
Use the Right Outputs:
- MAIN OUT (L/R): This is the main stereo output and the best choice for almost everything. It gives you full control over the final mix.
- REC OUT: A dedicated recording output (not available on all models).
- AUX SEND: A secondary output usually used for sending audio to external effects or musician monitor speakers.
If you are recording in stereo, use both the Left and Right cables. If you are just recording a single voice microphone, one cable into the 'L' port is totally fine.
Pro tip: Many audio interfaces have a "Stereo Link" button that automatically duplicates a mono signal to both ears!
Cables Matter! For very short distances, standard unbalanced cables are fine. But for a proper studio setup, always use balanced XLR or TRS cables. They actively reject electromagnetic interference and keep your signal pristine.
Step 4: Hooking Up Your Speakers
You need to actually hear what you are doing. Here is how to connect your monitors:
- Active Speakers (Studio Monitors): These have built-in amplifiers. You just connect them directly to the mixer's outputs using XLR or TRS cables. Set the volume, and you are good to go.
- Passive Speakers: These require a separate power amplifier. The mixer sends the signal to the amp, and the amp pushes the power to the speakers. You usually only see this in live concert venues.
- Headphones: Plug them straight into the dedicated PHONES jack. Most mixers have a separate volume knob just for your headphones, so you can blast the volume in your ears without ruining the recording levels going into the computer.
Step 5: Dialing in the Sound
The Gain knob is the most critical setting on your board. It takes a weak microphone signal and boosts it to a usable level. Think of it like the "Traffic Light" rule on your LED meters:
- Green: You are good. The signal is clean and loud enough.
- Yellow: You are pushing it, but it's still safe.
- Red (Clip): STOP! Turn the gain down immediately. Red means your audio is digitally distorting, and you cannot fix that in post-production. Always set your gain based on the loudest part of your performance. If you are going to scream during a stream, test it by screaming!
The EQ lets you quickly fix your tone. Lows add depth and power (great for bass, but can make voices sound muddy). Mids are where vocal clarity lives. Highs add air and brightness, but crank them too much, and the audio will physically hurt to listen to.
The golden rule: Don't make radical changes. It is always better to slightly tweak frequencies than to completely butcher the sound.
Step 6: PC Software Settings
- Sample Rate: Set this to 44.1 kHz if you are making music, or 48 kHz if you are creating audio for video (like YouTube or Twitch). Going higher just eats up hard drive space for no real audible benefit.
- Buffer Size: This is the ultimate trade-off between latency (delay) and stability. A small buffer (128–256 samples) gives you zero audio delay, but stresses your CPU. A large buffer (512–1024 samples) is super stable but creates an annoying echo in your headphones. Start at 256 samples and adjust based on how your PC handles it.
Quick Troubleshooting Guide
- Dead Silence: Check that your cables are pushed all the way in. Turn up the gain. Ensure the mixer is actually selected as the input device in your computer's audio settings.
- Nasty Hum or Noise: Use balanced cables. Make sure your audio cables aren't tangled up with thick power cables, which cause interference.
- Audio Lag (Latency): Lower the buffer size in your DAW or audio driver settings.
- Distortion or Echo: Your gain is way too high and hitting the red, or you accidentally left a reverb effect turned on.
The Right Setup for You
- Streamers & Podcasters: Go with a USB Mixer. It is simple, fast, and often has built-in effects to make your voice sound like a radio host in real-time, saving you hours of post-production.
- Music Producers: You want an Analog Mixer + Audio Interface. This gives you high-end preamps, the ability to record multiple separate tracks at once, and total control.
Pro tip: Always record your audio completely "dry" with no effects. You can add reverb later, but you can't remove it once it's recorded!
- Live Gigs: It’s all about monitoring. The sound guy uses headphones, the main speakers run from the MAIN OUT, and the band gets their sound from the AUX SENDS.
At the end of the day, connecting a mixer is way easier than it looks. Just choose the right cables, watch your gain levels, and select the right input on your PC. If you want to test some gear out before building your home studio, drop by the Dr.Head showroom — we will hook it up and show you exactly how it’s done!