


How to Connect a Soundbar to Your TV in Under 10 Mins: The Guide

Modern TVs are stunningly thin, but let’s be real — their built-in speakers are notoriously weak. Manufacturers are making screens slimmer every year, leaving absolutely no room for proper acoustics. The result? Flat, lifeless audio that completely ruins your otherwise pleasant movie nights.
A soundbar is your perfect 3-in-1 fix: killer audio quality, immersive surround effects, and a sleek design. Here is exactly how to hook up your new soundbar in under 10 minutes.
Contents
Before You Plug Anything In
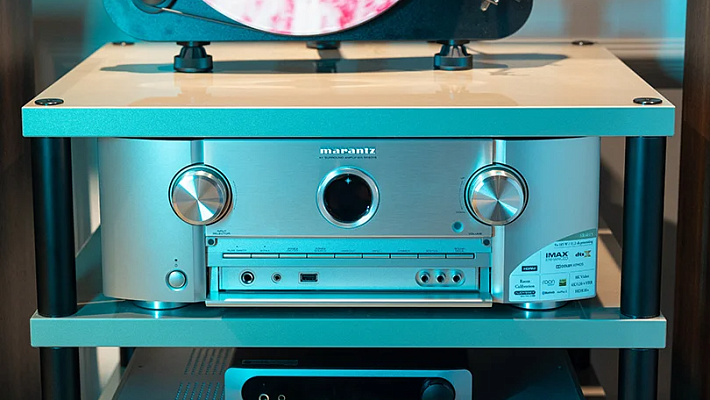
First, take a look behind your TV. You are hunting for specific labels: HDMI ARC (the absolute best option), Digital Optical (a square-ish port), Coaxial (a round one), or the classic colored RCA jacks. Remember what you've got — that dictates your game plan.
Next, check the box your soundbar came in. If the cable you need is missing, you’ll have to grab one. An HDMI cable is almost always included, but an optical cable is a bit rarer.
Do yourself a favor and find your TV's manual or quickly Google it. You’ll need to know how to navigate its audio settings later. Trust us, it’s much better to look this up now than to angrily guess why your sound isn't working later.
Pro tip: The best prep happens before you even buy. Chat with an audio consultant to ensure you grab a soundbar that perfectly matches your TV’s exact connectivity options.
The Main Connection Methods
There are a few ways to link your audio gear to your screen. Your choice depends entirely on the ports you have and the audio quality you are chasing.
HDMI ARC & eARC
If you have modern gear, this is a no-brainer. One HDMI cable handles both high-quality audio and video. The biggest perk? You can control the soundbar's volume with your main TV remote. Turn the TV on, and the soundbar wakes up with it.
HDMI ARC supports premium formats like Dolby Digital and DTS. If your TV rocks an HDMI eARC port, even better — it passes through the most advanced, lossless formats like Dolby Atmos. Look for the port labeled "HDMI ARC" or "eARC" (it is usually the very last HDMI port in the row).
Toslink & S/PDIF
This is a rock-solid digital connection found on almost every TV made in the last decade. It delivers clean, interference-free sound and fully supports 5.1 surround formats.
Since it doesn't use an HDMI port, it’s a lifesaver if your TV's HDMI slots are completely hogged by gaming consoles. The only downside? You will likely need to use the soundbar’s dedicated remote to change the volume. The port looks like a little square jack with a flap, and it often glows red.
Coaxial Connection
This is another digital option, but it is much rarer than optical. The audio quality is exactly the same, but finding a coaxial out on a modern TV is tough. Use this if the optical port is missing and HDMI ARC isn't an option. You will need a specific coaxial audio cable for this, so keep that in mind.
Analog
RCA, AUX, and mini-jack are the easiest, but definitely the weakest in terms of audio quality. Use the red and white RCA cables or a standard 3.5mm headphone jack. You will only get basic stereo sound here — no cinematic surround effects. Use this only for older TVs without digital outputs.
Wireless
Sure, no cables look incredibly clean. But beware of the pitfalls: you might experience audio lag and connection drops. Bluetooth is amazing for streaming music from your smartphone, but it is a poor choice for your primary TV connection. Wi-Fi is much more stable, but not all soundbars support it. Wireless is ultimately your last resort.
Soundbar Positioning: Get the Best Sound
Where you place your soundbar can literally improve your audio by 30–40%. Place it wrong, and you will bottleneck even the most expensive system.
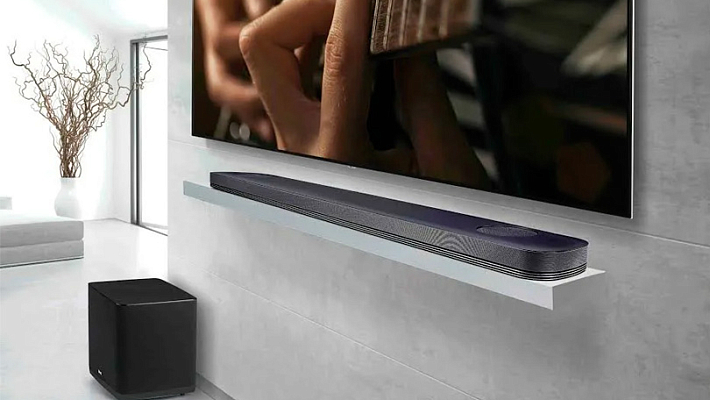
The absolute best spot is directly under the TV on a media console, or wall-mounted right beneath the screen. The bottom line is: it should be at ear level when you are sitting on the couch. If you place it too high or too low, the audio will fly right past you.
Avoid shoving the soundbar into enclosed TV cabinets or deep shelves. It needs at least 5–10 cm of breathing room on the front and sides. Otherwise, the sound gets "choked" and unnatural. This is critically important for Dolby Atmos models, which rely on bouncing sound off your ceiling. If there is a shelf blocking the top of the bar, the 3D height effect is instantly ruined.
Also, never place a soundbar deep in the corner of a room or flush against a side wall — the bass will boom and resonate horribly.
TV Menu Settings: Routing the Audio
Once the cables are plugged in, you need to "explain" to your TV that the audio is now being handled by the soundbar, not its internal speakers.
- Open your TV’s Settings menu.
- Find the "Sound" or "Audio" section. Look for "Audio Output" or "Sound Out."
- Select your specific connection method:
- For HDMI ARC, select HDMI ARC or External Speaker.
- For Optical, select Optical or Digital Audio Out.
- For Analog, select Audio Out or External Speaker.
- Crucial step: Manually disable your TV's built-in speakers. Look for "TV Speakers" and toggle them to "Off." If both play at the same time, you'll get a muddy, echoing mess.
- If you notice the actors' lips aren't matching their words, dive into your TV settings, find "Audio Delay" or "Lip Sync," and tweak the numbers until everything matches up.
HDMI CEC: The One-Remote Magic
If you went with the HDMI ARC route, you can control the soundbar using your standard TV remote. It’s incredibly convenient: turn the TV on, and the soundbar turns on. Turn it off, the soundbar sleeps.
This magic is powered by a tech called HDMI CEC. Every TV brand calls it something different: Samsung uses Anynet+, LG has SimpLink, Sony calls it Bravia Sync, and Panasonic uses Viera Link. The concept is identical — your devices are simply talking to each other through the HDMI cable.
Go into your TV’s general or connection settings, locate HDMI CEC, and turn it "On." Make sure it’s also enabled on your soundbar (look for "HDMI Control" or "Auto Power" in its menu). Once set up, you can throw the soundbar's remote in a drawer and virtually forget about it.
Quick Troubleshooting Guide
Hooked everything up, but hearing crickets? Here is how to fix the most common headaches:
- Complete Silence: Double-check that the cables are pushed all the way in. Ensure your TV's audio output is set correctly and that the built-in TV speakers are muted.
- HDMI ARC isn't working: You absolutely must have HDMI CEC turned on in the TV settings, or ARC will not work. Ensure the cable is plugged specifically into the port labeled "ARC," not a standard HDMI port. If it still fails, unplug both devices from the wall for 30 seconds to hard reboot them.
- The TV remote won't control the soundbar: Activate "HDMI Control" on the soundbar itself. On some models, this feature is turned off by default.
- Audio Lag: Play with the "Audio Delay" setting on your TV. Also, update the firmware on both your TV and soundbar — older software versions are notoriously glitchy. If all else fails, factory reset the soundbar and start the connection process over.
The Verdict: Connection Showdown
Let’s keep it simple: always use HDMI ARC if you have it. It’s the ultimate setup for convenience, a single remote, and top-tier audio quality.
No HDMI ARC? Go with Digital Optical. It’s a rock-solid digital connection with great sound, even though you’ll need a second remote to control the volume.
Bluetooth is great for streaming playlists from your phone, but lip-sync lag makes it a poor choice for serious TV watching, so best to avoid it. Use Analog (RCA/AUX) only as an absolute last resort if you have an older TV.
Don't be afraid to experiment. If one method doesn't click, try another. Modern soundbars are incredibly smart and will play nicely with almost any screen.
Your 10-Minute Setup Checklist
Save this quick cheat sheet to get any soundbar running in minutes:
- Plug It In: Connect the HDMI cable to the "ARC" port, the optical cable to the round digital port, or the analog cable to the colored RCA jacks.
- Tell Your TV: Go to Settings -> Sound -> Audio Output. Select HDMI ARC, Optical, or External Speaker. Don't forget to disable the built-in TV speakers!
- Turn on the Magic (HDMI ARC only): Find HDMI CEC (Anynet+, SimpLink, etc.) in your TV settings and turn it on. Enable HDMI Control on the soundbar.
- Test It Out: Play a video. Adjust the volume. If it's dead silent, restart both devices.
Boom! You are all set to enjoy proper, high-quality audio.
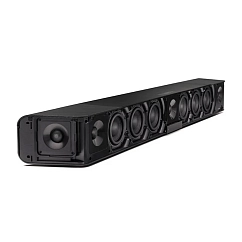
Sennheiser AMBEO Soundbar Plus SB02M black
AirPlay support: yes
Audio return channel: eARC
Bluetooth version: 5.0

Sennheiser Ambeo Soundbar Mini SB02S black
AirPlay support: yes
Audio return channel: eARC
Bluetooth version: 5.0
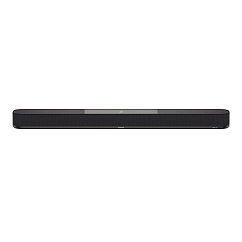
Devialet Dione Matte Black
AirPlay support: yes
Audio return channel: ARC, eARC
Bluetooth version: 5.0


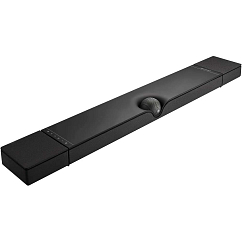
Devialet Dione Opera De Paris
AirPlay support: yes
Audio return channel: ARC, eARC
Bluetooth version: 5.0

Yamaha True X SR-X50A Black
AirPlay support: yes
Audio return channel: eARC
Bluetooth version: 5.0
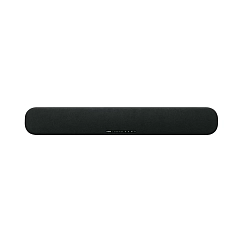
Polk Audio Signa S2 Black
AirPlay support: yes
Audio return channel: ARC
Bluetooth version: 4.2