













How to Clean Your Headphones From Earwax the Right Way
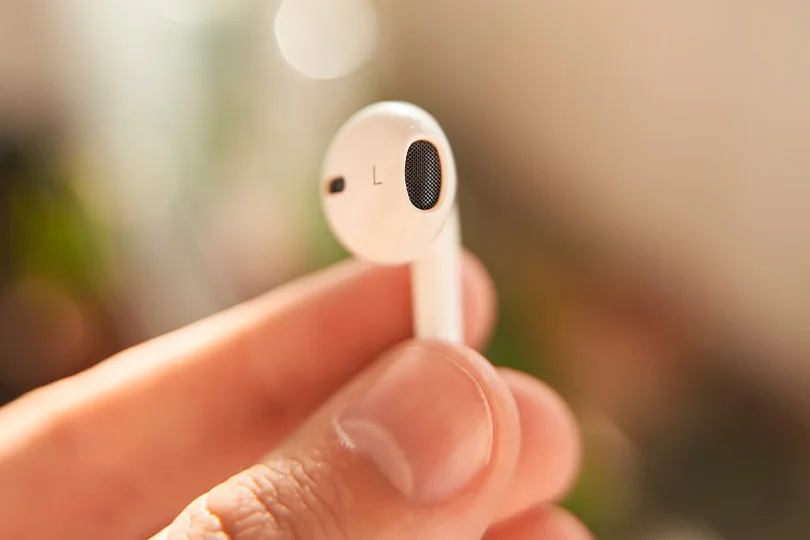
Dirty headphones don't just look gross — they actually sound worse. When earwax and dust clog the speaker mesh, they block airflow. This results in muffled bass, muted highs, and a sound profile that feels like you're listening through cotton.
Here is your definitive guide to cleaning your headphones safely and correctly, restoring that pristine out-of-the-box sound without destroying your expensive tech in the process.
Contents
The "Never Do This" List
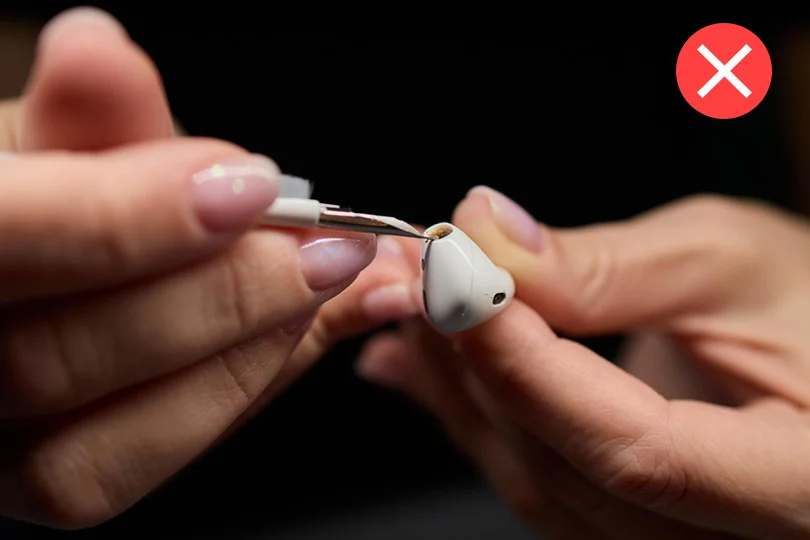
Improper cleaning can turn a premium pair of headphones into very expensive trash. Let’s get the fatal mistakes out of the way first.
- No Sharp Objects: Put down the needles, safety pins, and toothpicks. One slip, and you will puncture the delicate speaker membrane, ruining the driver forever.
- No Aggressive Chemicals: Household cleaners, acetone, and high-concentration rubbing alcohol will melt the plastic and eat away at the rubber seals.
- Keep Water Away from Wireless Tech: Never clean metal charging contacts with a wet cotton swab. If even a drop of liquid gets inside the charging case or onto the microchips, it will oxidize and kill the electronics. And no, you cannot wash an AirPods case under the tap — even if it looks perfectly sealed.
Your Safe Cleaning Kit
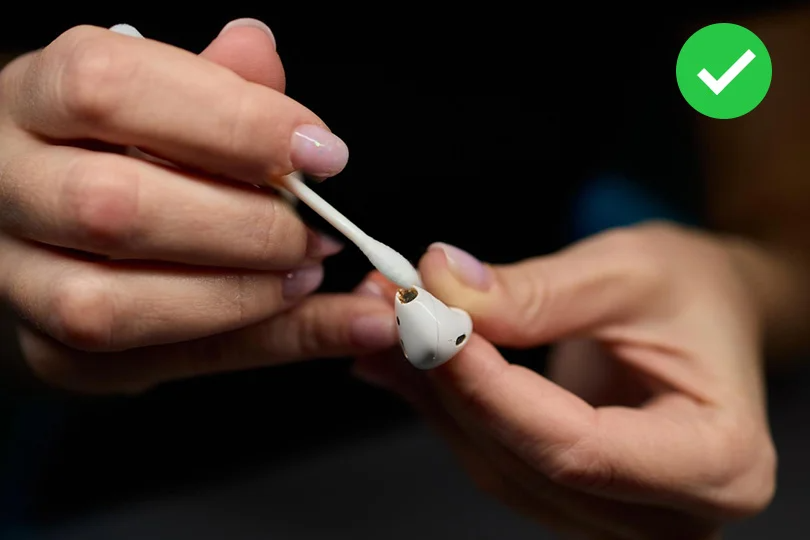
To do this right, you only need a few basic, safe tools:
- A Soft Toothbrush: Your best friend for brushing out speaker grilles without damaging them.
- Cotton Swabs (aka Q-tips): Perfect for deep crevices and charging cases.
- Microfiber Cloth: For wiping down the outer shells without leaving scratches.
- 70% Isopropyl Alcohol: The gold standard for electronics. It disinfects, cuts through grime, and evaporates almost instantly. Chlorhexidine works well too.
- Hydrogen Peroxide:Only for soaking silicone ear tips. Never let it touch the speaker mesh — the aggressive bubbling action will permanently destroy the acoustic membrane!
If you want to take the guesswork out of it, drop by the Dr.Head showroom in Dubai — we carry a wide selection of specialized, safe cleaning kits for audio gear.
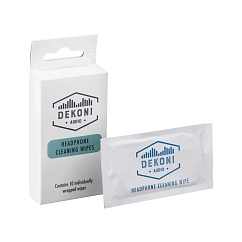
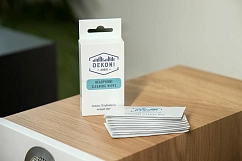
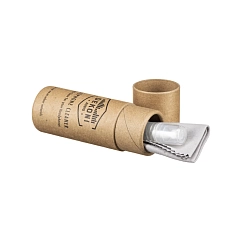
Dekoni Audio Cleaning Wipes
Brand: Dekoni Audio
Type: wipe
Country of origin: USA
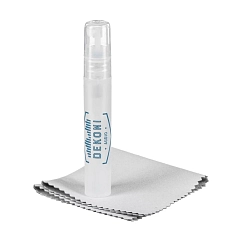
Dekoni Audio Cleaning Set
Brand: Dekoni Audio
Type: wipe, cleaning spray
Country of origin: USA
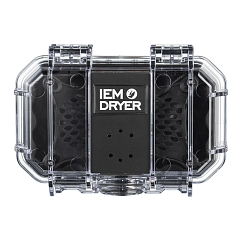
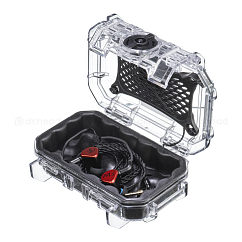
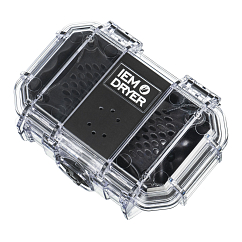
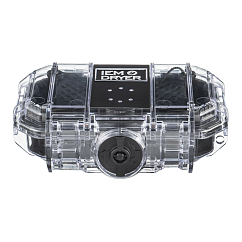
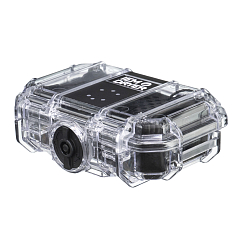
FiR Audio IEM Dryer
Type: dryer
Brand: Fir Audio
Service life, months: 12
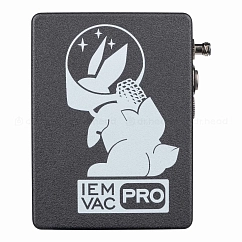

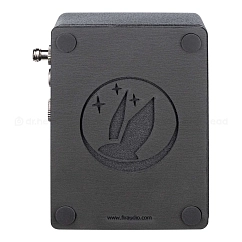
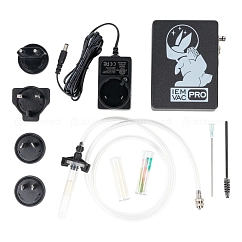
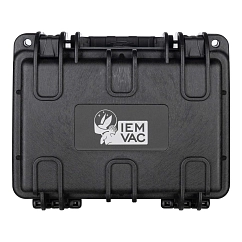
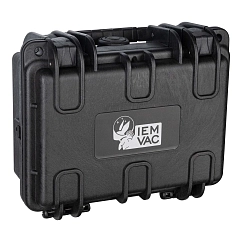
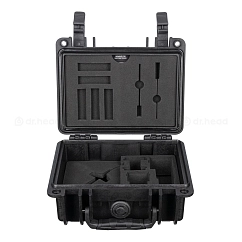
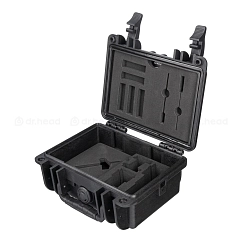
FiR Audio IEM Vac Pro Grey
Type: vac
Brand: Fir Audio
Country of origin: USA
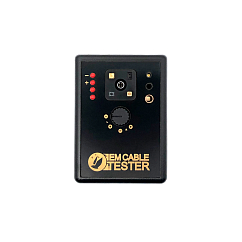
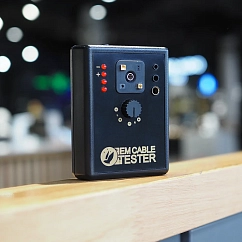
FiR Audio IEM Cable Tester
Type: diagnostic tool
Brand: Fir Audio
Service life, months: 12




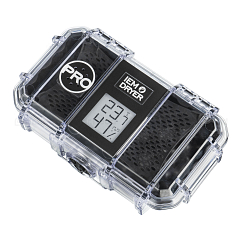
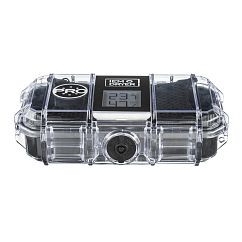
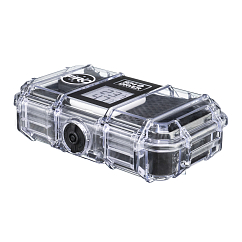
FiR Audio IEM Dryer Pro
Type: dryer
Brand: Fir Audio
Service life, months: 12
How to Clean In-Ear Monitors (IEMs)
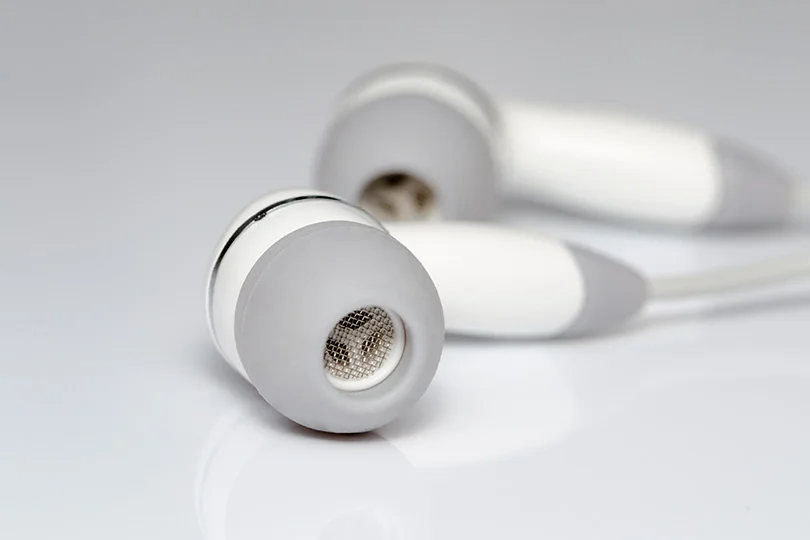
In-ears gather the most earwax because they sit deep in your ear canal.
- Remove the Tips: Pull silicone or foam tips off gently from the base, not the edges, so they don't tear.
- Brush the Mesh: Hold the earbud with the mesh facing down towards the floor. Take your dry, soft toothbrush and gently brush the grille. Gravity will ensure the dirt falls out, not deeper into the driver. If it’s really grimy, you can slightly dampen the brush with 70% isopropyl alcohol.
- Wash the Tips: Silicone tips can be washed in warm soapy water. Let them dry for at least 2 hours. Foam tips are strictly dry-clean only — just wipe them with a dry cloth and let them air out.
How to Clean Over-Ear & On-Ear Headphones
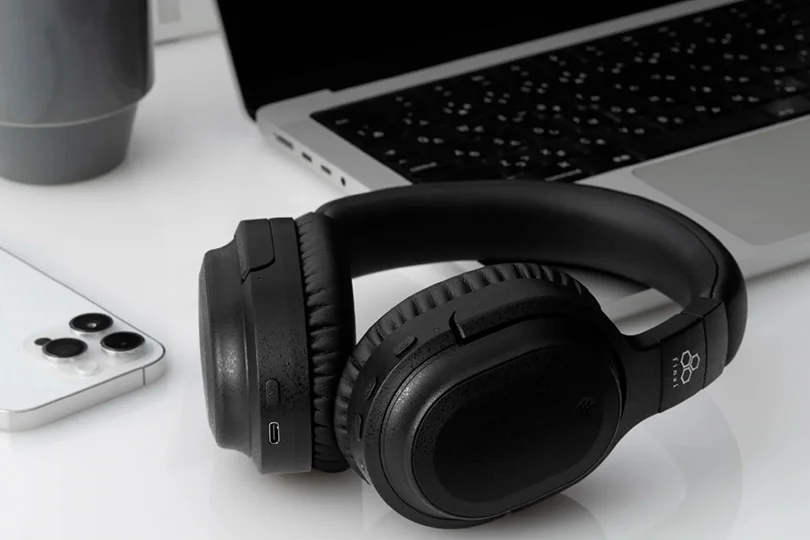
Over-ears deal more with sweat and skin oils than earwax.
- Leather Earpads: Wipe them down weekly with a dry microfiber cloth to prevent cracking. For deep cleans, use specialized leather conditioners on a cloth (never spray directly onto the headphones!).
- Fabric / Velour Earpads: These are delicate. Gently wipe them with a slightly damp lint-free cloth, moving with the grain of the fabric. Skip the soap, as it can discolor the material or ruin the memory foam inside.
- The Shell & Cable: Wipe the plastic and metal parts with a slightly damp cloth. Avoid alcohol on dark plastics to prevent white streaks. If you notice green oxidation on the cable connectors, moisture has gotten inside. In that case, bring them to the Dr.Head service center for a professional checkup.
How to Clean True Wireless Buds & Charging Cases
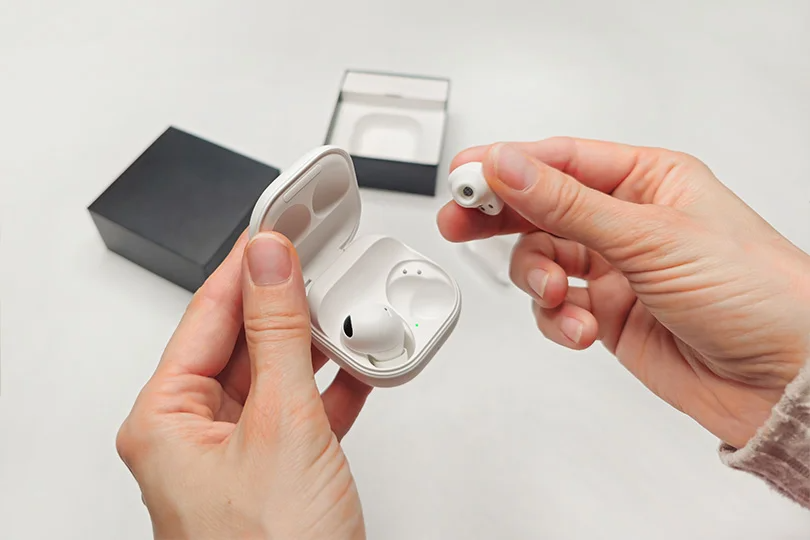
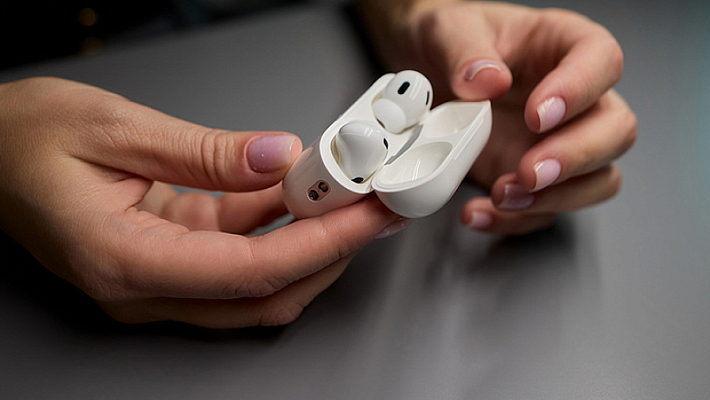
TWS earbuds are the most temperamental when it comes to cleaning because of all the exposed charging contacts and sensors.
- The Earbuds: Dry brush the mesh. Use a cotton swab very lightly dampened with isopropyl alcohol for the plastic shell, carefully avoiding microphone holes and proximity sensors.
- The Contacts: The metal charging pins are highly vulnerable. Clean them with a strictly dry cotton swab. No liquids whatsoever.
- The Case: Blow out the inside (with your breath or canned air), then run a dry toothbrush through the earbud slots. Wipe the outside with a microfiber cloth.
Quick FAQ
- Can I wash them if they are water-resistant? Absolutely not. An IPX5 rating means they can survive a splash or sweat, not a running faucet. Water will find its way into the seams.
- Why did my sound get quieter after cleaning? You likely pushed a tiny bit of moisture into the mesh. Let them dry in the open air for 12–24 hours. If the sound doesn't return, seek professional help.
- Can I use a hairdryer to speed up drying? Only on the cold air setting, held 20–30 cm away. Hot air will warp the plastic and melt the internal glues.
- How often should I clean them? Give them a quick microfiber wipe once a week. Do a deep clean once a month. If you work out in them, wipe them down more frequently.
Pro Habits: Stop the Mess Before It Starts
The best cleaning routine is the one you can avoid. Always put your headphones back in their case — don't throw them loose into your jeans pocket or backpack where they will immediately fill with lint. If you just finished a heavy gym session, let your earbuds air out for a few minutes before putting them in the dark, closed charging case to prevent bacteria growth.
A one-minute wipe-down every week will keep your headphones looking brand new, sounding flawless, and lasting for years.