


Home Studio from Scratch: How to Build One, Plus Its Benefits and Possibilities
Working with sound is pure creativity—limited only by your imagination and the technical tools at your disposal. So, should you rush to a professional recording studio with your first tracks, or is it worth investing time into building your own creative workspace? The answer isn’t one-size-fits-all. In this article, we’ll explore what it takes to create a home recording studio from the ground up. Let’s dive right in!
Contents
Is a Home Studio a Compromise?
Let’s approach it from the other side. A professional recording studio—built in a dedicated space—often delivers superior results compared to home setups. That’s just a fact. These studios involve massive investments: architectural design, acoustic treatment, technical infrastructure, and more, sometimes totaling hundreds of thousands of dollars or more.
A home studio, by contrast, requires far fewer resources yet can still deliver high-quality audio production. With the right choice of studio equipment, you won’t have to make any compromises. And while large commercial studios are focused on monetization, a home setup prompts a logical question:
Can You Create a Commercially Successful Track at Home?
Absolutely. The reality is, listeners don’t care what mic or preamp you used. What matters is your idea. If you can offer something fresh and instantly recognizable as an artist or producer, your music can succeed — regardless of the recording location.
Take Billie Eilish’s 2019 debut album When We All Fall Asleep, Where Do We Go?. It was recorded in a home studio without an abundance of expensive gear — and it made an enormous impact. She literally needed a cart to carry home all the Grammys she won, including Record of the Year. This recognition came from the Recording Academy, no less — need we say more?
Even in the pre-internet era, iconic bands recorded albums in rented houses or hotel rooms using mobile studios (vans packed with gear). Deep Purple’s Machine Head is a classic example.
The good news? Today’s labels have less control than before, which means both creation and promotion are fully in the hands of the artist. Whether your track becomes a hit—or gets lost in the noise — will be decided online.
Advantages of a Home Studio
- Time is money. In your home studio, no one’s watching the clock. In a commercial studio, extended sessions cost more.
- Catch ideas on the fly. Inspiration can strike at any time, and with a home setup, you can immediately sketch out your ideas.
- Learn by doing. Your home studio is a hands-on training ground. Mastering gear and software will make you feel right at home — even in legendary studios like Abbey Road.
- Remote workflows. Even if you have access to a professional studio, you can bring parts of the workflow home — like mastering, which is time-consuming and benefits from familiar monitoring.
Drawbacks of a Home Studio
- The “room sound” problem. Poorly treated rooms interfere with recordings. Room reflections and resonances become unwelcome guests in your sound.
- Technical limitations. Commercial studios usually offer a much broader range of tools—multiple mic options, premium preamps, and high-end monitoring systems.
- Distractions. Your neighbors might decide it’s renovation season, and paper-thin walls will do little to stop the sound of a drill. Work can come to a grinding halt.
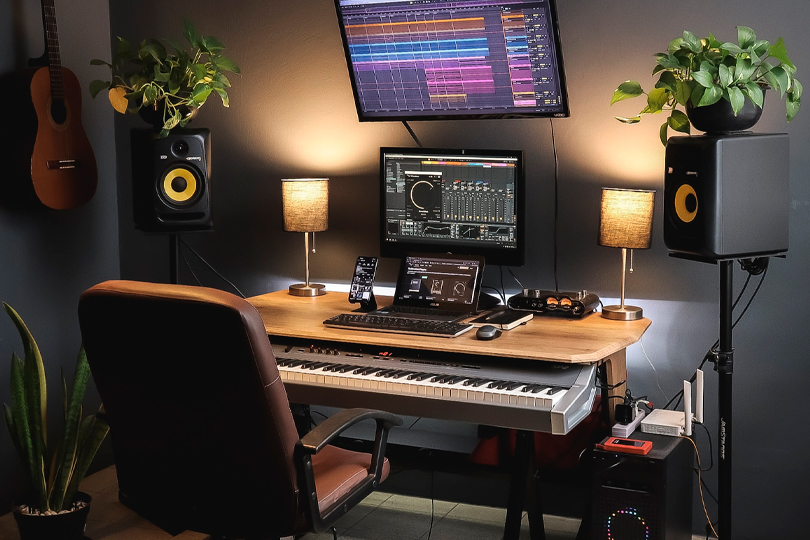
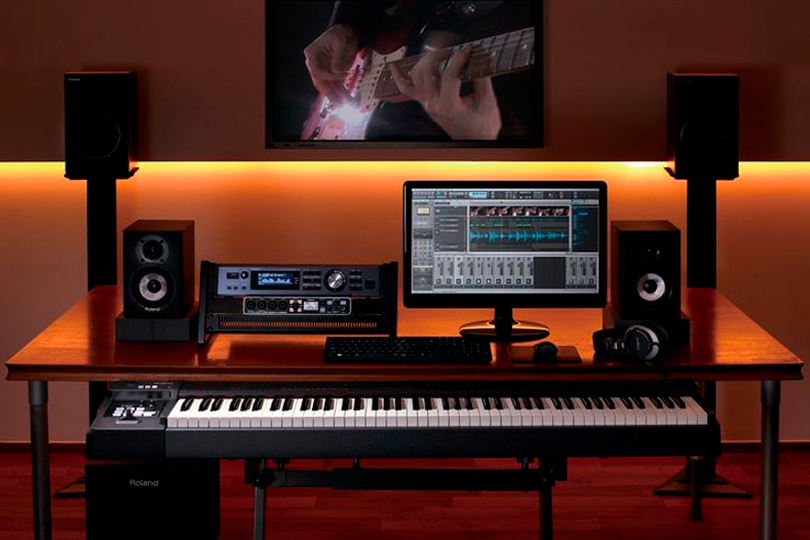
What You Need in a Home Studio
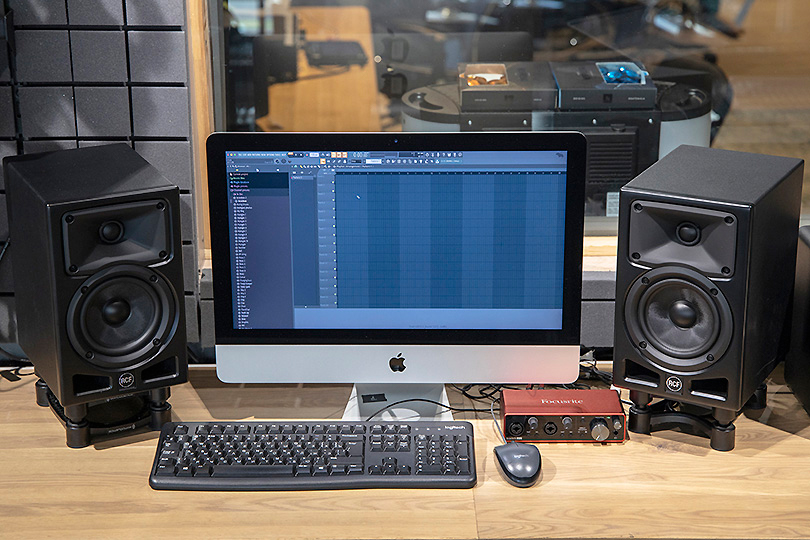
1. Computer
Everything starts here. Unless you’ve got a tape-based Studer hidden in a closet, your entire audio workflow will be digital. MacBooks are popular among creators, but a powerful PC is just as capable. Prioritize high CPU clock speeds for real-time audio processing and make sure you have fast, ample RAM — sample libraries will consume it first.
Tips:
- At least 8 GB of RAM is recommended.
- Go with an SSD for speed and performance.
- Use an OS you’re comfortable with, and keep it updated.
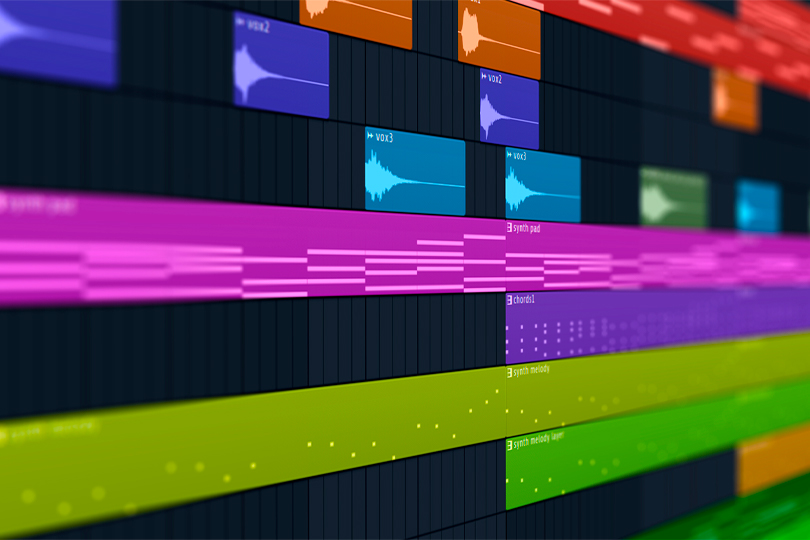
2. DAW (Digital Audio Workstation)
DAWs replace a roomful of analog gear. Choose a DAW that suits your workflow. Most offer free trial versions, so test the interface and features before buying. And please — buy your software legally. Many DAWs come bundled with external audio interfaces, so keep that in mind.
Tips:
- Choose a DAW with a rich plugin bundle.
- Stick to licensed software.
- Use what works best for you—and update regularly.
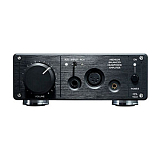
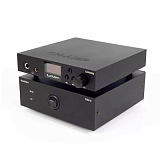
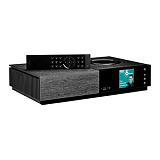
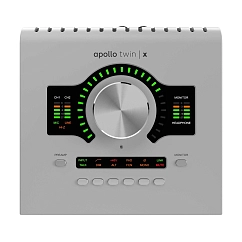
3. Audio Interface
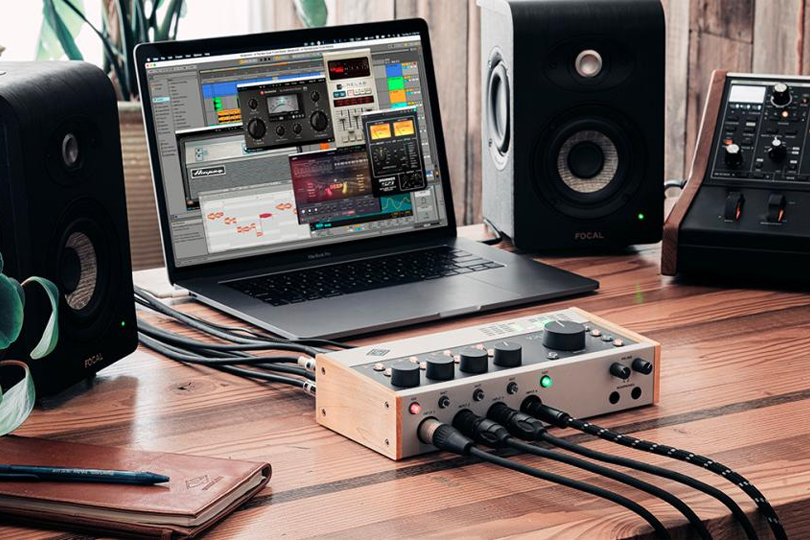
This is the heart of your studio. It routes audio in and out of your computer from mics, instruments, and samplers. Don’t skimp here — interface quality directly impacts your recordings. Consider how many inputs you need now and in the future.
Tips:
- Ensure compatibility with your computer.
- Avoid used interfaces — these are sensitive devices.
- More inputs = more flexibility for multi-track recording.
Audio Interface

ASIO support: yes
USB version: 2.0
Brand: Universal Audio

ASIO support: yes
Brand: Universal Audio
: 43
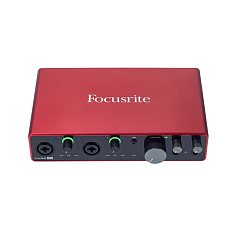

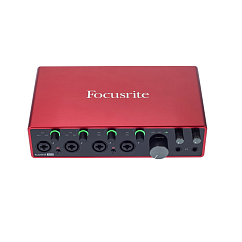
Brand: Focusrite
Connection interface: usb
DAC bit depth, bits: 24
ASIO support: yes
USB version: 2.0
Brand: Universal Audio
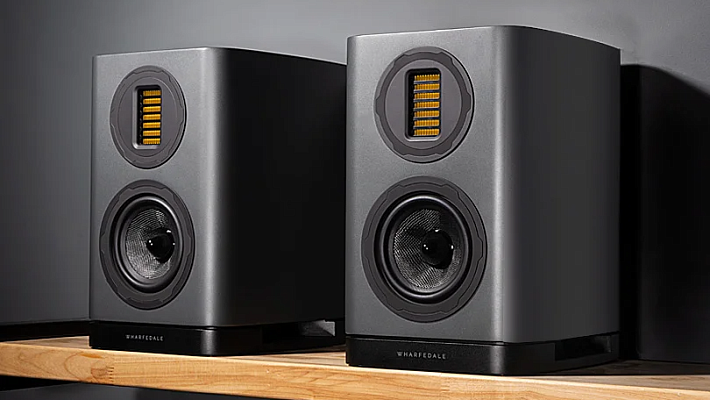
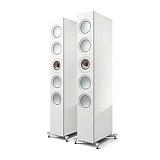
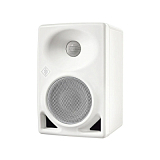
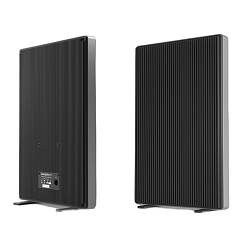
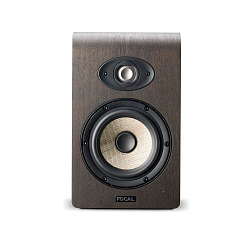
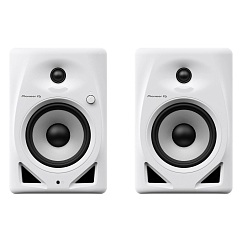
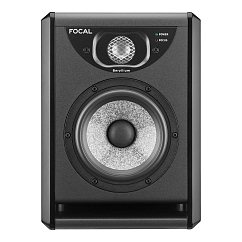
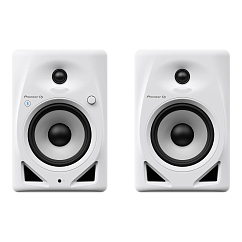
4. Studio Monitors
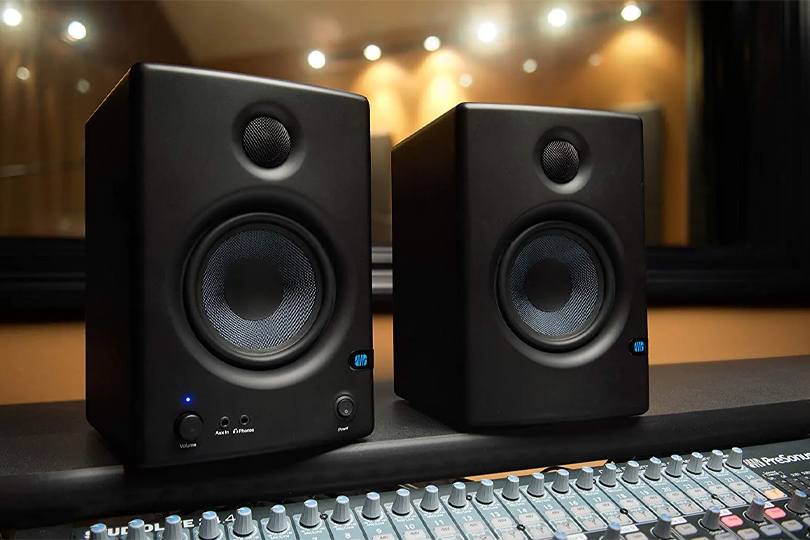
Essential for accurate mixing. Studio monitors reveal the flaws in your recordings so you can fix them before release.
Tips:
- Consider rear-ported monitors carefully — they don’t work well close to walls.
- Always use balanced connections.
- Avoid oversized monitors in small rooms — they won’t perform optimally.
Studio Monitors
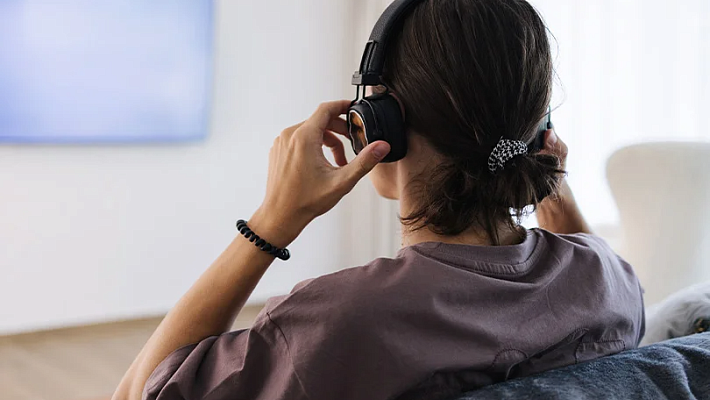
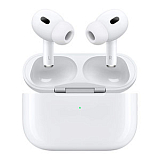
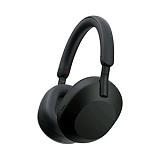
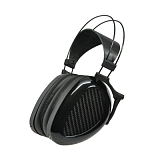
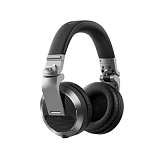
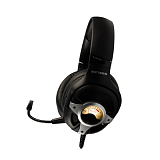
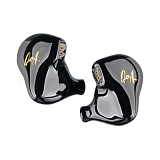
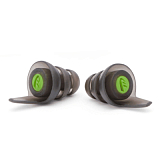
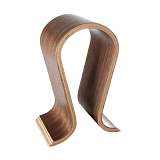
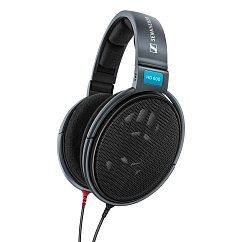
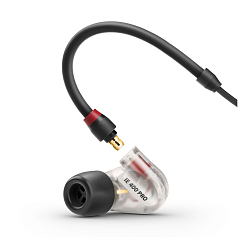
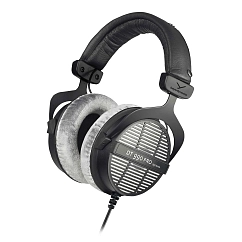
5. Monitor Headphones
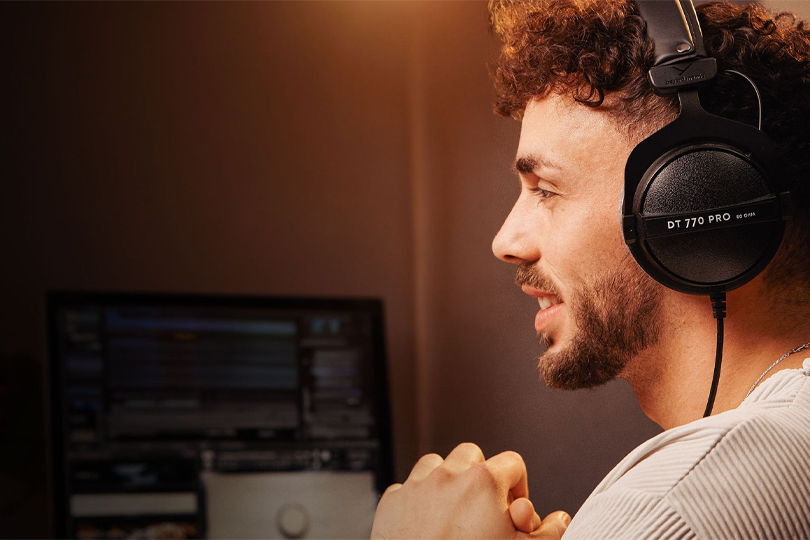
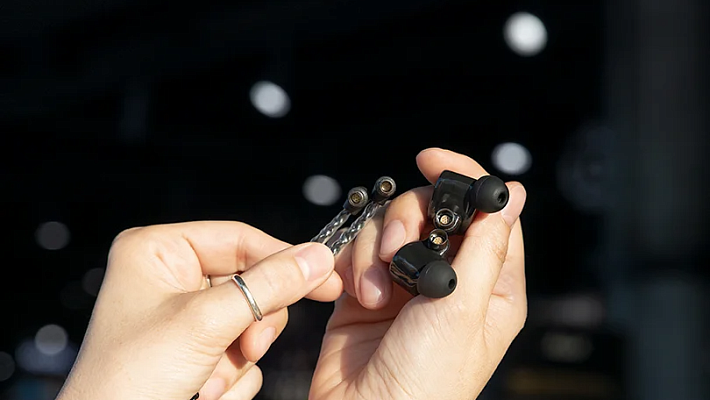
Headphones offer detailed sound and are critical for fine-tuning your mix. Use multiple listening references — monitors, headphones, smartphones — to get the full picture. For recording, closed-back headphones are ideal, as they don’t leak sound into the mic. In-ear monitors also work well.
Tips:
- Choose closed-back models for recording.
- Prioritize comfort—you’ll wear them for hours.
- Consumer-grade headphones usually have non-flat frequency responses—not ideal for mixing.
Monitor Headphones

Cable type: straight
Field of application: DJ, mixing
Brand: Sennheiser
Earpads material: silicone
Headphone type: wired
Kind of headphones: in-ear
Color shade: black
Earpads material: velour
Brand: Beyerdynamic

Case included: yes
Color shade: black
Earpads material: velour

Case included: yes
Color shade: black
Connector shape: straight
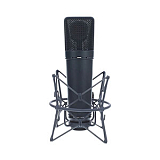
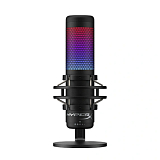
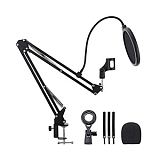
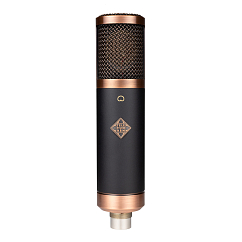
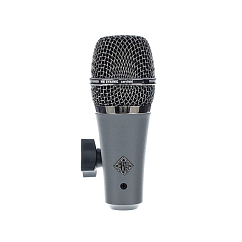
6. Dynamic and Condenser Microphones
Both have their place. Condenser mics capture detail and nuance — perfect for vocals and acoustic instruments. Dynamic mics are more rugged and versatile.
Tips:
- Use a shock mount with condenser mics to avoid picking up vibrations.
- Models with switchable polar patterns are more versatile.
- Store mics in protective cases.
- Use a pop filter when recording vocals.
Microphones


Capsule diameter, mm: 25
Audio signal format: mono
Brand: Telefunken

Audio signal format: mono
Brand: Telefunken
: 32

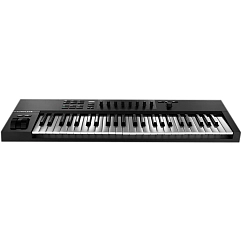
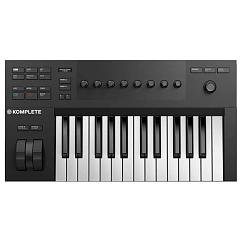
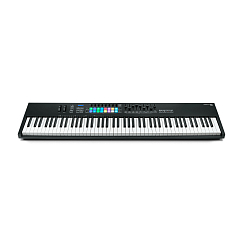
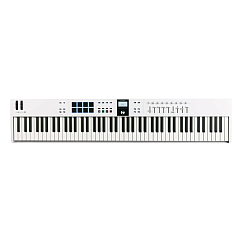
7. MIDI Controller
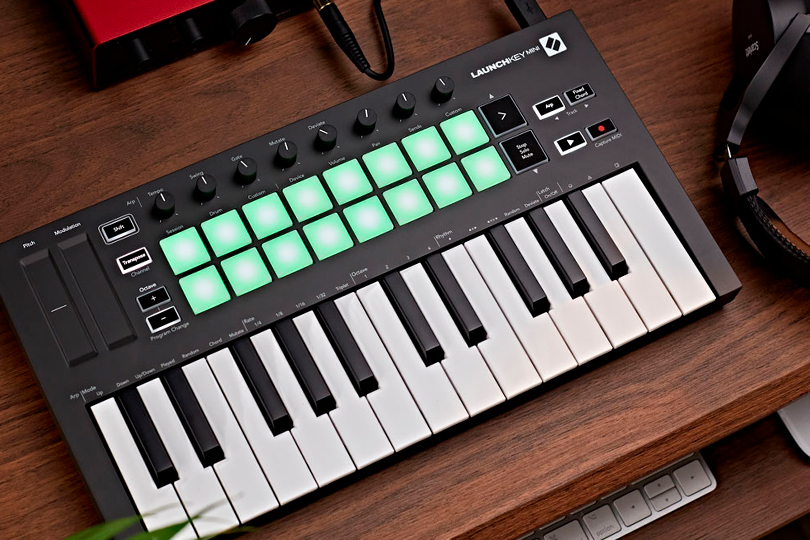
If you work with electronic music or virtual instruments, a MIDI keyboard is a must. It lets you play and record parts without owning the actual instruments — especially helpful if you lack space for a full drum kit.
Tips:
- Get a velocity-sensitive keyboard.
- Two or more octaves is an ideal minimum.
MIDI Controller
Brand: Native Instruments
Number of keys: 49
Connectors: USB-B, 6.35mm jack

Brand: Arturia
Number of keys: 61
Connectors: MIDI, 6.35mm jack, USB-B
Brand: Native Instruments
Number of keys: 25
Connectors: USB-B, 6.35mm jack
Brand: Novation
Number of keys: 88
Connectors: USB-B, midi, 6.35mm jack

Brand: Arturia
Number of keys: 25
Connectors: USB-C, MIDI, 6.35mm jack
Brand: Arturia
Number of keys: 88
Connectors: 6.35mm jack, USB-C
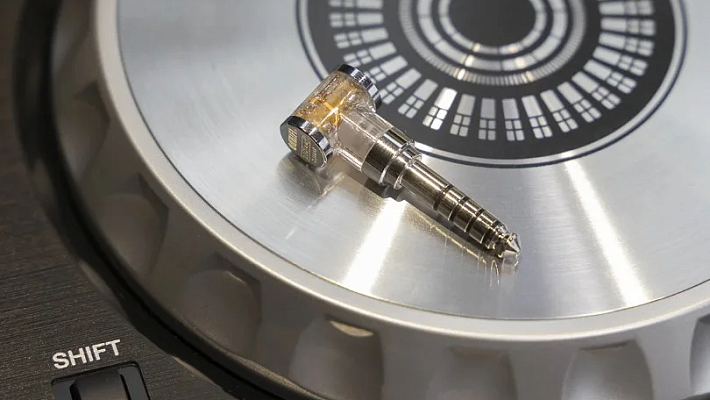
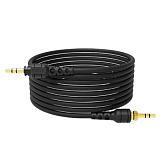
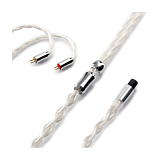
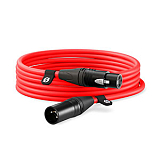
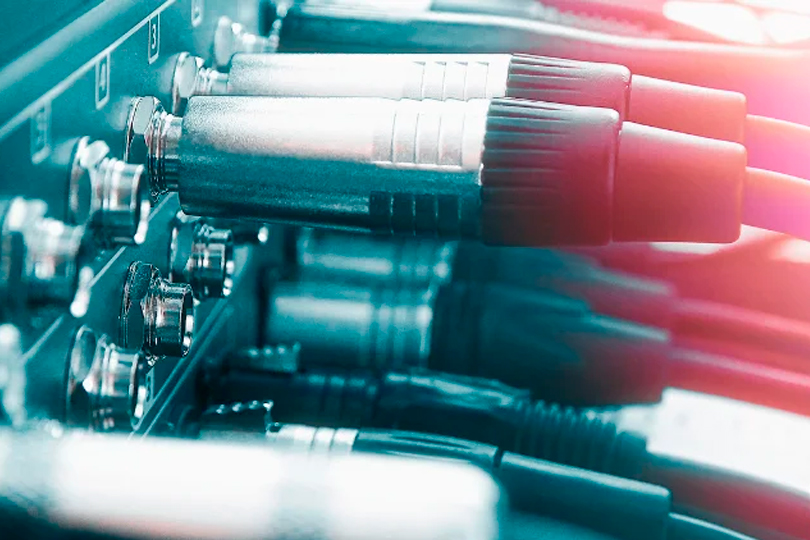
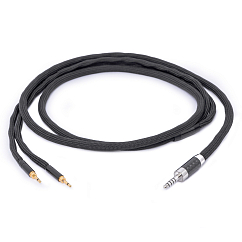
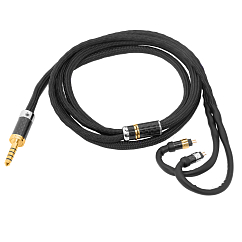
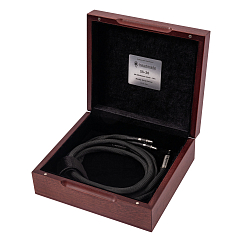
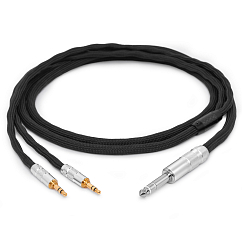
8. Cables
Cables

Model: HeadMade IEM
Balanced cable: yes
Braid material: fabric

Balanced cable: yes
Braid material: ceramic fiber, fabric
Brand: HeadMade
Balanced cable: yes
Braid material: ceramic fiber, fabric
Brand: HeadMade
Braid material: ceramic fiber, fabric
Brand: HeadMade
Cable length, m: 2
To connect everything, you’ll need a variety of cables. XLR and TRS (jack) cables for mics and monitors, USB cables for interfaces, and instrument cables for guitars or pickups.
Tips:
- Use balanced cables for mics and monitors.
- Avoid instrument cables over 5 meters—they’re prone to interference.
Choosing and Preparing the Right Space
Let’s be clear: a home room is not the same as a professional live room. What matters is how you treat the space and where you place your setup. And no — egg cartons and pyramid foam won’t magically fix your acoustics.
Instead, experiment with desk placement to find the most neutral-sounding spot in the room. Clap your hands, sing, snap, and listen. Try your monitors in different positions. What you’re looking for: minimal echo, no boomy reflections, and a sense of clarity or “air.”
If possible, clear the room of furniture during testing to eliminate interference. Use monitor stands or isolation pads to prevent your desk from coloring the sound. Otherwise, that “fat bass” might just be an illusion.
Ready-to-Go Studio Setups
We’ve put together optimized home studio bundles to get you started:
Setup #1
- Audient iD14 MKII
- Focal Alpha 50
- Beyerdynamic DT 770 PRO / 32Ω
- AKG P120
A versatile kit for recording vocals and acoustic instruments at home. We also recommend adding accessories such as a mic stand and pop filter.
Setup #2
- Focusrite Scarlett 2i2 3rd Gen
- JBL 306P MKII
- SE Electronics X1 A
- Thronmax Zoom
Perfect for vocal recording and streaming. Everything you need for high-quality desktop production.
Setup #3
- PreSonus Studio 24C
- IK Multimedia iLoud Micro Monitor
- Audio-Technica ATH-M50X
- SE Electronics X1 S Vocal
Ideal for limited spaces. These compact monitors deliver surprisingly full sound — great for sample-based or synth-driven projects.
Setup #4
- Native Instruments Komplete Audio 2
- ADAM Audio T5V
- AKG K240 Studio
- Lewitt LCT240 PRO VP
- Rode PSA1
Tailored for electronic music producers. Just keep in mind: ADAM’s rear-firing ports mean you’ll need space between the monitors and your wall.
At Dr.Head, you can test out all this gear yourself. Our experts are here to help you build the ideal setup tailored to your goals.