


Guide: How to Connect Your Speakers and Turntable to an Amplifier
When an audiophile gets their first Hi-Fi system, the first question that naturally arises is: “How do I hook all this up so it plays properly?” While the audio world is rapidly advancing into the wireless era, it’s far too early to retire wired connections. Cables still provide the most reliable signal transmission, and knowing how to wire up your system remains an essential skill. Let’s walk through several analog connection scenarios step by step.
Contents
- Connecting Speakers to a Stereo Amplifier
- Why Do Some Speakers and Amplifiers Have Two Sets of Terminals?
- What Length Should Speaker Cables Be?
- Connecting the Amplifier to an Audio Source
- Connecting a Turntable to an AV Receiver or Active Speakers Without a Phono Input
- Quick Glossary of Common Audio Labels
- Connecting to Other Audio Sources
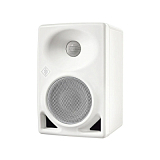
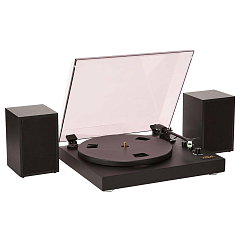
Speakers


Connection method: bluetooth
Mount type: body
The highest frequency, kHz: 16
Connection method: bluetooth
Mount type: body
The highest frequency, kHz: 18

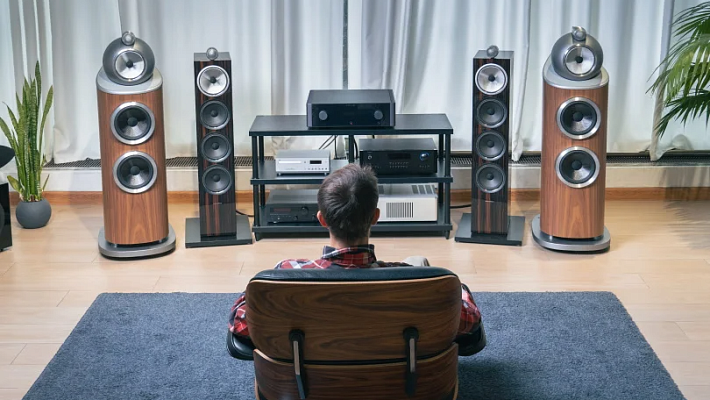
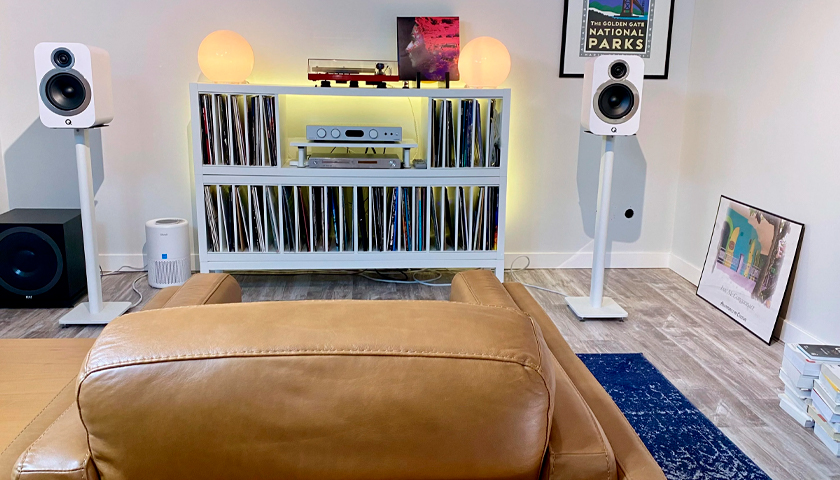
Connecting Speakers to a Stereo Amplifier
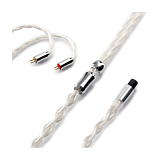
What you’ll need:Speaker cable
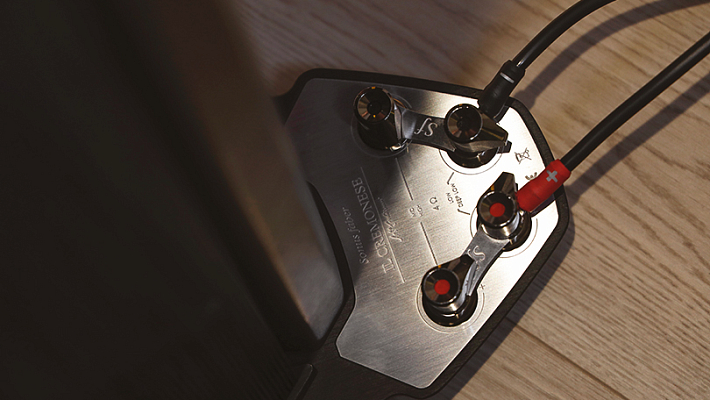
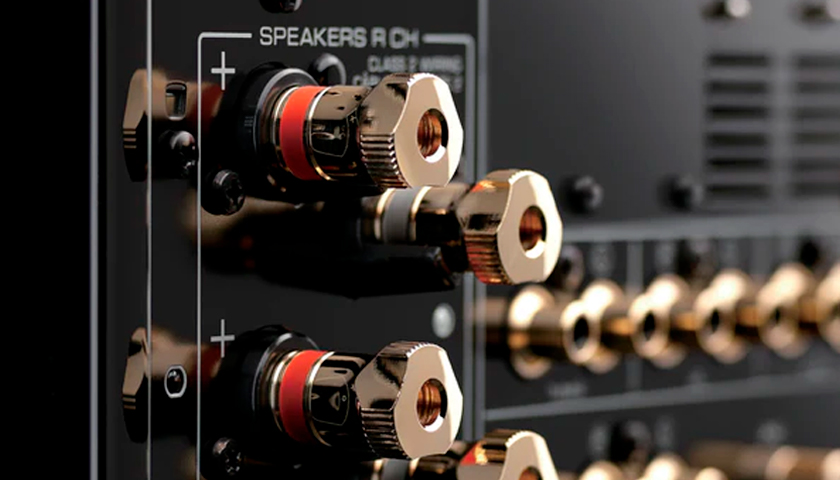
Most amplifiers have one or two pairs of binding posts on the back panel for connecting speaker cables. Your speakers will also have one or two pairs of binding posts (we’ll explain later why two pairs are sometimes used). For convenience, the positive (+) and negative (–) terminals on both cables and connectors are typically color-coded—commonly red and black (R for right, L for left).
Step-by-step guide to a classic setup:
- Use pre-terminated or raw speaker cable: Take a ready-to-use speaker cable with banana plugs or spade connectors, or a raw cut cable, and connect it to the amplifier while it is powered off. Be mindful of polarity—connect the red (positive) wire to the red binding post on the amplifier.
- If you're using bare wire: Strip off the insulation at the ends of the cable using a knife or scissors. Twist the exposed copper strands for easier handling, insert them into the amplifier terminals, and tighten the binding posts securely. Make sure no exposed copper from the red and black wires touch each other—basic physics: you don’t want a short circuit.
- Connect to the speaker terminals: Now hook the other end of the cable to the speaker terminals, again observing polarity (red to red, black to black). If you're using banana plugs, simply insert them into the binding posts. For bare wires, twist and secure them as described above.
- Important: If your speaker’s rear panel has two pairs of terminals connected by a metal bridge, do not remove the bridge unless you're using bi-wiring or bi-amping. This bridge enables the same signal to reach both the high and low-frequency drivers when using a single cable. It doesn’t matter if you use the top or bottom terminals—signal transmission will be the same.
Why Do Some Speakers and Amplifiers Have Two Sets of Terminals?
The obvious answer: to connect two pairs of speakers and play music in multiple rooms. But there are also more advanced configurations:
- Bi-wiring: This involves using four cables to connect one amplifier to a single pair of bi-wire-capable speakers. It can provide a modest improvement in sound quality, as the amplifier gains more control over the speaker’s drivers. If using bi-wiring, remove the metal jumper between the two pairs of speaker terminals — otherwise the configuration will be ineffective.
- Bi-amping: A more advanced technique requiring two amplifiers: one driving the speaker’s upper terminals (usually mids and highs), and the other handling the lower ones (typically bass). Each amplifier drives a specific frequency range. Caution: This setup demands proper impedance and power matching. If you don’t remove the metal bridge between the terminals, you risk damaging your amplifier. Proceed only if you fully understand the configuration.
What Length Should Speaker Cables Be?
Speaker cables can be a weak link in your audio chain — they act like antennas, potentially picking up interference. Plus, signal loss is inevitable (unless you're using a balanced connection). Your cables should not be excessively long, but they should lie freely without tension.
For a standard stereo setup, 2 meters per channel (left and right) is usually sufficient. Choose the length based on your room layout. Avoid buying longer cables "just in case"—it adds no benefit.
Note: Balanced connections operate under different principles—cable length is far less critical in those cases.
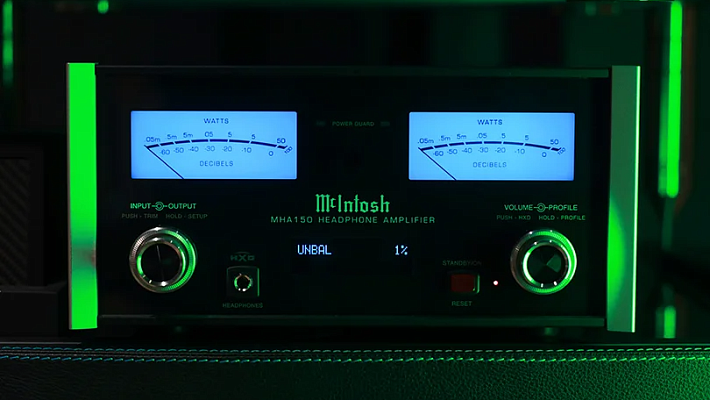
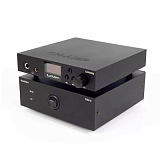
Connecting the Amplifier to an Audio Source
(Like a streamer, turntable, or CD player)
Now that the speakers are connected, let’s focus on interconnects. Here are the main scenarios.
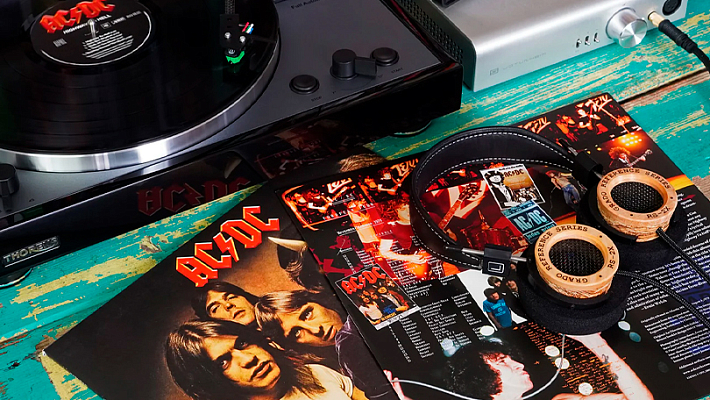
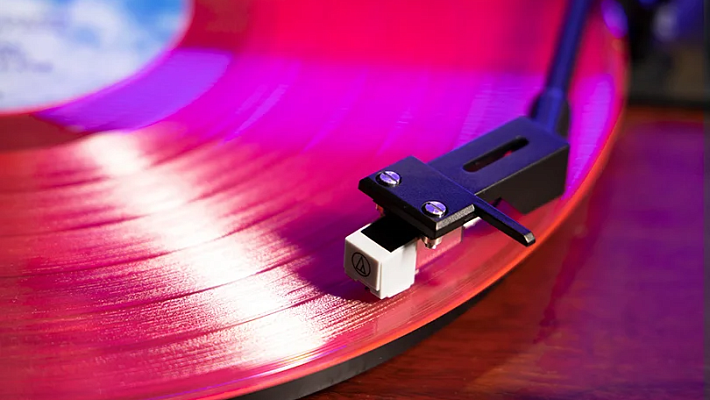
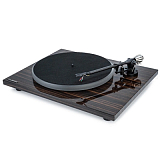
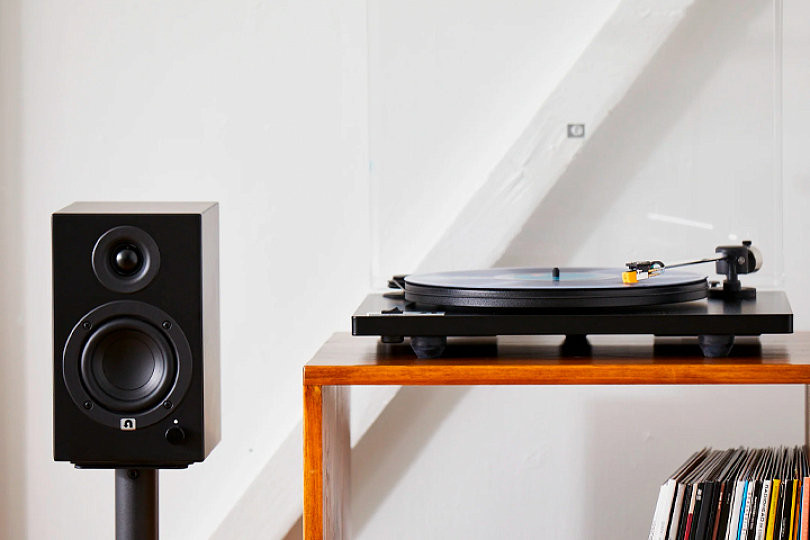
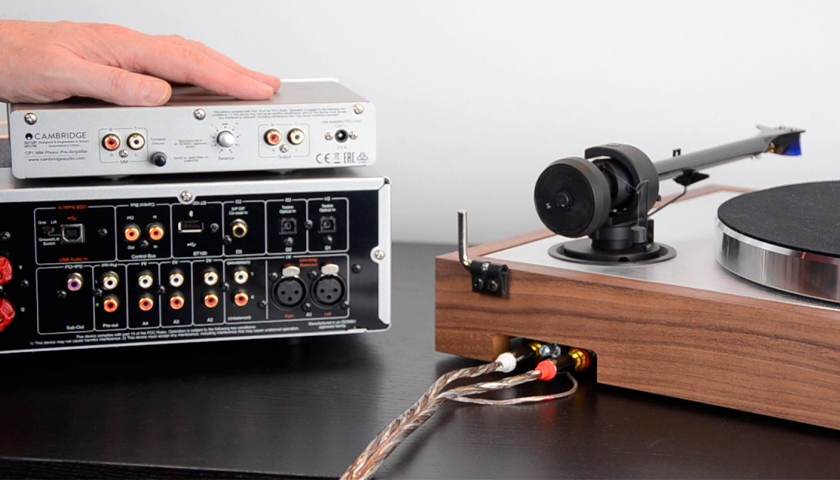
Amplifier + Turntable
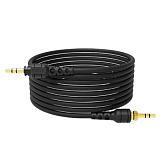
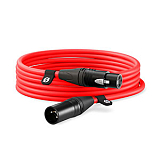
What you’ll need: RCA interconnect cable with ground wire
To connect your turntable to your amplifier, you’ll need an RCA interconnect with a ground wire (thin wire attached to the main cable).
- Connect the cable to the amplifier: Plug the RCA connectors into the Phono input on the amp. This input includes a built-in phono preamp designed to amplify the weak signal from a turntable cartridge. Next to the Phono input, you’ll typically find a screw terminal for grounding. Tighten the cable's ground wire securely to eliminate hum.
- Connect the cable to the turntable: On the back of the turntable, connect the RCA plugs to the corresponding jacks (red to red, black to black), and fasten the ground wire to the designated ground terminal.
Note: If you skip grounding, you’ll likely hear a noticeable hum through your speakers. Grounding is essential for clean vinyl playback.
Another note:
Some turntables include a built-in phono preamp, usually labeled “Phono.” If you're using the Phono input on your amplifier, you must disable the turntable’s built-in preamp (switch to “Line” mode). Otherwise, the signal will be over-amplified and distorted.
Connecting a Turntable to an AV Receiver or Active Speakers Without a Phono Input
This can be done only if one of the components includes a phono preamp. If not, you’ll need a separate external phono stage.
- If your turntable has a built-in phono preamp, switch it on and use a regular RCA input on the receiver (AUX, CD, Tuner, etc.).
- Some active speakers also come with phono preamps. If that’s the case, you can connect your turntable just like you would with a regular amp.
- Don’t forget the ground wire!
What if your receiver has no ground terminal?
In that case, attach the ground wire to any metal screw or bolt on the receiver’s chassis.
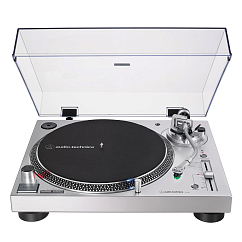
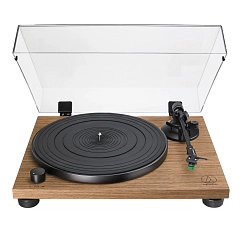
Turntables
Bluetooth version: 5.2
Brand: Audio-Technica
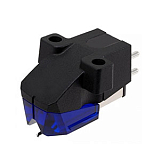
Cartridge type: MM


Connecting to Other Audio Sources
For CD players and other digital sources, you have multiple connection options:
- Analog RCA outputs
- Optical (TOSLINK) or Coaxial digital outputs
These do not require grounding.
If using an optical cable:
Be very careful with the cable tips—if they get damaged or bent, the signal will degrade. Optical connections only work if both devices support them. Look for the “OPT” label on the ports.
Quick Glossary of Common Audio Labels
- Ω (Ohm) – Impedance
- Input (In) – Audio input
- Output (Out) – Audio output
- Line (In/Out) – Standard analog line-level input/output
- Phono – Input for turntables, linked to a phono preamp
- Left/Right (L/R) – Left and right audio channels (RCA format or speaker terminals)
Now that you know how to connect an amplifier and a speaker system—and how to hook up a turntable—you’re well-equipped to build a solid analog Hi-Fi setup. Stay tuned for our next guide, where we’ll cover digital connections. And don’t forget to stop by our store or website for all your audiophile needs!