


How to Connect Your Hi-Fi: A Beginner's Guide to Analog Connections
So, you've got your first Hi-Fi system. You unbox the amplifier and the speakers... and now you're staring at a confusing mess of ports, plugs, and wires. How do you make it all play music?
While the audio world is moving wireless, classic wired connections are still the most reliable and highest-quality way to link your gear. We'll walk you through the two most common analog connections you'll need to master.
Contents
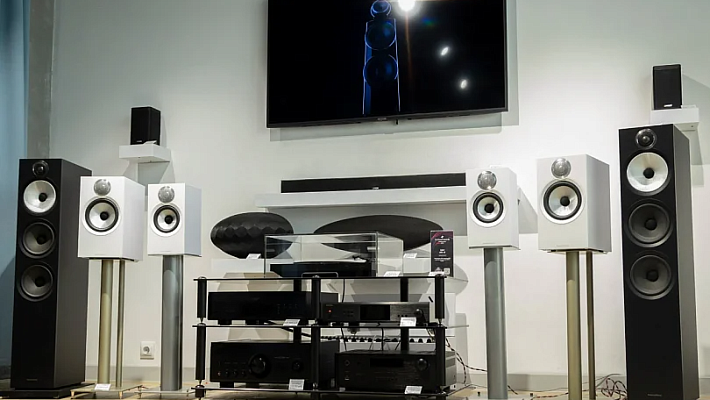
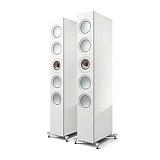
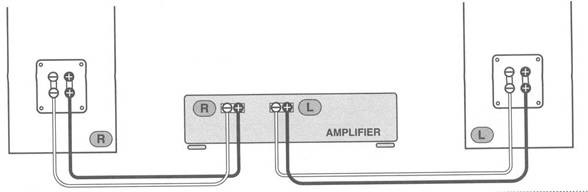
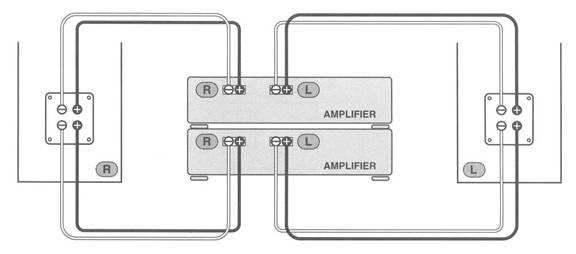
Scenario 1: Connecting Speakers to an Amplifier
This is the final link in the chain, sending power and music from your amp to your passive speakers.
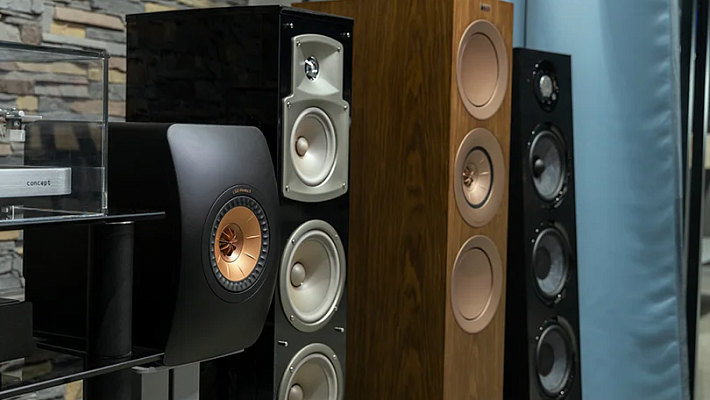
What You Need: A pair of speaker cables.
Step-by-Step Guide:
- Safety First: Make sure your amplifier is completely turned off and unplugged before you start.
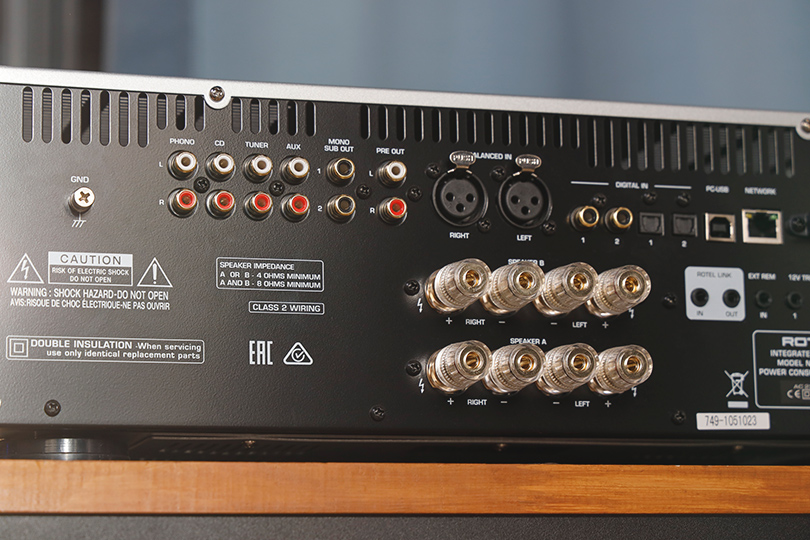
- Check Polarity: Look at your speaker cable. It will have two separate, insulated wires. One is for Positive (+), and one is for Negative (-). They will be marked: often with Red (+) and Black (-) colors, or one wire might have a different shape or a printed stripe.
- Connect to the Amplifier: Look at the back of your amp. You'll see speaker terminals (binding posts), also marked Red (+) and Black (-).
- If using "Banana" Plugs: This is the easy way. Simply plug the Red banana plug into the Red terminal and the Black plug into the Black terminal.
- If using "Spade" Plugs: Unscrew the terminal cap, slide the U-shaped spade around the post, and tighten the cap down.
- If using Bare Wire: Unscrew the terminal cap until you see a small hole through the metal post. Twist the bare wire strands tightly (so no stray wires are sticking out!), insert the wire through the hole, and tighten the cap down firmly.
- Connect to the Speaker: Go to the back of your speaker and repeat the exact same process, making sure to match polarity.
- The wire coming from the amp's Red (+) terminal must go to the speaker's Red (+) terminal.
- The wire from the amp's Black (-) must go to the speaker's Black (-).

Brand: Naim
Power per channel at 4 ohms, W: 1450
Power per channel at 8 Ohm, W: 768

Brand: Naim
Power per channel at 4 ohms, W: 1450
Power per channel at 8 Ohm, W: 768

Brand: Naim
Power per channel at 4 ohms, W: 130
Power per channel at 8 Ohm, W: 80
Brand: Naim
Power per channel at 4 ohms, W: 95
Power per channel at 8 Ohm, W: 60
Brand: Naim
Power per channel at 4 ohms, W: 345
Power per channel at 8 Ohm, W: 175
Brand: Naim
Power per channel at 4 ohms, W: 40
Power per channel at 8 Ohm, W: 25

Brand: Naim
Power per channel at 4 ohms, W: 100
Power per channel at 8 Ohm, W: 70
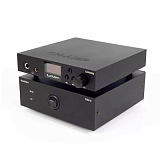
Brand: Naim
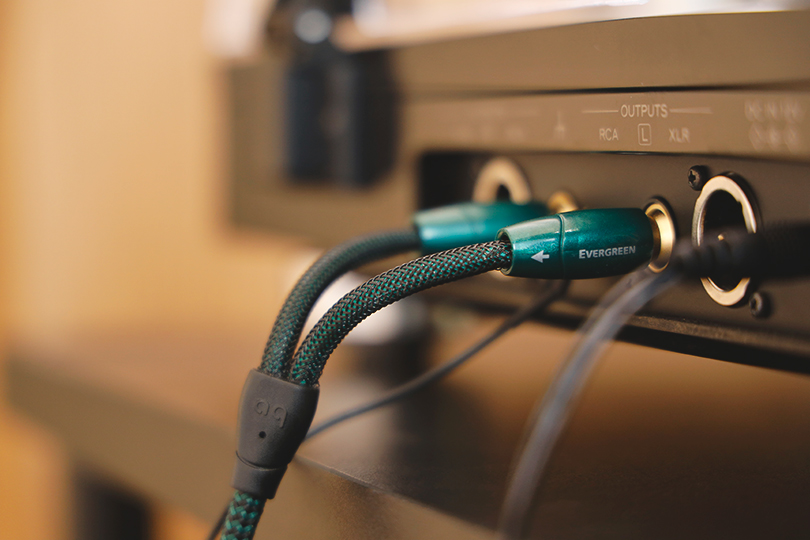
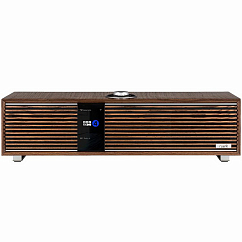
Input connectors: RCA, XLR
Output connectors: RCA, XLR, DIN

Brand: Yamaha
Power per channel at 4 ohms, W: 170
Power per channel at 8 Ohm, W: 100

Brand: Naim
Power per channel at 4 ohms, W: 260
Power per channel at 8 Ohm, W: 150
Why Do My Speakers Have Two Pairs of Terminals? (Pro-Tips)
You might see four terminals on the back of your speakers (two red, two black), often connected by removable metal plates or "jumpers." This allows for advanced connection methods:
- Standard Connection (What 99% of people do): You connect your speaker cable to one pair of terminals (either the top or bottom, it doesn't matter) and leave the metal jumper plates ON. The jumpers send the signal to the other pair of terminals.
- Bi-Wiring: This involves running two separate sets of speaker cables from the same amplifier outputs to your speaker. One set goes to the top terminals (for high frequencies), one set goes to the bottom (for low frequencies). This can improve clarity.
- Bi-Amping (The Advanced Method): This is for advanced users. You use two separate amplifiers (or a 4-channel amp). One amp connects only to the top terminals, and a second amp connects only to the bottom terminals. This gives dedicated power to the high and low drivers.
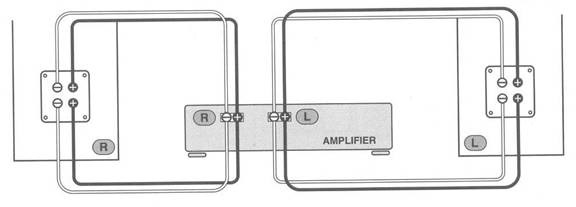
CRITICAL WARNING: For both bi-wiring and bi-amping, you MUST remove the metal jumper plates on the back of the speaker. If you fail to remove them, you will connect the outputs of two amplifiers together, which can cause a short circuit and destroy your amplifiers.
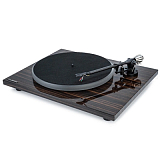
Scenario 2: Connecting a Turntable to an Amplifier
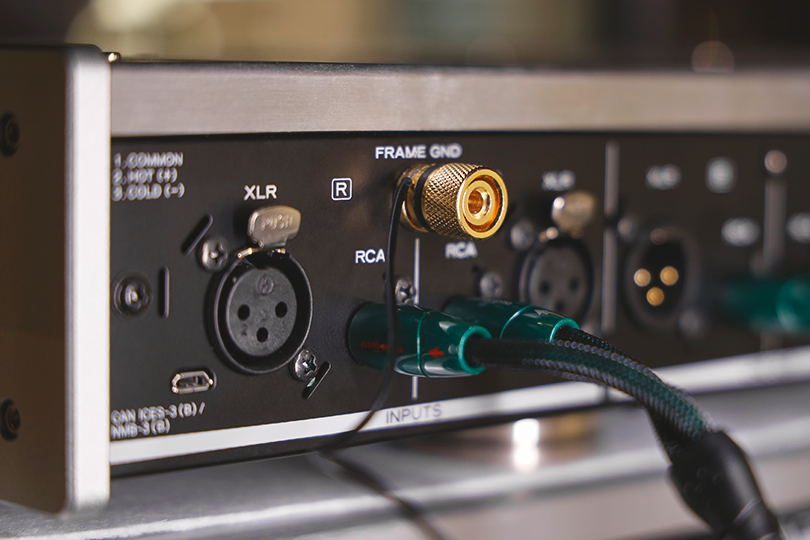
This connection is special because the signal from a turntable is extremely weak and needs its own dedicated input.
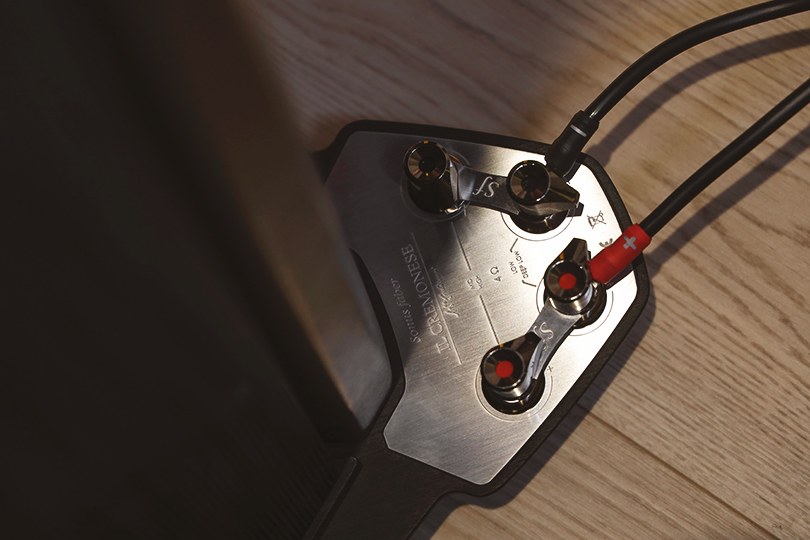
What You Need: An RCA interconnect cable (the red and white plugs), usually one that has a thin, separate ground wire attached.
Step-by-Step Guide:
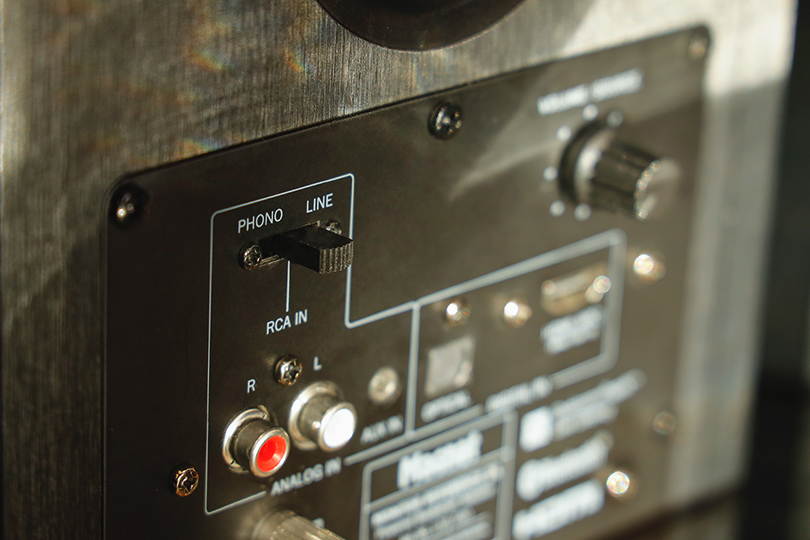
- Find the "PHONO" Input: Look at the back of your amplifier. You are looking for a specific pair of RCA inputs labeled "PHONO." This special input is connected to a built-in phono preamp, which is required to boost the turntable's tiny signal.
- Connect the RCA Plugs: Plug the Red RCA plug into the "PHONO" R (Right) jack and the White (or Black) plug into the "PHONO" L (Left) jack. Do the same on the back of your turntable.
- Connect the Ground Wire (Crucial!): This is the step everyone forgets. You'll see a small metal post or screw on your amplifier labeled "GND" (Ground), usually near the "PHONO" input. Attach the little U-shaped fork on the thin ground wire to this post and tighten it. Do the same on your turntable.
Why? If you forget this step, you will hear a loud, annoying hum or buzz through your speakers. The ground wire eliminates this hum.
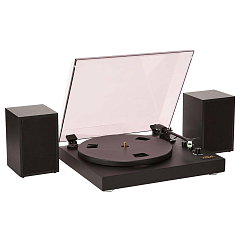
Bluetooth version: 5.2
Brand: Audio-Technica
Cartridge type: MM


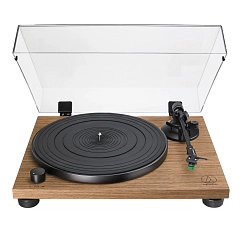

Bluetooth version: 5.2
Brand: Audio-Technica
Cartridge type: MC, MM


What If My Amp Has No "PHONO" Input?
This means your amp doesn't have a built-in phono preamp. You have two options:
- Option A: Check if your turntable has a built-in preamp (look for a switch labeled "LINE / PHONO"). If it does, flip it to "LINE" and then plug the RCA cables into any normal input on your amp, like "AUX," "CD," or "TAPE." In this case, you won't need the ground wire.
- Option B: If neither your amp nor your turntable has a built-in preamp, you must buy a small external phono preamp. This box sits between the turntable and the amp.
A Quick Glossary of Terms on Your Gear
- Input (In): Where the signal goes in (e.g., from your CD player).
- Output (Out): Where the signal comes out (e.g., to your amplifier).
- Line (In/Out): A standard-level analog connection. This is what "AUX," "CD," "TAPE," and "TUNER" are.
- Phono: The special input reserved only for turntables. Do not plug a CD player into this input (it will sound horribly distorted).
- L/R (Left/Right): The two channels of a stereo signal.
That's it! By matching polarity on your speakers and connecting your turntable to the right input, you've mastered the basics of analog Hi-Fi. If you want to see how it’s done live — or find the best ingredients for this Hi-Fi wire salad — stop by the Dr.Head showroom in Dubai any time.


Brand: Focal
: 44
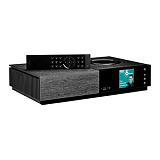
Connection method: hdmi, optical, rca, usb-a, rj45, bluetooth, wifi
Bluetooth version: 5.3
Cable included: yes
Charging connector: DC-IN


Connection method: wifi, rj45
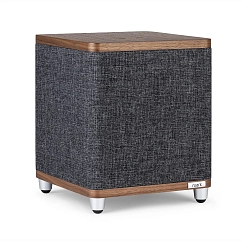
Phase Inverter location: below
The highest frequency, kHz: 22

Connection method: bluetooth, wifi, rj45, hdmi
Max SPL, dB: 105
Number of lanes: two-lane