


How to Connect a Microphone to a Computer: A Detailed Guide for Windows and Mac
A microphone is an essential device that greatly improves communication and voice quality in a variety of situations—whether you're attending an online meeting, chatting with teammates during a gaming session, creating content for a podcast, or simply recording audio.
Although connecting a microphone to a computer might seem simple, the process can involve a range of technical details that may not be immediately obvious. Even plug-and-play models, which are designed for quick setup, often require additional adjustments to function properly.
In this article, we’ll guide you through the steps for connecting a microphone to a computer, including both Windows and macOS systems. We’ll also take a closer look at the most common types of external microphones, how they work, and how to configure their settings for the best performance.
Contents
Types of Microphone Connections
The first thing to consider is how the microphone connects to your device. Wired microphones typically use one of three types of connectors: XLR, USB, or a 3.5 mm audio jack. Wireless microphones, on the other hand, commonly rely on Bluetooth for connectivity.
Let’s take a closer look at each connection type and what it means for setup and performance.
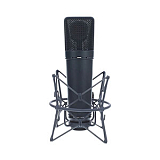
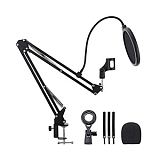
USB Microphones


Phantom power: yes
Audio signal format: mono, stereo
Brand: Austrian Audio

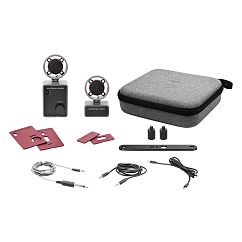
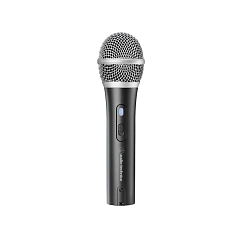
Brand: Audio-Technica
: 46
Connectors: 3.5mm jack, 6.35mm jack, USB-C

Audio signal format: mono
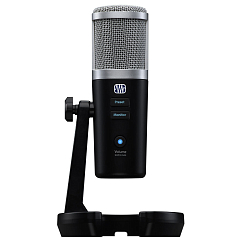
Brand: PreSonus
: 46


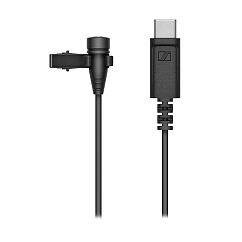
Connection method: usb-c
Impedance, Ohms: 100
On/off button: yes
Audio signal format: mono
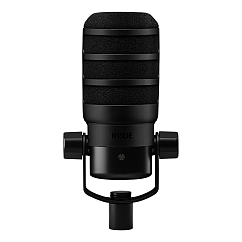
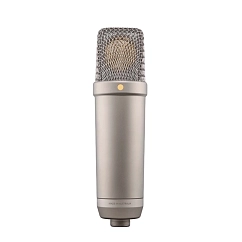
Brand: RODE
Capsule diameter, mm: 25
Audio signal format: mono
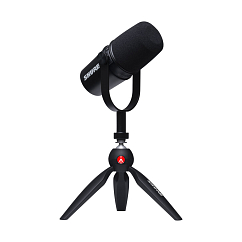
Brand: Shure
Capsule diameter, mm: 35


USB
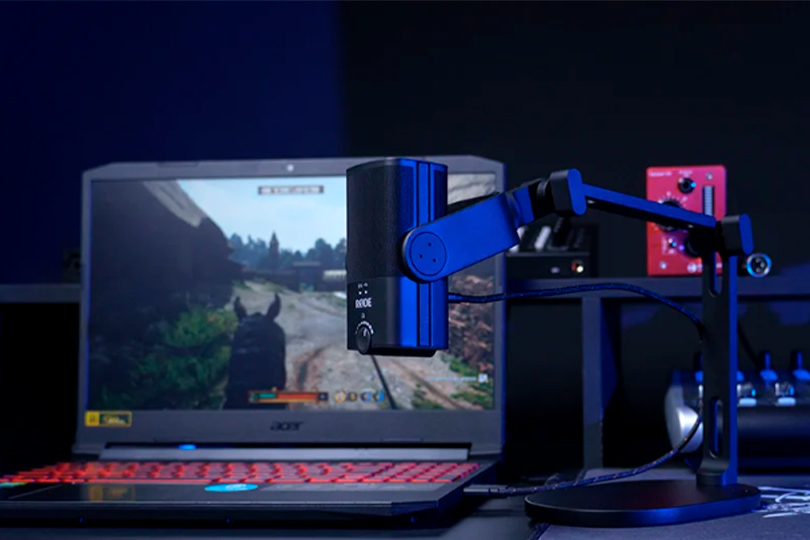
USB microphones are popular for their simplicity and convenience. These models come equipped with built-in components that handle both sound capture and digital conversion, allowing your computer to receive a ready-to-use digital signal without the need for external audio interfaces. In essence, all critical processing takes place within the microphone itself, which is why they’re often referred to as plug-and-play devices.
Many USB microphones also feature a headphone output and onboard volume controls, enabling real-time voice monitoring—a useful feature for streamers, podcasters, and online presenters. This type of connection offers flexible placement on your desk and doesn’t require any additional equipment, making USB mics a go-to choice for video calls, casual recording, gaming, and content creation.

+
- Simple to connect and use
- Convenient desktop setup
- Real-time voice monitoring via headphones
- No additional devices needed
-
- Cannot use multiple USB mics with one PC
- Compromised sound quality due to complex internal circuitry
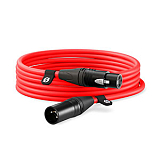
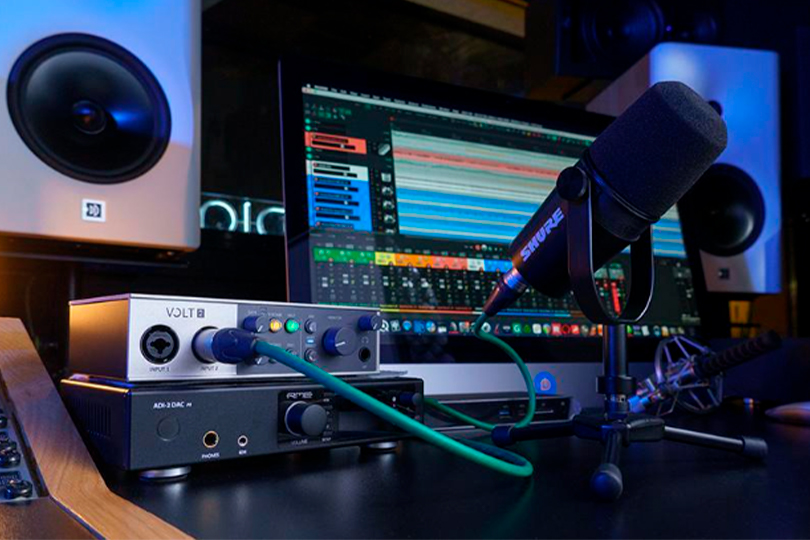
XLR
XLR is a professional-grade connection type commonly used in recording studios, live performances, and broadcast environments. Unlike USB microphones, XLR models cannot be connected directly to a computer. Instead, they require an external audio interface or mixer to convert the analog signal into a digital one that your computer can process.
This setup offers exceptional stability, reliability, and audio quality, even in demanding or high-noise environments. Because of these advantages, XLR connections are the industry standard for music production, radio broadcasting, and stage performances.
+
- Reliable connection
- High-quality signal transmission
- Industry-standard for professionals
-
- Requires additional equipment
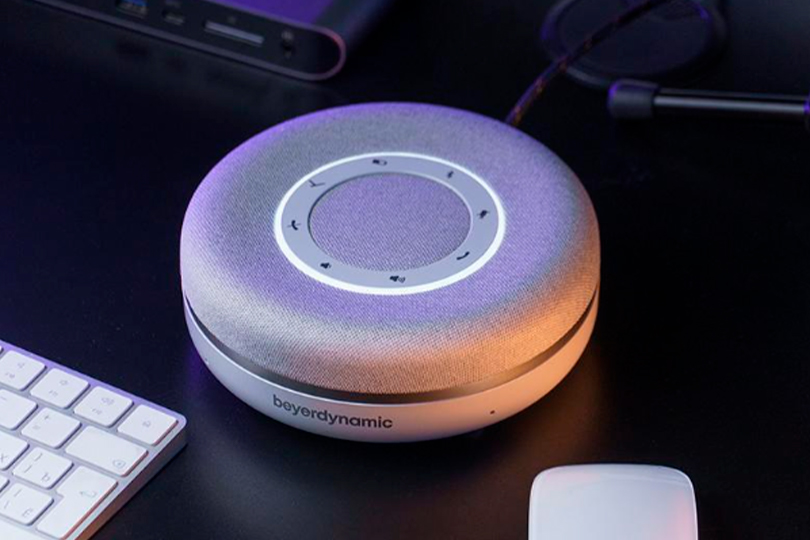
Bluetooth
Bluetooth microphones provide wireless convenience, allowing for a clutter-free workspace and greater freedom of movement. Like USB models, Bluetooth microphones handle audio processing internally and transmit a digital signal wirelessly to connected devices.
It’s worth noting that not all wireless microphones use Bluetooth. Professional setups, such as those used in live concerts or theatrical performances, often rely on radio frequency (RF) transmission, which offers greater range, stability, and more complex configuration options. In contrast, Bluetooth microphones are typically designed for casual use, such as video calls, mobile content creation, or voice recording on the go.
+
- No cables
- Easy to connect
- No need for extra devices
- Convenient use
-
- Can be tricky to set up
- Compromised audio due to technical limitations
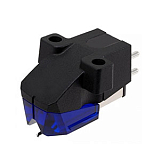
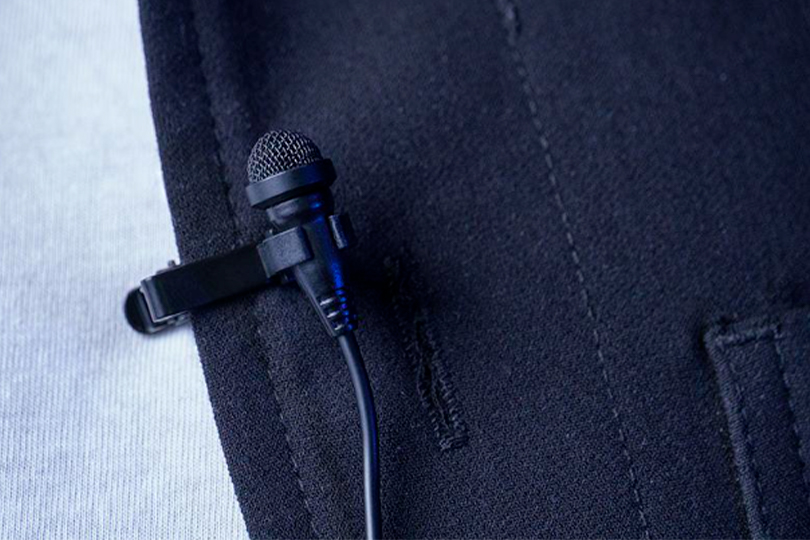
3.5 mm Jack
The 3.5 mm jack is a classic analog connection, known for its simplicity and wide compatibility. It's commonly used in everything from lavalier (lapel) microphones to desktop models. Most laptops and PCs feature a 3.5 mm combo port that supports both headphone and microphone input, making setup straightforward without the need for additional hardware.
While this connection type has been a long-standing standard, it is gradually being phased out in favor of USB and Bluetooth solutions, which offer enhanced functionality and digital processing. However, 3.5 mm microphones remain a practical choice for basic voice recording and casual communication.
+
- Universal connection
- Easy to connect
- No extra equipment needed
- Convenient use
-
- Average sound quality (depends on the mic)
How to Connect a Microphone to a PC?
Let’s follow the same format as above.
Connecting USB Microphones
USB microphones are simple to set up thanks to the universal compatibility of USB-A. Most desktops and laptops feature USB ports on the front, back, or sides. Here's how to connect:
- Plug the USB cable into your microphone. Most modern USB mics use either USB-B or USB-C connectors.
- Connect the other end to a USB-A port on your PC. If your PC only has USB-C ports, use a compatible adapter.
- Your computer should automatically recognize the microphone and install the necessary drivers. In some cases, additional drivers may be needed for features like virtual surround sound.
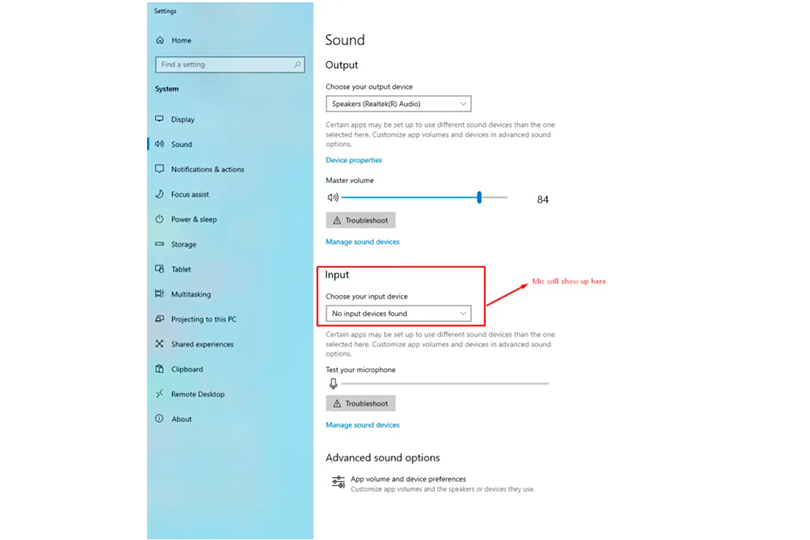
- Open your sound settings to confirm the mic is working. If necessary, manually select it as your preferred input device.
What if the microphone isn’t detected?
If the microphone isn’t detected, try plugging it into another USB port, as the current one might be unstable. Certain models may also require specific drivers, available on the manufacturer's website.
Connecting XLR Microphones
XLR microphones can’t be connected directly to a computer, as they use three-pin connectors to deliver balanced signals for cleaner, noise-free audio. Most PCs use unbalanced 3.5 mm inputs, making direct connection impractical and not recommended. To use an XLR mic, you'll need an external audio interface or mixer, which converts the analog signal to digital and provides features like phantom power for condenser mics.
Steps:
- Connect the interface to the PC via USB-A.
- Install necessary drivers from the manufacturer’s site.
- Set the interface as your input/output device in system settings.
- Plug the female XLR connector into the mic and the male connector into the interface.
- For condenser mics, enable phantom power.
- Open a DAW (Digital Audio Workstation) to set recording/playback preferences.
This connection offers the best audio quality and reliability if the interface is properly configured.
Connecting a Bluetooth Microphone
This requires different steps for each OS. First, make sure your desktop has a Bluetooth module (laptops already do). Ensure the mic is in pairing mode (check the manual).
For Windows:
- Turn on the Bluetooth mic and ensure it's charged.
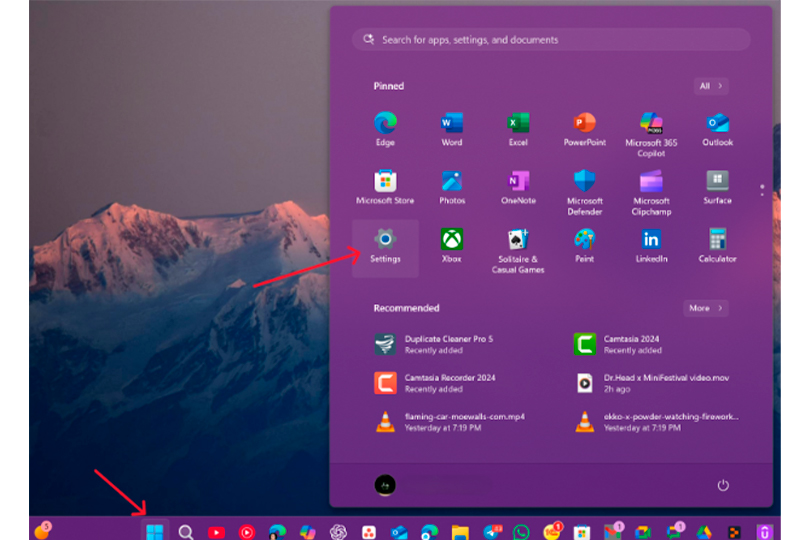
- Go to Start > Settings (gear icon).
- Select Devices > Add Bluetooth or other device.
- Select your mic from the list and click Connect.
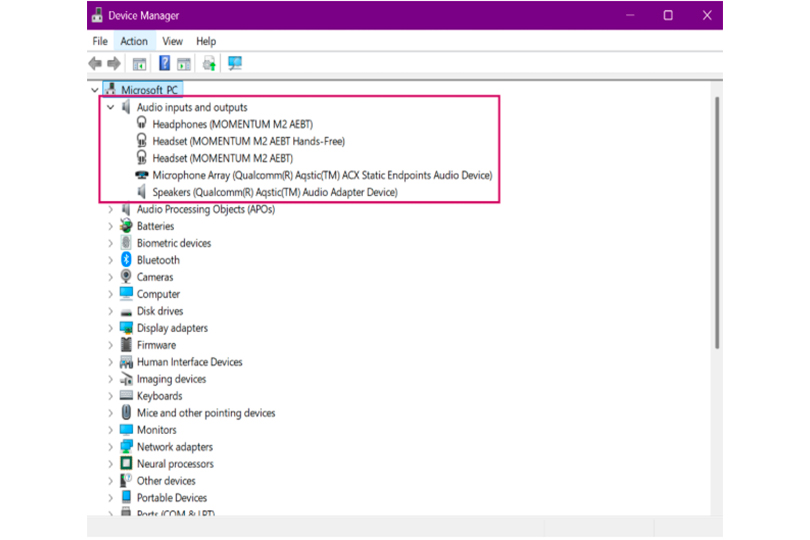
If the device isn’t detected:Go to Device Manager > Audio Inputs and Outputs, find your mic, and click Enable device.
For Mac:
- Put your Bluetooth mic in pairing mode. (Refer to the mic’s manual — usually it involves holding down a power or Bluetooth button.)
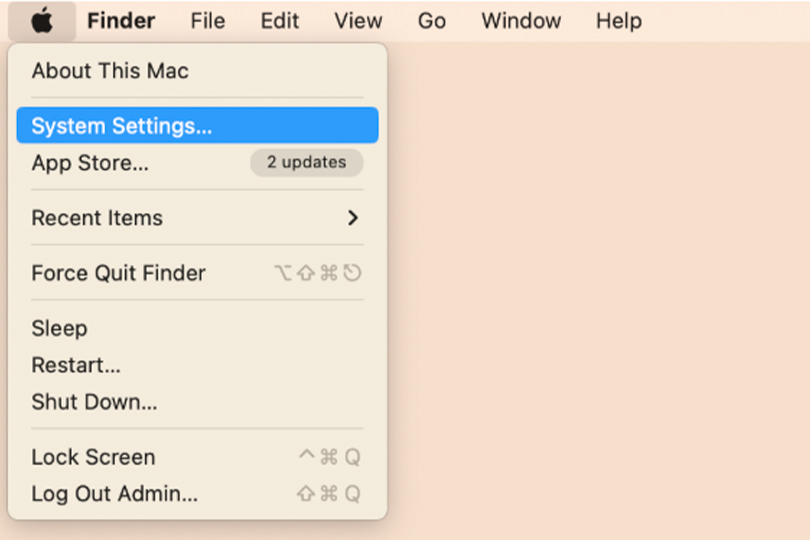
- On your Mac, click the Apple menu > System Settings (or System Preferences on older macOS versions).
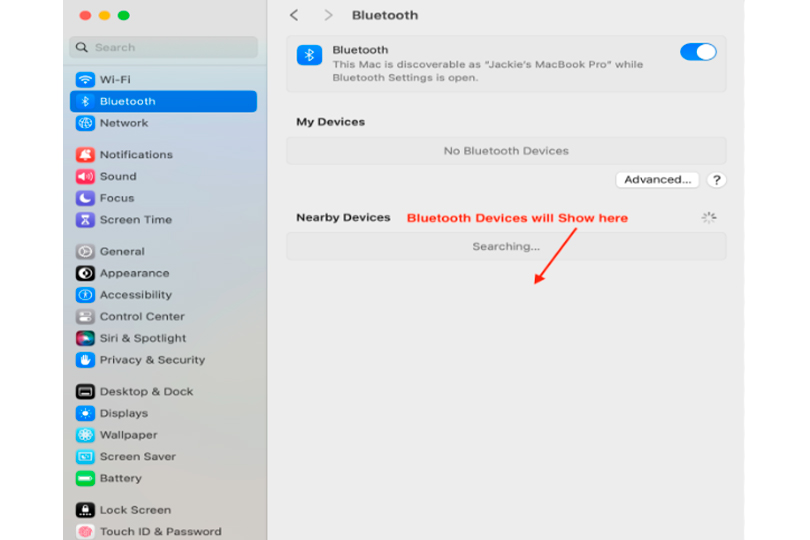
- In the sidebar, go to Bluetooth.
- Wait for your mic to appear in the list of available devices.
- Click “Connect” next to your mic’s name.
- Once connected, go to:
- System Settings > Sound > Input
- Or in older versions: System Preferences > Sound > Input
- Select your Bluetooth mic from the list.
- Done! Your Bluetooth mic should now be active.
We recommend Bluetooth 5.0 or later. Version 5.2 allows multiple mics to connect to one PC.
Connecting a 3.5 mm Microphone
This widely used connection method is plug-and-play and typically doesn’t require additional software. 3.5 mm microphones are compatible with most computers, cameras, and smartphones.
However, it’s important to match the microphone plug to your device’s input. Older PCs often have separate jacks for headphones and microphones, while newer models use a single combined port. In such cases, a TRS to TRRS adapter may be needed. If your computer has a dedicated mic input, a standard 3.5 mm TRS microphone will work without issue.
How to Set Up a Microphone on a Computer?
After plugging in the mic, tweak the settings:
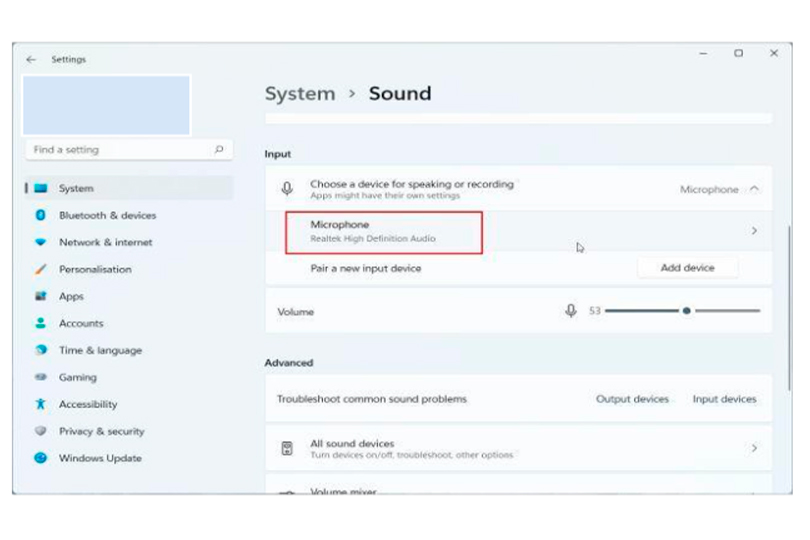
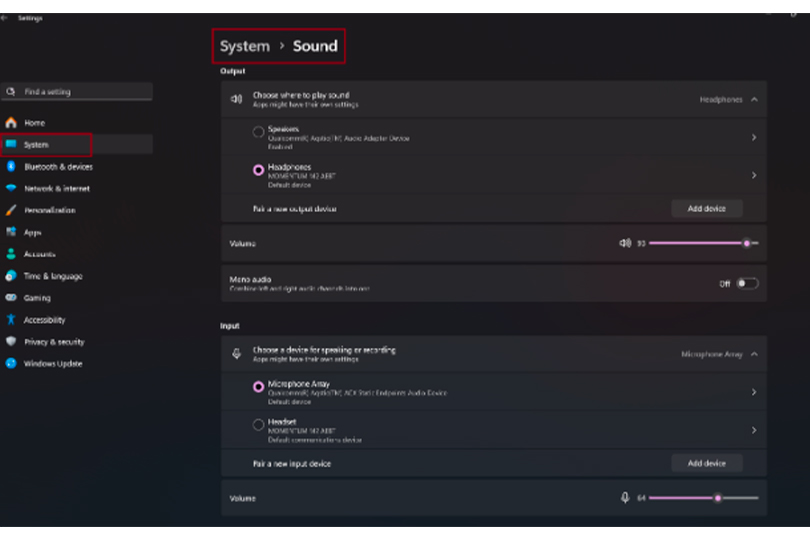
For Windows:
- Go to Start > Settings > System > Sound.
- Scroll down to the Input section to set mic properties and adjust volume.
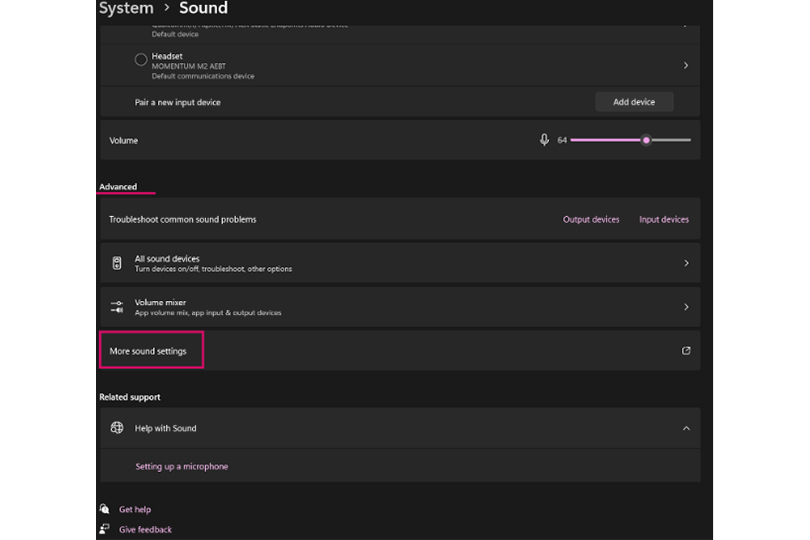
- If the mic doesn’t work in an app, go to Advanced Sound Options > App Volume and Device Preferences and set the mic for each app.
For Mac:
After plugging in the mic:
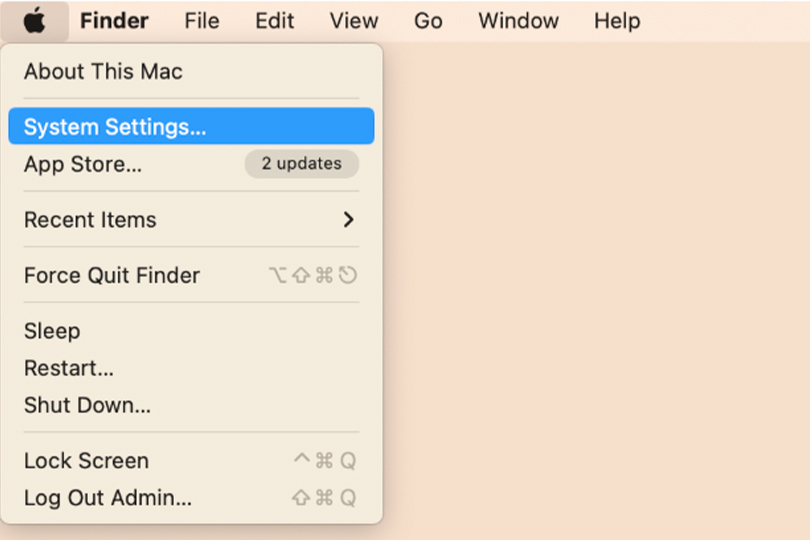
- Click the Apple menu in the top-left corner of your screen.
- Select System Settings (called System Preferences in older macOS versions like Monterey and earlier).
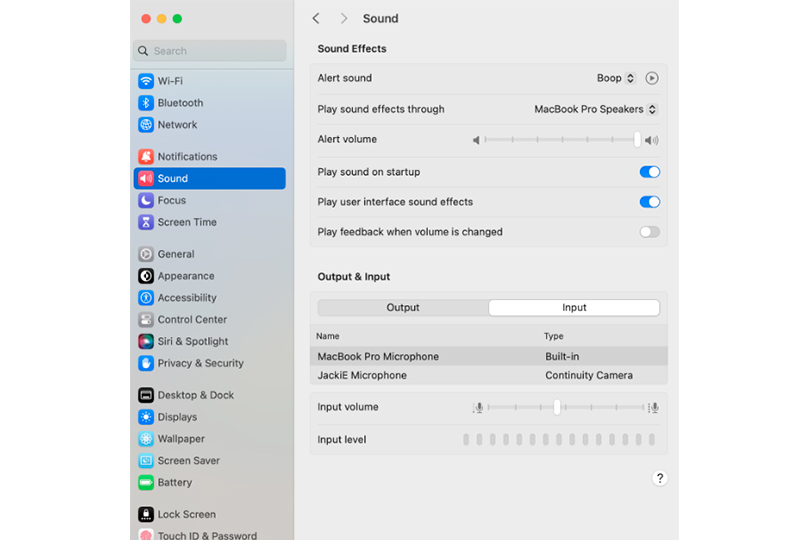
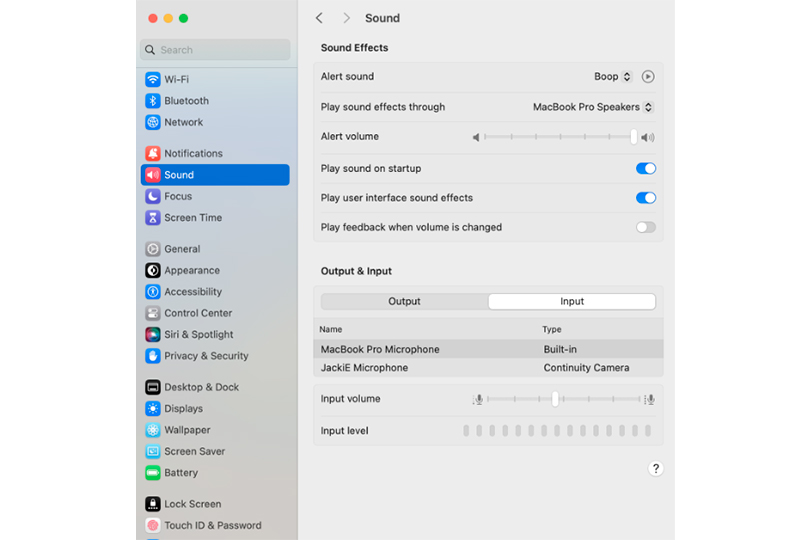
- In the sidebar, scroll and click on Sound.
- Then click on the Input tab at the top (or select “Input” in the right panel on newer macOS versions like Ventura and Sonoma).
- You’ll see a list of input devices including your external microphone. Just click on the mic’s name to select it.
How to Fix Common Microphone Problems?
- PC Doesn’t Detect the Microphone: Ensure all connections are secure. If you’re using a USB microphone or audio interface, try reinstalling the drivers.
- Poor Audio Quality: Inspect cables, ports, and connectors for any signs of damage or wear.
- No Sound: Verify that the correct input device is selected and that the microphone isn’t muted or set to a very low volume.
Bonus Tip: Connecting to a Smartphone
For smartphone use, we recommend wireless microphones. The pairing process is similar to connecting Bluetooth headphones: turn on Bluetooth, activate pairing mode on the microphone, and connect. For video recording, you may also need to select the mic as the “Audio Source” in your camera settings.
Conclusion
No matter your platform—Windows, macOS, or anything in between—this guide makes it easy to get your mic up and running. Whether you're streaming, recording, or just vibing with friends online, staying connected has never been simpler. At Dr.Head, we’ve got an awesome range of microphones and headsets for creators, musicians, and gamers alike—and yes, you can test them all out before you buy.