


7 Steps to Making a Vinyl Record: From Studio to Turntable
Printing high-quality vinyl requires much more than just recording and mixing the music. The process of transferring digital or analog audio onto a physical plastic disc is a fascinating blend of art, science, and heavy machinery.
From the mastering studio to the heavy industrial presses, here is a step-by-step breakdown of the 7 stages of making a vinyl record.
Contents
Step 1: Audio Mastering
Before a release, the mixed audio material undergoes final processing known as mastering. Every format (vinyl, cassette, CD, streaming, etc.) requires specific mastering tailored to its physical limitations. In the case of vinyl, a proper master is far more critical than with digital formats.
Exceeding the dynamic range or excessive volume can lead to distortion and physically force the stylus out of the record groove. Also, the louder the recording, the wider the groove needs to be, which means less available surface area and a shorter total playback time. The mastering engineer and the artists must carefully plan the track sequencing and account for the natural decrease in audio resolution closer to the center of the record.
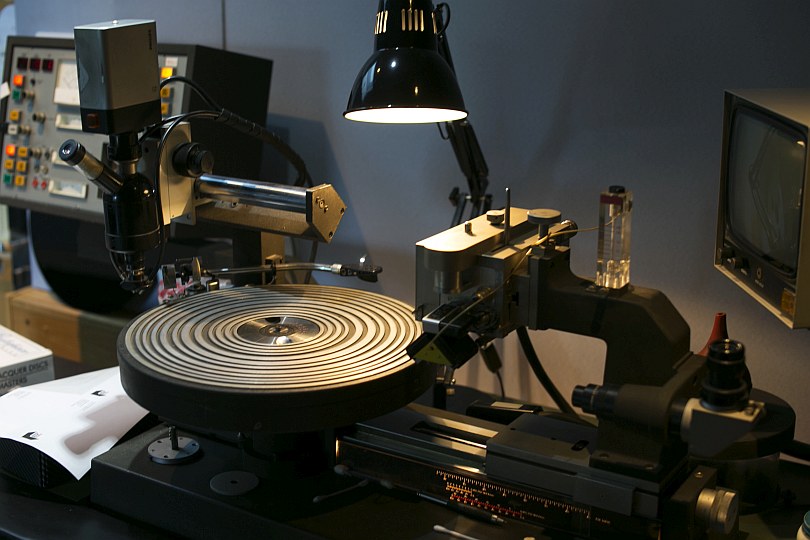
Step 2: Cutting the Master Disc

The master recording is used to cut the physical master disc. The most common method utilizes a lacquer disc where the audio groove is carved. Alternatively, Direct Metal Mastering (DMM) technology is sometimes used to cut directly into a copper disc, which provides a more detailed transfer of the original recording — but can sound slightly sharper than standard lacquer.
Both technologies use specialized lathes with sapphire or ruby cutting styli. While a turntable converts physical grooves into sound, the lathe does the exact opposite: it translates sound waves into mechanical vibrations, carving a continuous groove into the master disc. The heated stylus is constantly cooled with helium, a vacuum removes the lacquer or metal debris, and the engineer monitors the process through a microscope.
Because the cutting is done in real time, the engineer must manually create the silent gaps between songs by slightly shifting the stylus toward the center. Once completed, the master disc is checked for defects and signed off for the next stage.
Step 3: Creating the Stamper
Upon arriving at the pressing plant, the master disc is thoroughly washed and coated with a thin layer of silver. It is then submerged in a tank of dissolved nickel and electroplated. Under an electrical current, the nickel fuses with the silver surface, perfectly filling the grooves.
Once separated from the original master, this new metallic layer becomes a mirrored "negative" — the stamper that will be used to print the actual vinyl records. During the pressing process, the stamper naturally wears out and is replaced ( once every 500–1,000 records) to ensure consistent audio quality without any noticeable degradation throughout the batch.
Step 4: Test Pressings

Before the massive final run begins, the factory produces a small batch of test pressings. These are sent to the artist or label for quality control. The final production run is only greenlit after the test pressings are approved without any complaints regarding skips, noise, or distortion.
Test pressings lack the final artwork and standard covers, so you will rarely see them in regular stores. However, due to their extreme rarity, they are highly sought after by hardcore collectors and often valued much higher than standard editions.
Step 5: Preparing the Labels
Many people assume that the paper labels (aka "apples") in the center of the record are glued on at the very end. In reality, they are baked directly into the vinyl during the pressing process. Because of this, the labels must be printed and prepared well before the actual production begins.
Step 6: Pressing the Vinyl
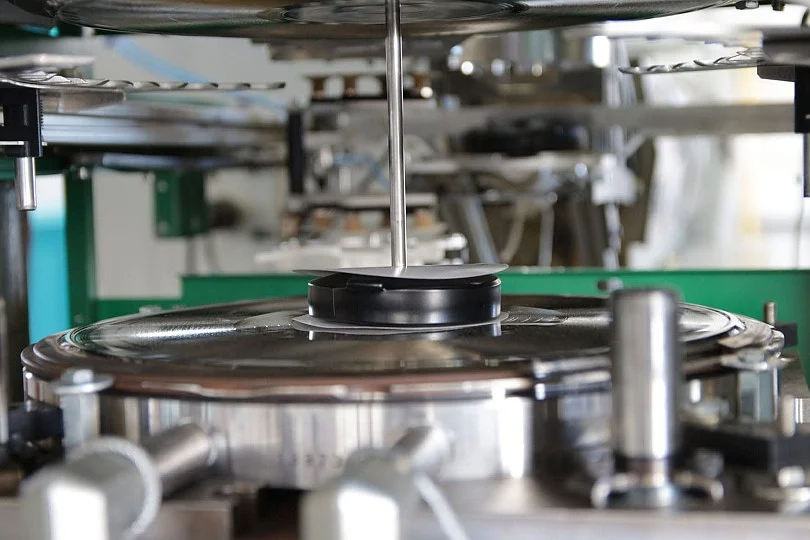
This is where the magic happens. Polyvinyl chloride (PVC) pellets are loaded into the pressing machine and melted. The liquefied vinyl is extruded into hot, rubber-like pucks affectionately called "biscuits."
The stampers and paper labels for Side A and Side B are loaded above and below the biscuit. The press slams down, applying 100 tons of pressure at a temperature of 200 degrees Celsius, physically stamping the audio grooves into the plastic.
The machine then trims the excess vinyl from the edges, cools the freshly pressed record, and ejects it onto a spindle. It takes about 30 seconds to press a single copy before the machine loads a new biscuit and repeats the entire process.
Step 7: Final Packaging
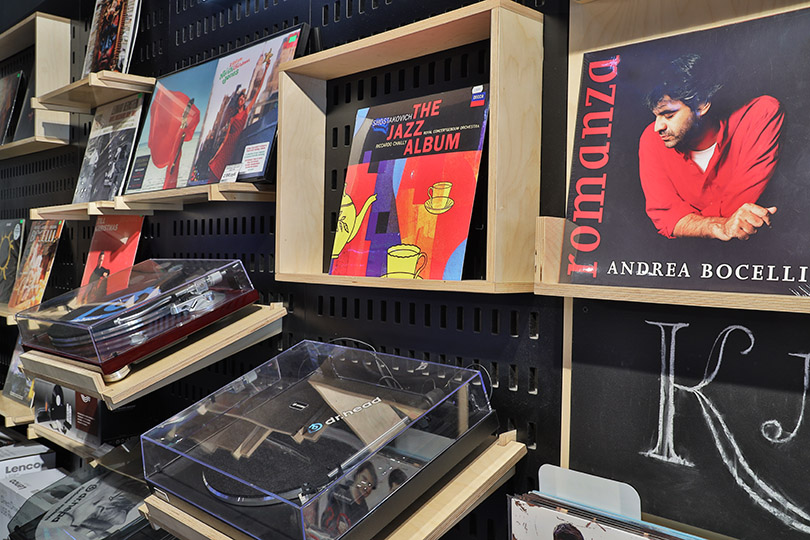
By the time the pressing is finished, the outer jackets and inner sleeves are usually printed and ready. Each record is manually placed into its sleeve. Finally, the jackets are wrapped in protective shrink wrap using a heat-sealing machine, making the batch ready to be shipped to the artist or distributed to record stores.
Long story short, this is how the magic of vinyl is brought to life. Should you want to enjoy the fruits of this process, come visit the Dr.Head showroom in Dubai: we have an amazing collection of records for you to browse.

Arrival: 202525
Performer: Abdul Karim Abdul Kader
Genre: Folk


Arrival: 202524
Performer: Warda Al Jazairia
Genre: Folk

Arrival: 202512
Performer: Various Artists
Type of performer: Foreign