


What is a Pop Filter and Why Is It a Must-Have for Recording?
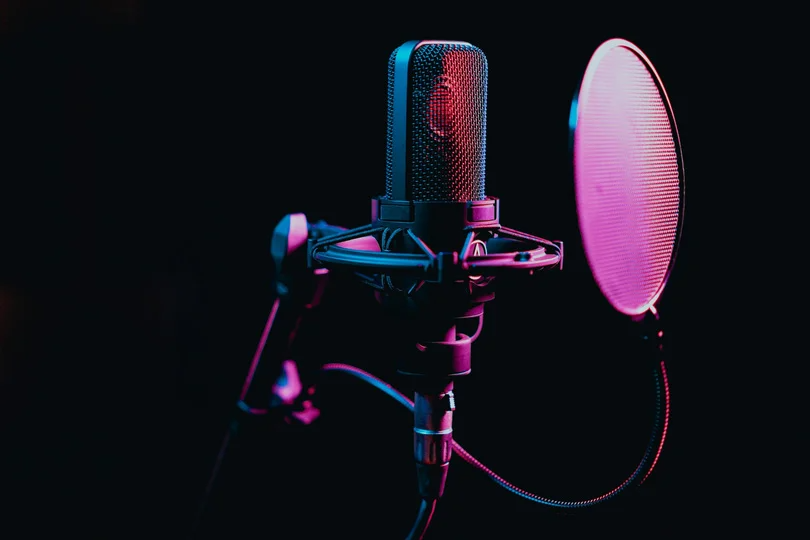
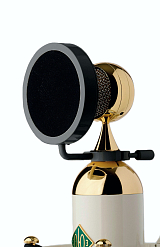
It’s probably the most recognizable accessory in any recording studio: a circular mesh screen hovering in front of the microphone. But the Pop Filter isn't just for looks — this simple tool solves a complex physical problem. Without it, even a $3,000 microphone can sound amateurish.
Whether you are a podcaster, vocalist, or streamer, here is why you need this barrier and how to choose the right one.
Contents
What Does a Pop Filter Do?
A pop filter does not change the tone of your voice electronically. It is a purely physical barrier designed to stop "Plosives."
What are Plosives, you may ask? Say the words "Power," "Boom," or "Time." When you pronounce these consonants, your mouth shoots a fast, focused burst of air.
- Without a filter: This air blast hits the microphone diaphragm like a hammer, causing a low-frequency "thud" or distortion known as popping.
- With a filter: The mesh disperses the air stream, breaking its energy. The sound waves pass through, but the air blast is stopped dead.
Also, it may sound gross, but it is true: singing and speaking release moisture and salts. Over time, this saliva creates corrosion on the delicate diaphragm of condenser microphones. A pop filter acts as a shield, significantly extending the life of your expensive gear.
Nylon vs. Metal: Which Material is Better?

Not all filters are created equal — their material affects both durability and sound transparency.
Nylon Mesh
- Pros: Inexpensive and effective at stopping air.
- Cons: Can slightly dull high frequencies (treble) if the mesh is too thick. Nylon can tear over time and is harder to clean.
- Best for: Beginners and home studios.
Metal Mesh
- Pros: Extremely durable and easy to wash and sanitize. Usually more "transparent" acoustically, meaning it doesn't affect the high-end detail of your voice.
- Cons: Slightly more expensive.
- Best for: Professional studios and hygiene-conscious users.
Dual-Layer Filters
Some advanced models use two layers of nylon with an air gap in between. The first layer slows the air, and the second layer catches the rest. These are the most effective against heavy breathers, so keep that in mind when choosing.
Pop Filter vs. Windscreen
People often confuse the two, but they serve different purposes.
Pop Filters are designed for indoor/studio use. They target directional blasts of air from the mouth (those plosives we just talked about). Pop Filters are the best tool for clear vocals.
Windscreens, on the other hand, are designed for outdoor use. They protect the mic from ambient wind hitting the capsule from all sides.
Sure, you could use a windscreen indoors, but it often muffles the high frequencies more than a pop filter does. So for the best quality, use a pop filter — and don’t confuse the two.
How to Position a Pop Filter

Buying a filter is half the battle; placing it right is the rest.
- Distance from Mic: Place the filter about 5–10 cm away from the microphone capsule. If it touches the mic, the vibrations will transfer, defeating the tool’s entire purpose.
- Distance from Mouth: Your mouth should be another 5–10 cm away from the filter.
- The "Fist" Rule: A quick studio hack is to use your fist to measure the gap. One fist width between the mic and the filter is usually the sweet spot.
Crucial for Ribbon Mics: If you own a Ribbon microphone, a pop filter is mandatory, not optional. A strong puff of air can physically stretch or break the fragile aluminum ribbon inside.
The Verdict
A pop filter is the cheapest way to make your recordings sound professional. It eliminates editing headaches and protects your investment.
Don't let a $20 problem ruin a great performance. Visit the Dr.Head showroom in Dubai to explore our range of pop filters — and let’s make sure your recordings sound clean, clear, and professional.
Brand: Telefunken
: 46
Field of application: studio, for rehearsing, sound recording