


How to Connect an AV Receiver to a TV, Computer, and Other Devices
An AV receiver is the beating heart of any modern home theater. More than just an amplifier, it's a command center that decodes digital audio streams (via DACs—digital-to-analog converters), processes video, and routes signals to various output devices. Most units also include a tuner, but if not, they’re often referred to as AV amplifiers. Today’s AV receivers go even further with built-in network connectivity, support for streaming services, and integration with smart home systems—all accessible through a smartphone or tablet.
Whether you're a beginner or an audio enthusiast, this guide will help you understand how to connect your AV receiver to a wide range of devices.
Contents
Principle of Operation of an AV Receiver
As seasoned users like to say: “Tell me which AV receiver you use, and I’ll instantly know the quality of your entire system.”
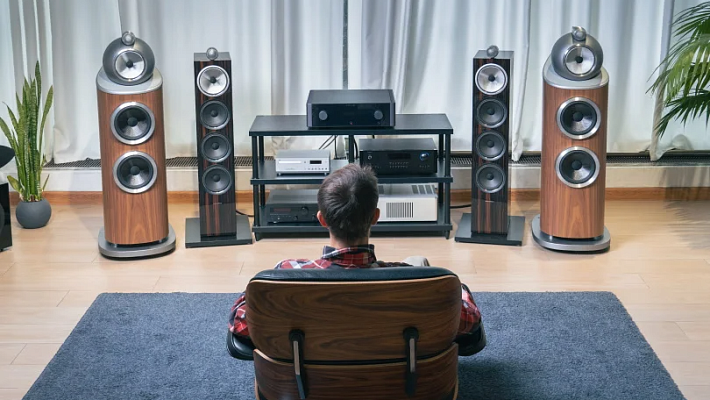
The AV receiver is the brain of your setup—responsible for managing and distributing audio and video signals to your TV, speakers, subwoofers, or amplifiers. Most modern receivers are multi-channel, with 5.1 configurations being common and more advanced systems offering 7.1 or even 9.2 channels. Each channel has its own power amplifier and sound processor.

Additionally, modern receivers support Bluetooth and Wi-Fi, allowing seamless integration with mobile devices, wireless speakers, and home networks. With centralized control and signal processing, the receiver ensures your home entertainment setup delivers an immersive audiovisual experience.
How to Connect an AV Receiver to a TV
HDMI is the most reliable and high-quality connection method for AV receivers and TVs. Follow these steps:
- Prepare an HDMI cable of adequate length.
- Power off both the TV and AV receiver.
- Plug one end of the HDMI cable into the HDMI OUT port on the AV receiver.
- Connect the other end to the HDMI IN port on your TV.
- Power on both devices and follow any on-screen instructions.
- If the connection isn’t recognized automatically, manually select the correct input source on your TV.
If you're using an older TV, SCART (21-pin Euro-AV) is another option, though increasingly rare. For legacy setups, composite (RCA) or component cables can be used, though they offer lower signal quality compared to HDMI.
Tip:Use HDMI ARC (Audio Return Channel) for two-way audio transmission—ideal when you want audio from your TV apps (like Netflix) to go back to your receiver without needing extra cables.
Connecting an AV Receiver to a Computer
Whether you're gaming, watching 4K movies, or streaming high-res audio, connecting your computer to your AV receiver unlocks premium sound and visuals.
To connect via HDMI:
- Turn off your computer and AV receiver.
- Plug one end of the HDMI cable into your computer’s HDMI output.
- Connect the other end to an available HDMI IN port on your AV receiver.
- Power on both devices.
- Select the correct input on the receiver’s menu.
Alternative setup:If your PC lacks HDMI output, use a DVI-to-HDMI adapter for video and an optical or coaxial cable for audio output.
This hybrid setup allows you to enjoy superior audio using your PC’s sound card while keeping high-quality video through HDMI.
Connecting a Soundbar to an AV Receiver
Soundbars are a great solution when your TV’s built-in speakers just don’t cut it. Most models are designed to simulate surround sound from a single, compact unit — and many pair well with AV receivers.
To connect a soundbar to your receiver:
- Power off both devices.
- Use an HDMI cable or optical cable as preferred.
- Connect the soundbar to the receiver’s output port.
- Turn on both devices and configure settings via the receiver’s menu.
Keep in mind:
- Passive soundbars (no built-in amp) must connect through the AV receiver.
- Active soundbars (with their own amplification) are usually connected directly to the TV via HDMI ARC or optical output.
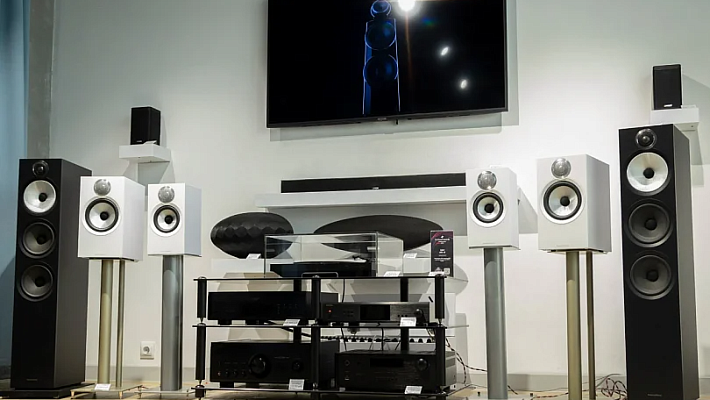
For full surround setups (5.1, 7.1, or 9.2), your speakers should connect directly to the AV receiver using dedicated speaker wires.
How to Connect an AV Receiver to a Power Amplifier
Why would you need a power amplifier if your AV receiver already amplifies sound?
The answer lies in audio quality.
While AV receivers excel in movie playback, they sometimes lack the precision and refinement needed for high-end music listening. Audiophiles often bypass this limitation by adding a separate power amplifier to drive the front stereo speakers, while the receiver continues to manage the rest of the system.
Steps to connect:
- Turn off both devices.
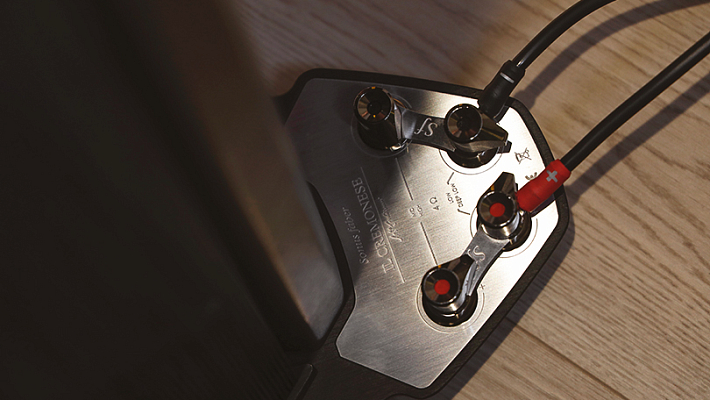
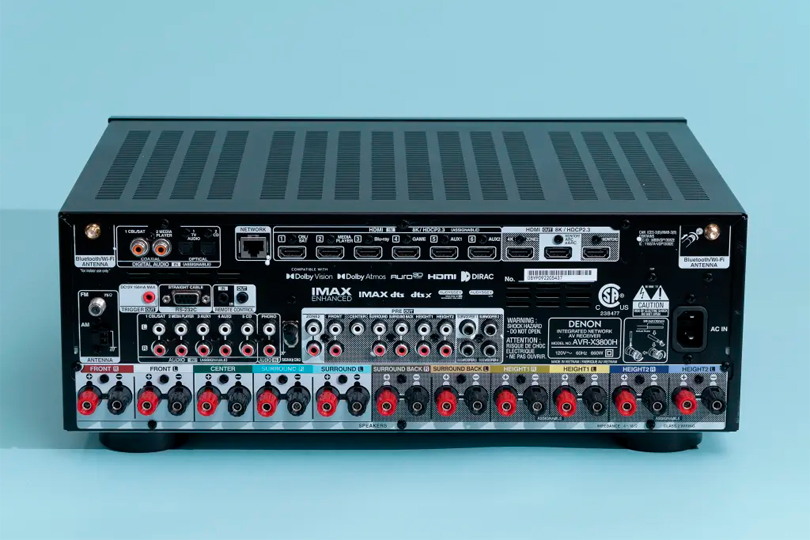
- Use RCA interconnect cables to connect the Pre-Out ports on your AV receiver to the line-level input on the power amplifier.
- Connect your left and right front speakers to the power amplifier.
- Keep the remaining speakers connected to the AV receiver.
- Power on the system and calibrate speaker levels via the receiver’s test tone function or using external tools.
Note:Pre-Out ports are typically found on mid- to high-end receivers—not entry-level models.
Conclusion
An AV receiver is more than just a piece of audio gear—it's a versatile, central control unit that ties your entire home entertainment system together. Whether you're hooking up a TV, computer, soundbar, or external amplifier, the AV receiver makes it all work in perfect harmony.
With the right cables, ports, and a bit of configuration, you’ll unlock the full potential of your setup—delivering cinematic visuals and immersive sound that truly elevates your listening and viewing experience.
Need help picking the right AV receiver or accessories?
Visit Dr. Head or stop by our store for expert advice and hands-on demos.