


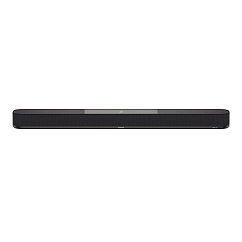
How to Connect a Soundbar to Your TV

Modern TVs are incredibly thin, which looks great on your wall but leaves absolutely no room for high-quality built-in speakers. The result is often flat, lifeless sound that ruins the cinematic experience.
A soundbar is the perfect all-in-one solution to bring deep bass and surround sound back into your living room. Here is a step-by-step guide to connecting and setting up your new soundbar in under 10 minutes.
Contents
Step 1: Preparation and Port Check
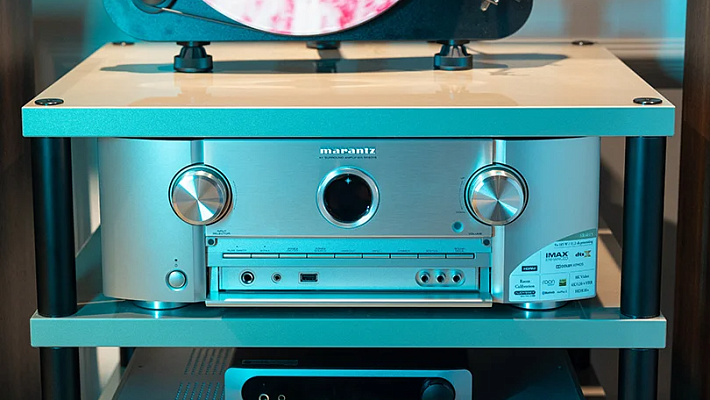
Before plugging anything in, inspect the back panel of your TV and your soundbar. You are looking for specific audio ports: HDMI ARC/eARC, Digital Optical, Coaxial, or standard Analog (RCA/AUX). The ports you have will dictate your connection method.
Check the accessories included with your soundbar. An HDMI cable is usually included, but an optical cable might need to be purchased separately.
Pro Tip: If you are still in the research phase, visit a specialized audio store to consult with an expert. They will ensure you buy a soundbar that perfectly matches your TV's connectivity options.
Step 2: Choose Your Connection Method
There are several ways to link your audio system to your screen. Choose the best one available to you.
1. HDMI ARC or eARC: The Best Option
If your TV was made in the last few years, this is the way to go. A single HDMI cable transmits high-quality audio and allows your TV remote to control the soundbar's volume.
- Audio Quality: Excellent. ARC supports Dolby Digital and DTS. If you have eARC, it supports lossless, uncompressed formats like Dolby Atmos.
- How to find it: Look for an HDMI port specifically labeled "ARC" or "eARC" on the back of your TV.
2. Digital Optical: The Reliable Backup
This is a highly reliable digital connection found on almost all TVs made in the last decade. It uses a fiber-optic cable to transmit a clean, interference-free digital signal.
- Audio Quality: Great. Supports standard 5.1 surround sound.
- The Catch: It does not support HDMI CEC, meaning you will likely need to use a separate remote to control the soundbar's volume.
3. Coaxial and Analog: The Last Resort
- Coaxial: A digital connection similar in quality to Optical, but much rarer on modern TVs.
- Analog (RCA / AUX): Uses the red and white cables or a standard 3.5mm headphone jack. Use this only for older TVs without digital outputs. You will only get basic stereo sound, not surround.
4. Wireless: Not Ideal
While wireless setups look clean, Bluetooth can introduce audio lag (think lip-sync issues) and occasional signal drops. Wi-Fi is much more stable but requires specific brand ecosystems. We highly recommend using a wired connection for your TV and saving Bluetooth for streaming music from your phone.
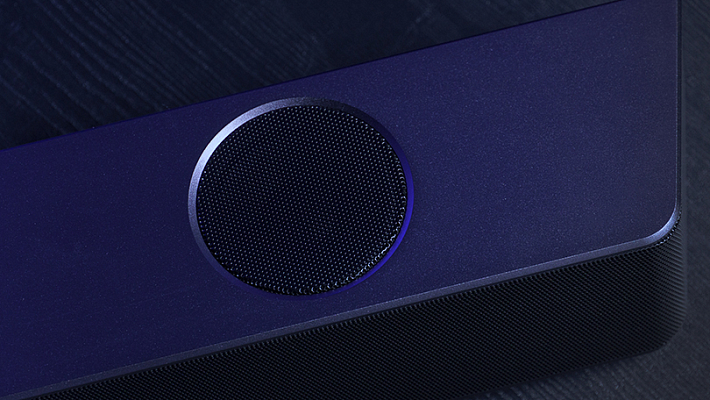
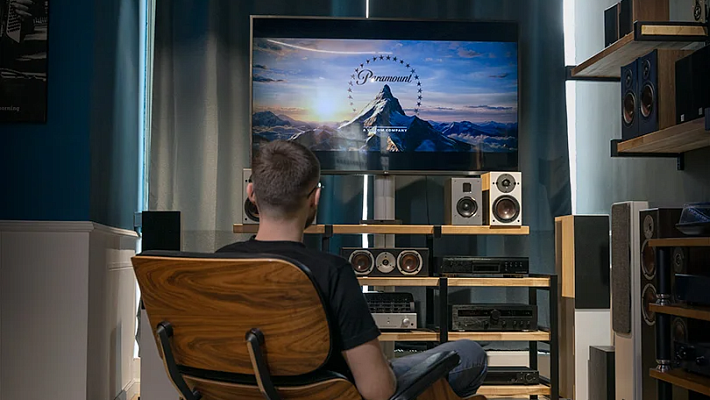
Step 3: Positioning Your Soundbar
Proper placement can improve your audio experience by 40%. Poor placement can ruin even the most expensive system.
- Ear Level is Key: Place the soundbar directly below the TV, either sitting on the media console or mounted to the wall, right at ear level when you are seated.
- Give It Space: Do not shove the soundbar into an enclosed TV cabinet or a deep shelf. It needs at least 5–10 cm of breathing room on all sides to disperse sound properly.
- The Atmos Rule: If you own a Dolby Atmos soundbar, it relies on upward-firing speakers to bounce sound off your ceiling. If there is a shelf directly above the soundbar, the 3D height effect will be completely blocked.
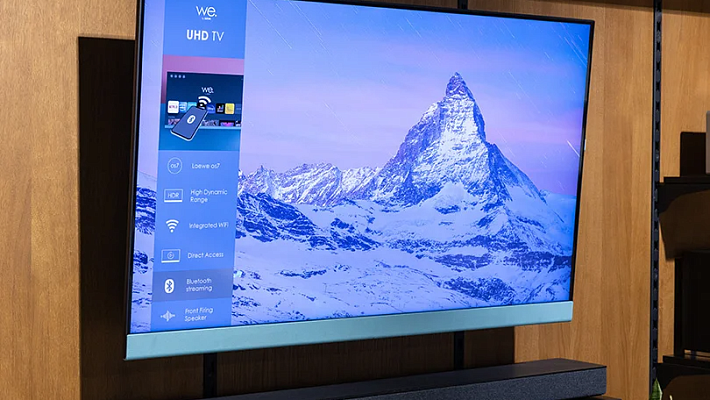
Step 4: TV Menu Settings
Once the cables are plugged in, you need to tell your TV to stop using its weak internal speakers and send the audio out to the soundbar.
- Open your TV's Settings menu.
- Navigate to the Sound or Audio section.
- Find Audio Output or Sound Out.
- Select the matching connection type (e.g., HDMI ARC, Optical, or External Speaker).
- Crucial step: Manually disable the TV's built-in speakers. If both play at the same time, you will get a terrible echoing effect.
Step 5: Enable One-Remote Control
If you used the HDMI ARC method, you can control the soundbar with your main TV remote.
This magic is powered by a technology called HDMI CEC. TV brands use different marketing names for it: Samsung calls it Anynet+, LG calls it SimpLink, and Sony calls it Bravia Sync.
Go into your TV's general or connection settings, locate HDMI CEC, and turn it on. Make sure it is also enabled on your soundbar — it’s sometimes called Auto Power or HDMI Control. Once activated, the soundbar will turn on and off automatically with your TV.
Quick Troubleshooting Guide
No sound? Here is how to fix the most common issues:
- Complete Silence: Double-check that the cables are pushed all the way in. Verify that the TV's audio output is set correctly and the built-in speakers are muted.
- HDMI ARC is not working: Ensure HDMI CEC is turned on in the TV settings. Verify that the cable is plugged specifically into the port labeled "ARC," not a standard HDMI port.
- Audio Lag: Go into your TV's sound settings, look for an option called Audio Delay or Lip Sync, and adjust the slider until the voices match the picture.
If you are looking to upgrade your home cinema experience, visit the Dr.Head showroom in Dubai. Our experts will help you test premium soundbars in dedicated listening zones and guide you through the perfect setup for your living room.

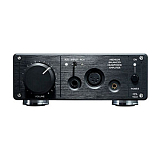
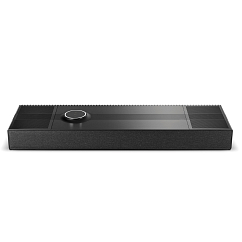
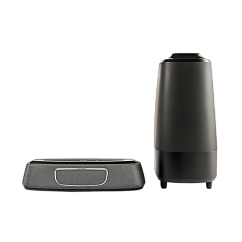
AirPlay support: yes
Audio return channel: eARC
Bluetooth version: 5.0
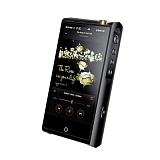
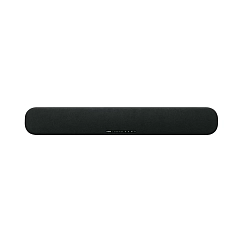
AirPlay support: yes
Audio return channel: eARC
Bluetooth version: 5.0
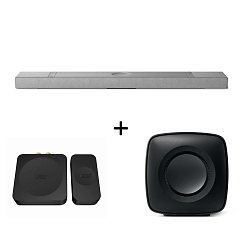
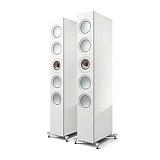
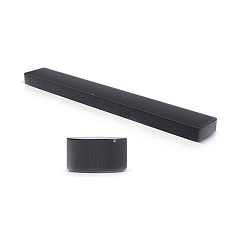
AirPlay support: yes
Audio return channel: eARC
Bluetooth version: 5.3

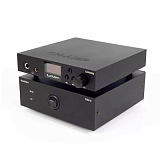
AirPlay support: yes
Audio return channel: eARC
Bluetooth version: 5.0
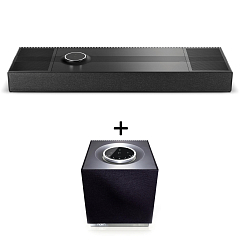
AirPlay support: yes
Audio return channel: eARC
Bluetooth version: 5.1
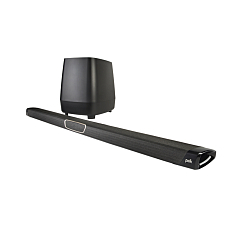


AirPlay support: yes
Audio return channel: eARC
Bluetooth version: 4.2