


Deep, Dark, and Radio-Ready: How to Add Bass to Your Microphone Sound

A voice without low frequencies sounds thin, distant, and unconvincing. But before you blame your expensive gear or rush to buy a new microphone, make sure the problem isn't just a settings error.
Correctly tuning your microphone can add density, bass, and depth without introducing unnecessary noise. Here is a guide to boosting your mic's low-end sensitivity — from simple Windows tweaks to advanced equalizer tricks.
Contents
Windows System Settings
Start with the operating system. Simple tweaks here often yield noticeable improvements without the need for third-party software.
Step 1: Check the Input
- Open the Sound Control Panel. Press Win + R, type mmsys.cpl, and hit Enter.
- Go to the Recording tab and select your primary microphone.
Step 2: Adjust Levels
- Click Properties and go to the Levels tab.
- Set the microphone volume to 80–100.
- Increase the Microphone Boost by +10 to +20 dB.
Warning: Do not overdo the boost. Too much gain will introduce hissing and digital distortion.
Step 3: Enhancements & Quality
- In the Enhancements tab, enable "Noise Suppression" and "Acoustic Echo Cancellation" if available.
- In the Advanced tab, ensure the Default Format matches your microphone's native sample rate (usually 44100 Hz or 48000 Hz) to improve dynamics.
Step 4: Stop Apps from Lowering Your Volume
If your quality drops during Zoom or Skype calls:
- Go to the Communications tab in the Sound Control Panel.
- Select "Do nothing". This prevents Windows from automatically lowering your volume when it detects a call.
- Inside your apps (Discord, Zoom, etc.), find the setting "Automatically adjust microphone volume" and disable it. Otherwise, the software will constantly fight your manual bass settings.
macOS System Settings
macOS handles audio differently, but you still have some control.
- Audio MIDI Setup: Open this utility (Applications > Utilities) for detailed sample rate and volume control.
- Voice Isolation: In newer macOS versions, use the "Voice Isolation" mode in the Control Center during calls. It aggressively filters background noise, which can make the voice sound clearer, though sometimes at the cost of natural bass.
Fine Tuning: Drivers and EQ
System settings are often just the starting point. To truly add bass, you need to shape the frequencies.
Realtek & Audio Drivers
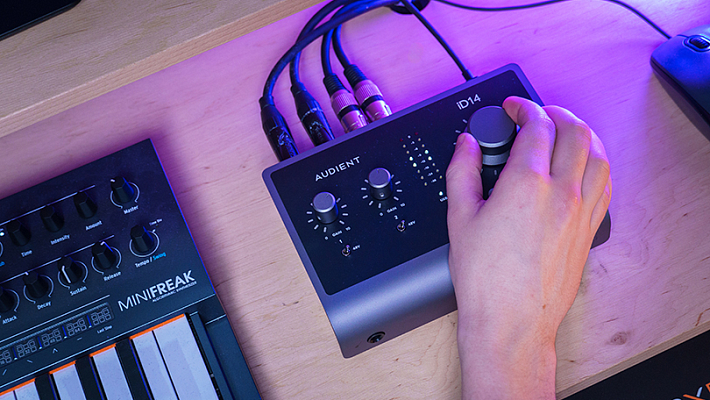
Open your audio interface's control panel (e.g., Realtek Audio Console). Look for the microphone section. Many drivers include a basic EQ. Select a preset that boosts low frequencies or manually raise the sliders in the 60–250 Hz range.
EQ Settings for OBS and Streaming
If you are streaming or recording, use a parametric equalizer (think the VST plugins in OBS). Here is a cheat sheet for adding depth:
- Low Shelf Filter (The Bass Boost):
- For Male Voices: Try boosting the 80–120 Hz range by 2–3 dB.
- For Female Voices: Try boosting the 120–200 Hz range by 1–2 dB.
- High-Pass Filter (The Cleaner):
- Condenser Mics: Cut everything below 60–80 Hz.
- Dynamic Mics: Cut everything below 80–100 Hz.
Why? This removes low-end rumble like AC noise, desk bumps, etc., which muddies the sound, allowing the "good" bass to stand out.
Advanced Tools: VoiceMeeter & APO
When Windows settings aren't enough, use specialized software to process your voice in real-time.
- Equalizer APO: A powerful system-wide equalizer, it allows you to draw a precise frequency curve for your microphone that applies to all applications — Discord, Teams, in-game voice chats, etc.
- VoiceMeeter: A virtual mixer that lets you route audio, add gain beyond Windows limits, and apply "Intellipan" — a simple panel to add bass and warmth with one click.
Troubleshooting Common Issues
If your microphone remains quiet or settings won't save:
- Run Diagnostics: Go to Settings > System > Troubleshoot > Recording Audio.
- Check Privacy: Ensure Settings > Privacy > Microphone allows apps to access your device.
- Exclusive Mode: In microphone properties (Advanced tab), uncheck "Allow applications to take exclusive control of this device." This stops apps from hijacking your gain levels.
The "Proximity Effect" and Physical Tips
Sometimes, the best software is just good old... physics.
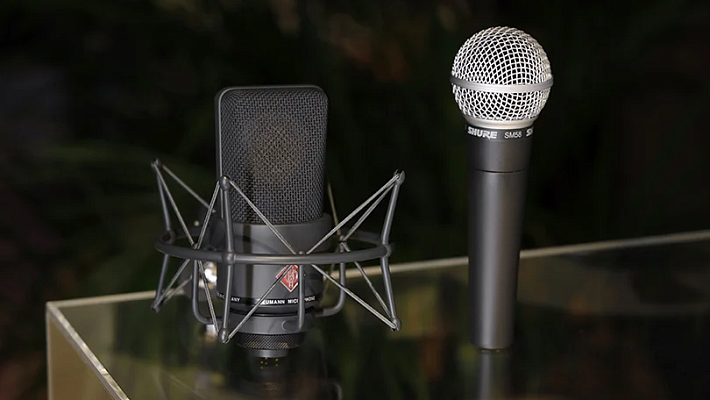
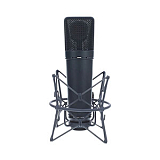
- The Proximity Effect: This is the radio broadcaster's secret. The closer you get to a directional microphone (cardioid pattern), the more bass frequencies are naturally boosted. Move your mouth closer to the mic (2–5 inches).
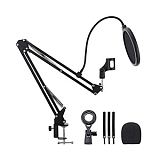
- Use a Pop Filter: If you get closer, you need a pop filter. It stops "plosives" (P and B sounds), which cause unpleasant low-end booming, leaving only the rich, desirable bass.
- Room Acoustics: A completely empty room creates echo, which kills the "tightness" of the bass. A rug or curtains can help dampen the sound.
The Verdict
You don't always need a $1,000 microphone to sound deep and authoritative. Start with the basics: correct Windows levels, the "Proximity Effect," and a little bit of EQ.
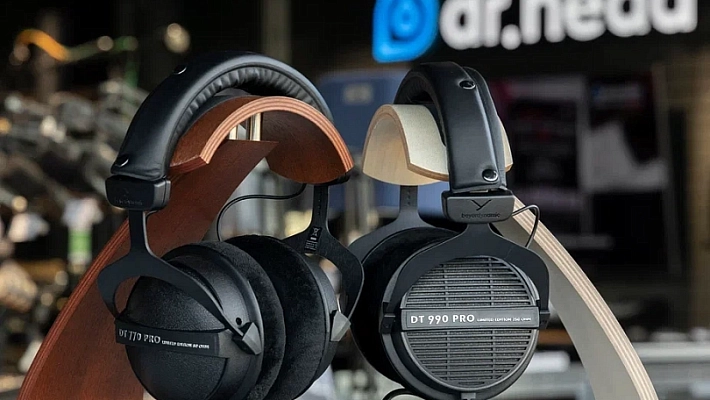
However, remember that software can only polish the signal — it cannot invent quality that isn't there. If you have tried everything and your voice still sounds thin, it might be time to upgrade your hardware.
Visit the Dr.Head showroom in Dubai to test microphones with excellent low-end response and find the one that suits your voice perfectly.
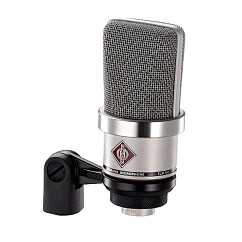
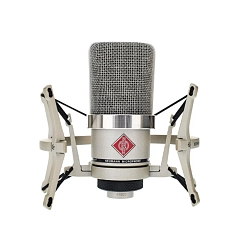
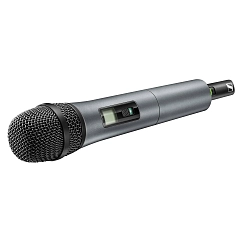
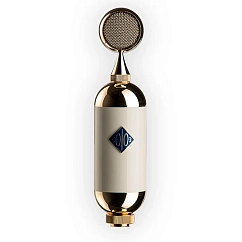
Diaphragm size: large diaphragm
Microphone polar pattern: cardioid
Microphone type: dynamic

Brand: Sennheiser
Connectors: XLR
Free-field sensitivity without load (1 kHz), mV/Pa: 3