


Subwoofer Setup in a Home Audio System: Step-by-Step Guide
They say that truly high-quality sound is impossible without rich, tight bass. While expensive floorstanding speakers can generally handle this task well, most budget-friendly home theater systems simply can’t accommodate proper low-frequency drivers within the narrow cabinets of stock speakers. That’s why subwoofers—large-diameter low-frequency drivers housed in separate enclosures—are a standard addition to such setups.
Subwoofers come in two main types: active and passive. Passive models are typically much cheaper, but they lack efficiency—especially at low and medium volumes. Only at maximum output can they deliver even remotely decent and punchy bass. In essence, a passive subwoofer is just a large woofer in its own box.
Active subwoofers, on the other hand, feature a built-in amplifier that’s pre-configured for the installed driver. Their output power is adjustable, making them far more effective—and far more common. However, their installation and calibration can be a bit tricky. Here’s how to do it right.
Contents
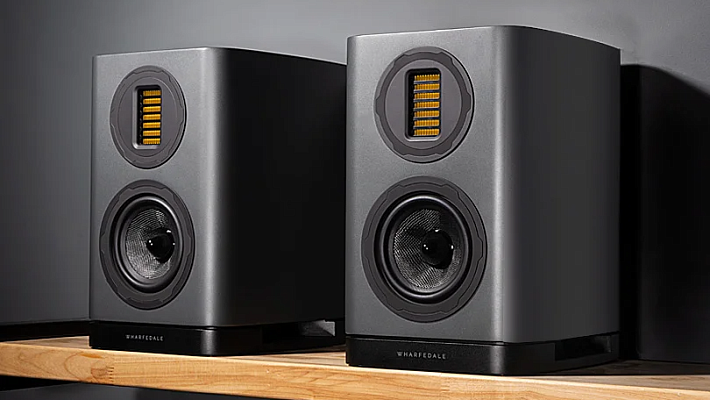
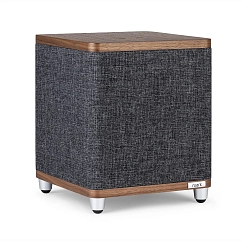
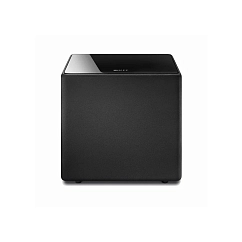
Subwoofers


Where to Place Your Subwoofer
Before you run to the nearest audio store or place an order online, take a moment to measure your room and evaluate the size and power of the speakers in your home theater or stereo setup. Only then should you choose a subwoofer that matches your system in size, performance, and specifications.
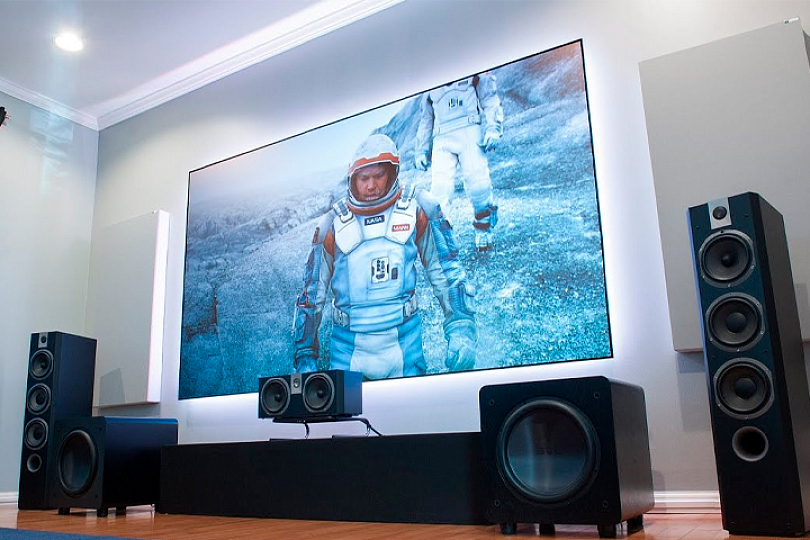
Now comes the big question: where do you place this “black box”? Dropping it in any random corner is unlikely to yield satisfying results. Many audiophiles literally crawl around the room on all fours, listening carefully along walls, corners, and midpoints to identify the location with the deepest, cleanest, and most impactful bass. Once you find that sweet spot—that’s where your subwoofer should go.
That said, manufacturers do provide general placement recommendations:
- Place the subwoofer between the center and either the front left or front right speaker. This is often labeled as the optimal setup in manuals.
- Avoid placing the sub too close to walls or in corners, as this can muddy the sound.
- Do not place it dead center in the room, to prevent standing waves. A good rule of thumb is to position the subwoofer about one-quarter the width or length of the room away from the wall.
- To find the best location, try temporarily placing the sub in various spots while playing music with strong bass content. Choose the position where it sounds most balanced and authoritative.
Connecting the Subwoofer to an AV Receiver or Stereo System
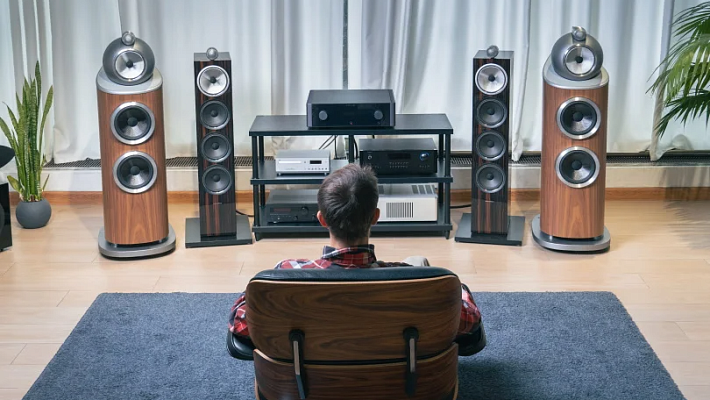
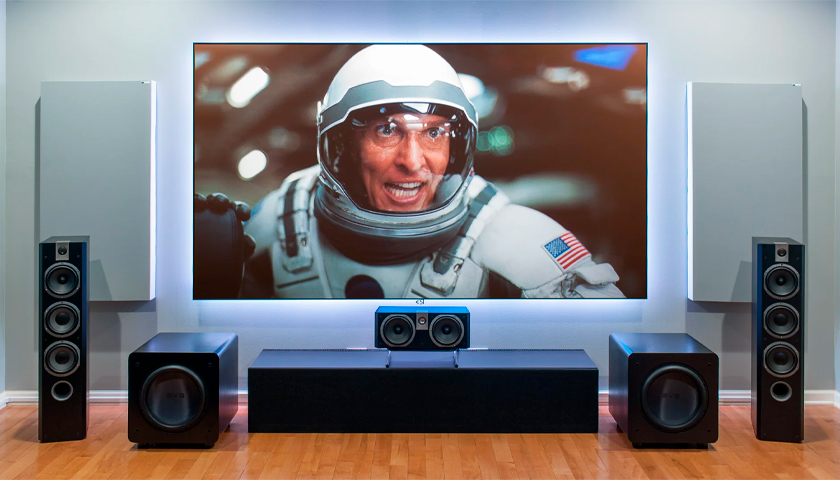
A subwoofer is an integral part of any home theater system. Premium setups often feature two subwoofers for better distribution of deep bass and a more immersive experience. In stereo systems, a dedicated sub is less common—floorstanding speakers often suffice—but many high-end Hi-Fi and Hi-End systems include one or even two active subwoofers.
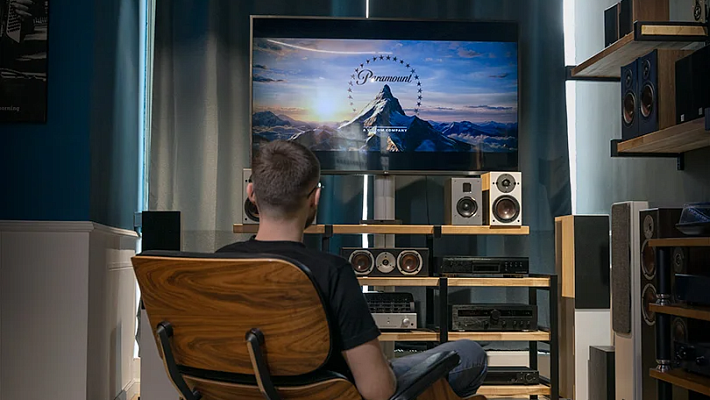
Connecting to a Home Theater AV Receiver
The simplest and most recommended method is to connect the subwoofer via the SUB OUT or SUB 1 output on the receiver (if multiple outputs are present). Using an LFE cable—specifically designed for transmitting low-frequency signals—connect the receiver’s SUB OUT to the LFE input on the subwoofer. This setup is widespread and supported by nearly all modern AV receivers and processors.
If your AV receiver doesn’t have a dedicated LFE output, it may offer stereo RCA outputs (R and L) or even spring-clip terminals similar to speaker outputs. If your subwoofer also features RCA inputs, you can use a Y-split RCA cable to connect the receiver’s left and right outputs to the sub’s R and L inputs. Just make sure both sides are connected if the receiver provides stereo outputs.

Connecting to a Stereo System
If your stereo amplifier features a Subwoofer OUT, you’re in luck. Simply use an RCA cable to connect the amp’s sub out to the subwoofer’s LFE input. If not, you may use the pre-out outputs instead—though this delivers a full-range signal rather than a low-pass filtered one. In such cases, your sub’s built-in crossover filter will need to handle frequency separation.
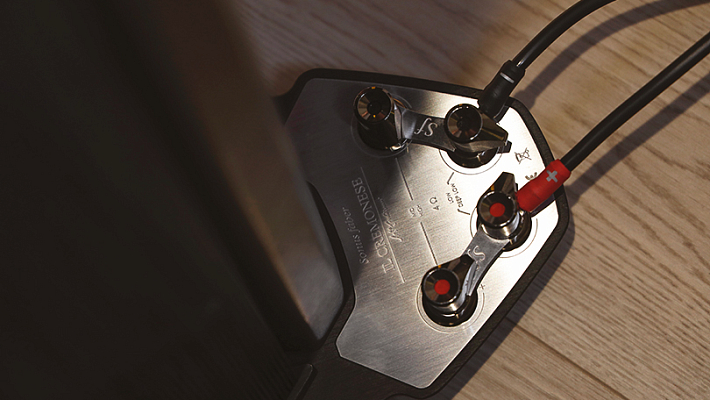
If neither a subwoofer out nor a pre-out is available, the only remaining option is high-level (speaker-level) connection. You’ll need one or two speaker cables to connect the subwoofer in parallel with your main speakers.
Once the subwoofer is installed and connected, it's time for fine-tuning. The goal is to integrate it smoothly with your main speakers—without excessive boom, phase distortion, or muddiness. The sub should only play the bass frequencies that your main speakers can’t handle, and it should do so at a matching volume level.
Crossover Settings
If you’ve connected your active subwoofer with on-board controls to an AV receiver using the SUB OUT, you’ll primarily be working with two settings:
- Level (Volume)
- Crossover Frequency
The crossover is a type of filter that eliminates unnecessary frequencies and preserves the ones your sub is meant to reproduce. Start by setting the crossover frequency using the dial on the back of the subwoofer. Ideally, use a sound level meter and test tones for precision. If you don’t have such tools, rely on a test track with prominent drums or double bass and adjust by ear.
Find the lower limit of your main speakers’ frequency range (from the product specs). For example, if your speakers reproduce down to 40 Hz, set the subwoofer’s crossover to around 40 Hz. Then adjust the volume level to match the output of your other speakers.
Use this method:
- Gradually increase the sub’s volume until it starts dominating the mix.
- Then slightly reduce the volume until it blends seamlessly with your system.
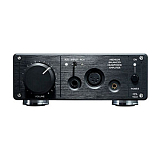
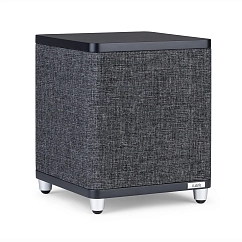
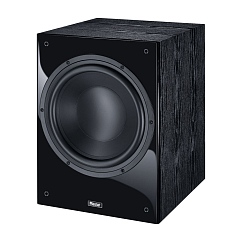
Subwoofers

How to Properly Calibrate a Subwoofer
After setting volume, revisit the crossover setting. In the transition zone between your sub and main speakers, you shouldn’t hear frequency gaps or spikes. If you do, fine-tune the crossover up or down until the frequency response sounds even..
A properly tuned subwoofer:
- Adds depth and impact to your system’s bass,
- Stays balanced within the mix,
- Doesn’t stand out or draw attention to itself.
Phase Adjustment
Even after volume and crossover are set, phase adjustment can take the sub to the next level. Because subwoofers and speakers are often at different distances from the listener, their sound waves may arrive out of sync—creating phase cancellation or distortion.
Most subs include a phase control—either a toggle (0° / 180°), a rotary knob, or a switch. This allows you to align the sub’s wave timing with your main speakers for coherent, unified sound.
To adjust:
- Play a track with steady bass.
- Sit in your listening position.
- Have someone slowly adjust the phase control while you listen.
- Choose the setting where bass sounds tightest, fullest, and most integrated.
If you notice no audible difference between 0° and 180°, simply leave it at 0°.
For more precise tuning:
- Reverse the polarity of your main speakers (swap + and – wires).
- Play a sine wave or test tone at your sub’s upper crossover point.
- Adjust the phase control until the bass becomes as quiet as possible (indicating perfect phase cancellation).
- Restore your speakers to normal polarity—now the sub and speakers will be perfectly in phase.
Subwoofer Volume Level
The subwoofer’s volume can be adjusted via the gain knob on its panel or via your receiver settings. It’s crucial to strike the right balance between the sub, center channel, front, and surround speakers. Bass level is highly subjective. Some listeners love thunderous low-end that shakes the walls; others prefer bass to step in only during action scenes or music with strong low-frequency content like jazz or rock.
A sound level meter can help balance the speakers, but it’s often ineffective for setting subwoofer volume. Trust your ears—listen to several familiar tracks (DVDs and CDs), and fine-tune until the bass is satisfying without overwhelming the mix.
Note: automatic speaker calibration systems built into AV receivers (like Audyssey or YPAO) often handle regular speakers well but don’t excel at tuning subwoofers. If you’re not happy with the result:
- Tweak the crossover, phase, and volume manually.
- If you still prefer the original settings, re-run the auto-calibration as a fallback.
Final Testing and Fine-Tuning
Once the sub is dialed in, your system should deliver full-bodied, immersive audio. However, your preferences may evolve—and so can your room setup.
Don’t hesitate to revisit and re-adjust:
- Phase
- Volume
- Crossover
- Or re-run the auto-calibration
Excessive bass can become fatiguing over time, and may not reflect the artist’s or mixing engineer’s intent. A properly tuned subwoofer should reproduce only the bass that was meant to be heard, no more, no less.
By following the steps above, you'll achieve a natural, balanced, and high-fidelity soundstage—and you’ll forget about the gear altogether as you’re immersed in your favorite music or movies.
In Conclusion
A subwoofer is indispensable for both home theater and Hi-Fi systems—but it demands proper placement, connection, and fine-tuning. With the right approach, this “black box” will transform your listening experience, delivering cinematic rumble and musical realism with power and precision.
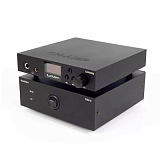
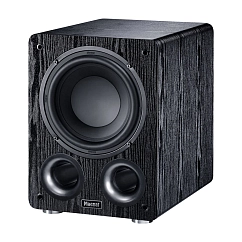
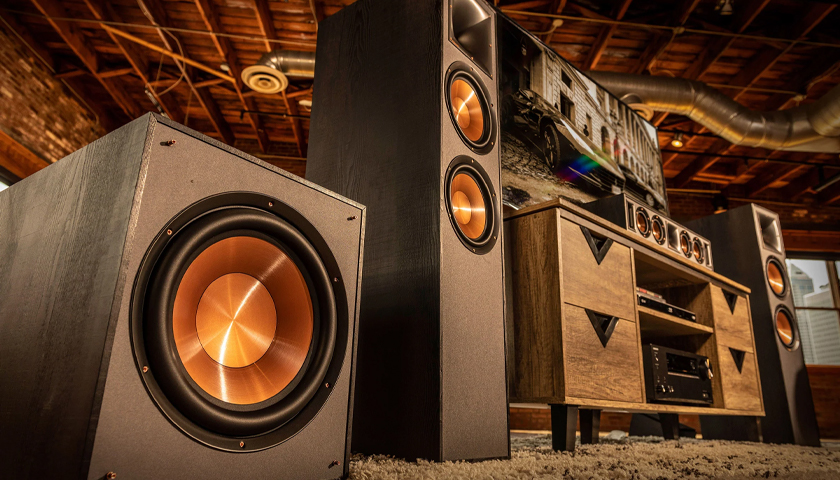
Subwoofers